The first time I stumbled into cast iron fire pit cooking, I grabbed the wrong pan by accident. Set it on the grate over the fire, cooked some eggs, and produced the best breakfast I'd had in months. Something about real flames, real iron, and open air just clicks. If you're ready to explore what's possible in your own backyard, start with our fire pit cooking guide — it covers the full range of outdoor cooking techniques worth knowing.

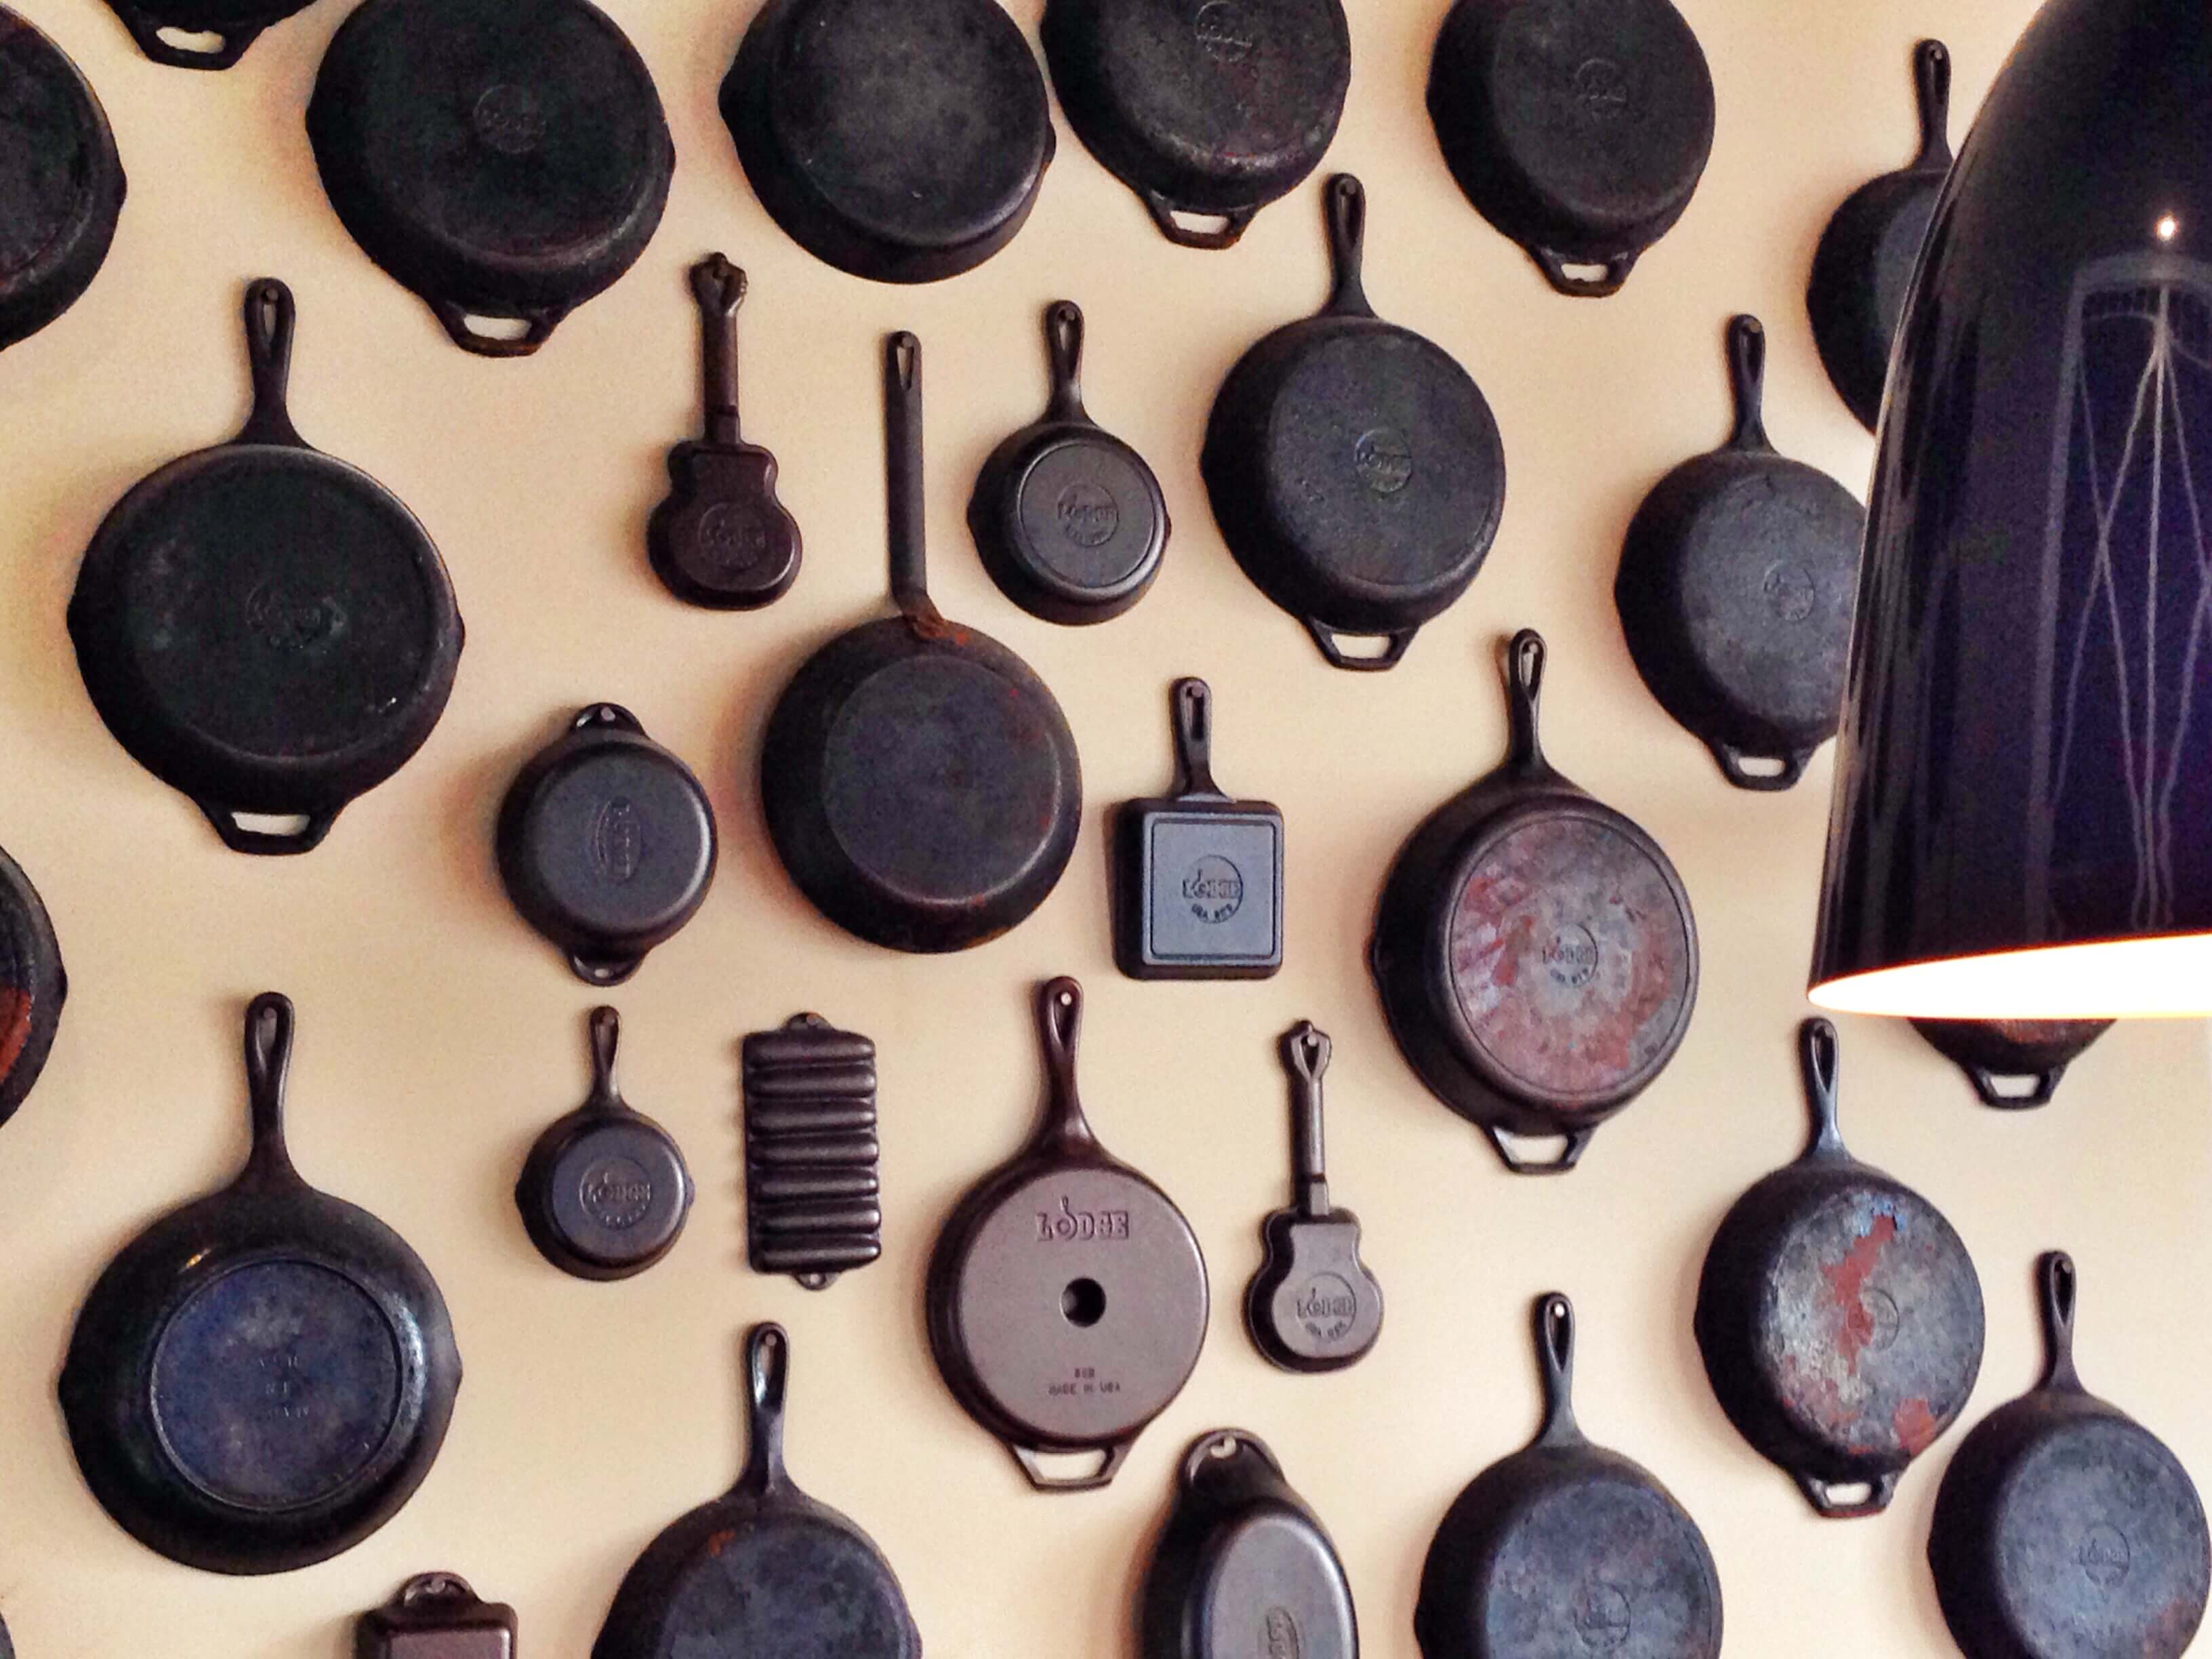
Cast iron has been cooked over open flames for centuries. It hasn't changed much because it doesn't need to. The combination of heavy iron and wood fire delivers smoky depth and a deep sear that a propane grill simply can't replicate. According to Wikipedia's overview of cast iron cookware, the material's high heat retention makes it especially effective over uneven heat sources like open flames — exactly what a fire pit produces.
Whether you're cooking solo on a quiet evening or feeding a full crowd, this guide covers everything: what to cook, how to set it up safely, what it costs, how to fix common problems, and which myths about cast iron you can safely ignore.
Contents
What Cast Iron Fire Pit Cooking Makes Possible
Most people assume fire pit cooking means hot dogs and roasted marshmallows. Cast iron changes that completely. A single cast iron skillet or Dutch oven opens up almost your entire recipe repertoire — breakfast through dessert — over a bed of glowing coals.
Breakfast at the Fire Pit
Starting the morning around a fire is one of the simplest backyard pleasures. A 10-inch cast iron skillet handles most breakfast foods without complaint:
- Scrambled or fried eggs — use a little butter or oil to prevent sticking
- Bacon and sausage links — fat renders beautifully over real flame
- Pancakes and French toast — the flat, heavy surface holds heat perfectly
- Hash browns and home fries — cast iron delivers a crust you simply can't get on a non-stick pan
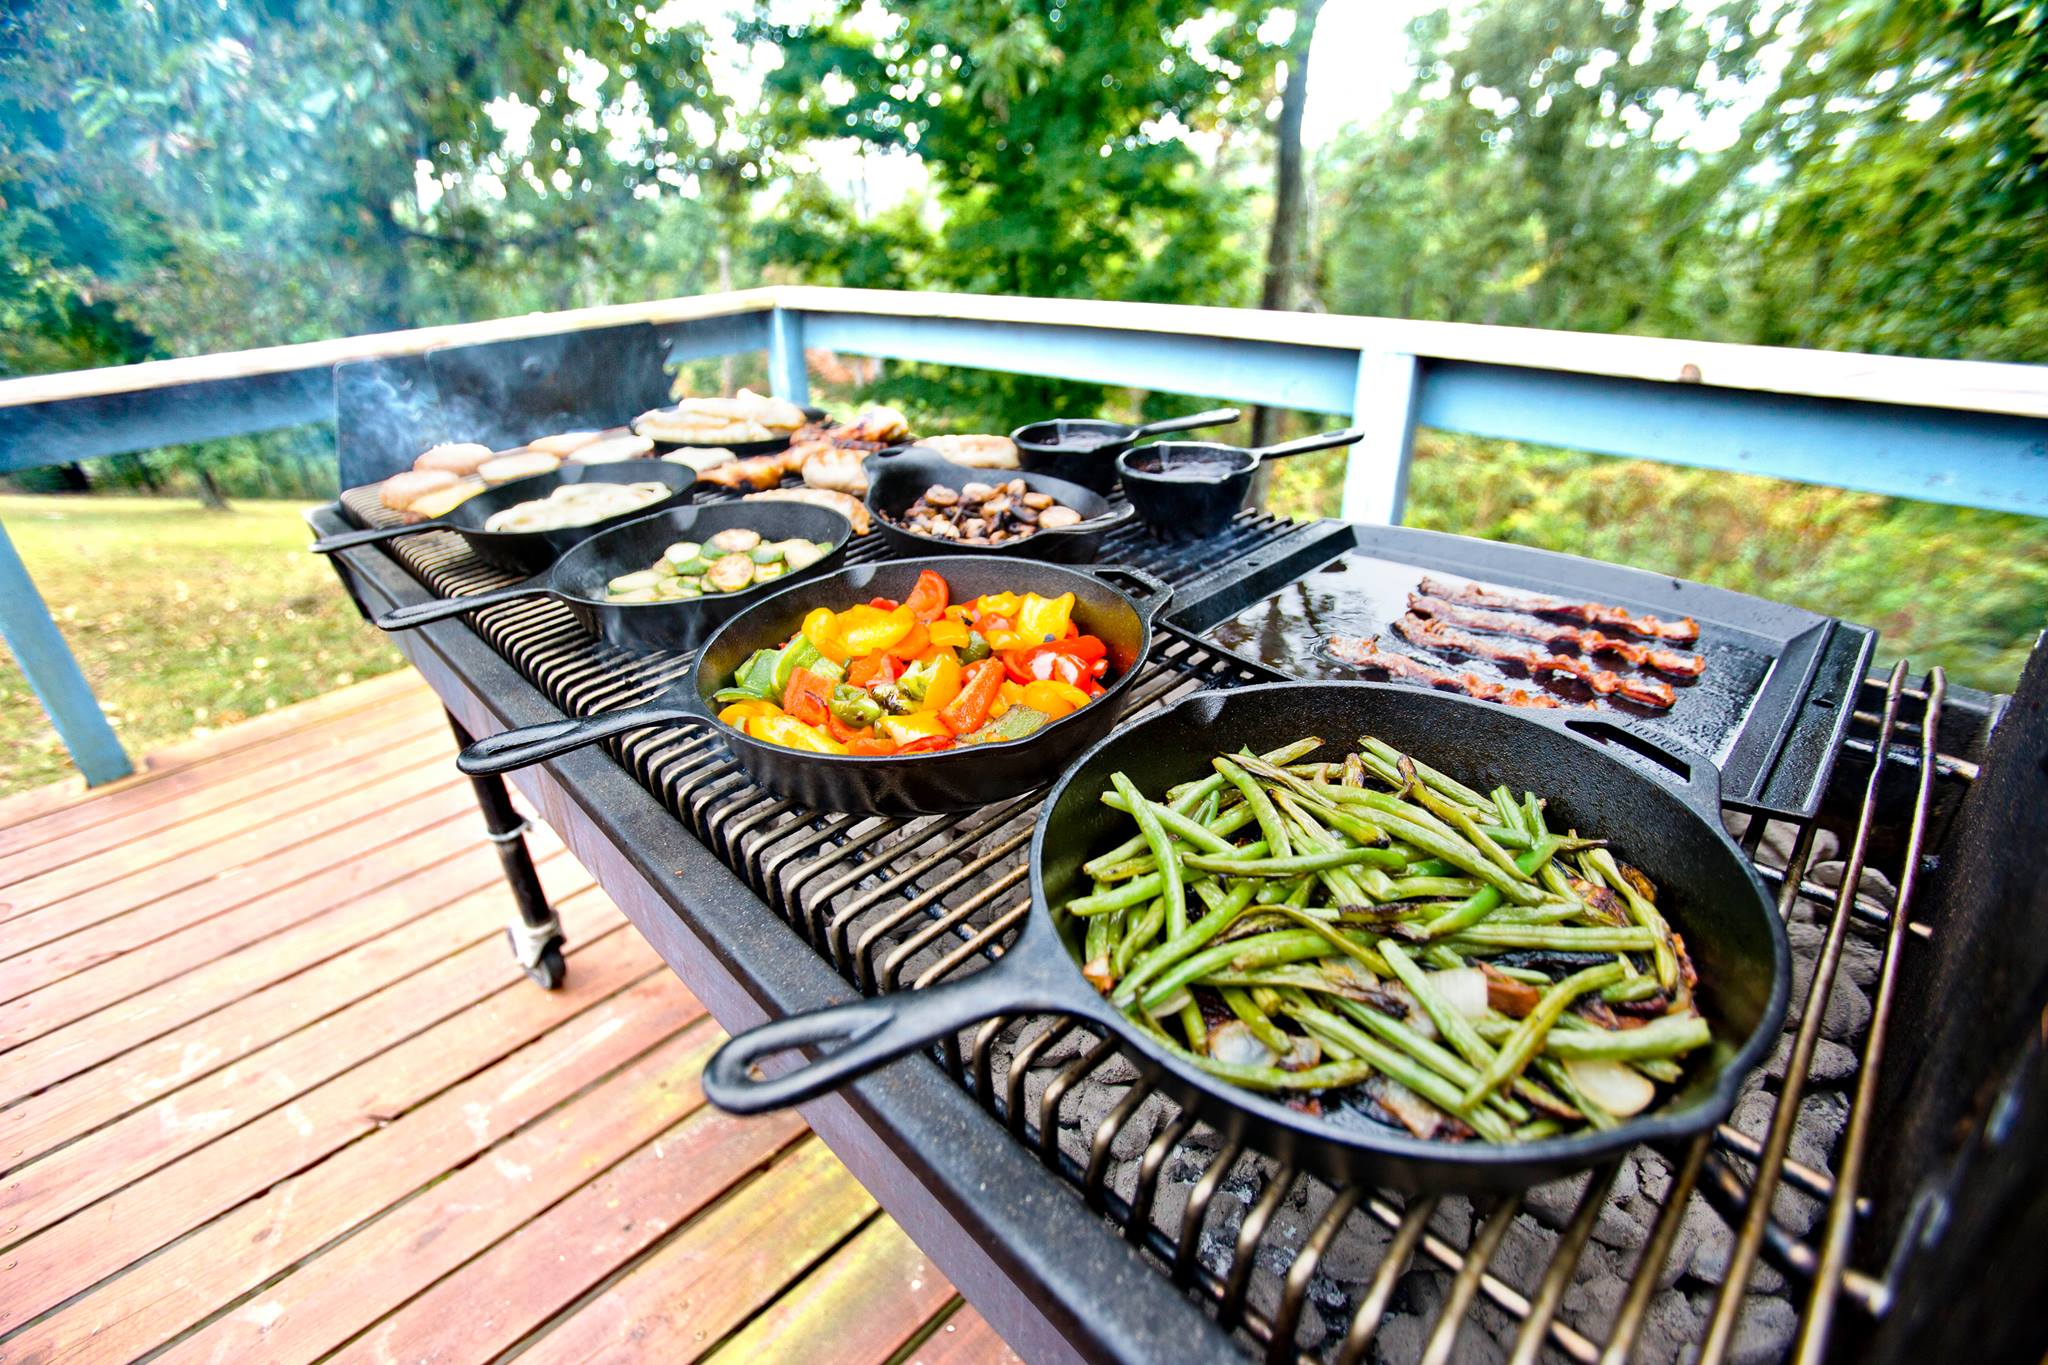
Main Dishes and Sides
This is where cast iron really earns its reputation. High heat, held steady — that's what makes the difference:
- Steaks and pork chops — intense coal heat gives you a restaurant-quality crust
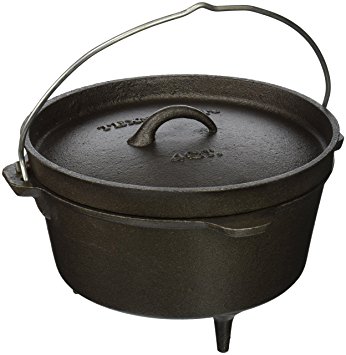
- Whole roasted chicken — use a Dutch oven (a heavy, lidded cast iron pot) with coals underneath and on top of the lid
- Soups, stews, and chili — Dutch ovens hold heat so evenly you can simmer for hours with minimal attention
- Cornbread — bake it directly in the skillet over moderate coals
- Grilled vegetables — onions, peppers, mushrooms, and zucchini all take on a great char
- Cast iron pizza — press dough into the skillet, add toppings, tent with foil, and wait
If you're planning a full outdoor evening around the fire pit, a well-designed backyard space makes it so much more enjoyable. Take a look at our guide to installing a sunken patio into grass or ground — it's a smart way to create a natural gathering area built around a central fire pit.
Desserts and Sweet Finishes
This surprises a lot of people. Cast iron is outstanding for dessert:
- Skillet brownies — gooey center, crispy edges, done in about 25 minutes
- Fruit cobblers — peach, apple, or berry — dump everything in the Dutch oven and let it bubble
- Cinnamon rolls — use the skillet with a foil tent to trap heat on top
- S'mores dip — melt chocolate chips, top with marshmallows, serve straight from the pan
Speaking of marshmallows, if you're cooking with kids nearby, check out our picks for the best marshmallow roasting sticks — long-handled options keep little hands safely away from the heat while everyone waits for dessert.
Getting Started with Cast Iron Fire Pit Cooking

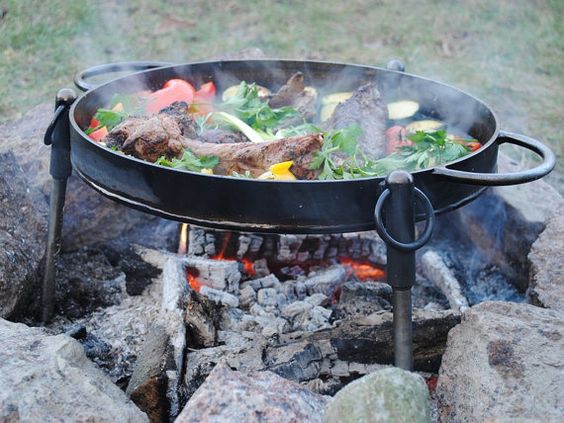
Getting the setup right makes the difference between a frustrating first attempt and a great meal. The biggest mistake beginners make is placing cast iron over active flames — you want coals, not fire.
Getting Your Fire Ready
- Light your fire early. Build it 45–60 minutes before you plan to cook. You need coals, not flames.
- Let the fire burn down until you have a solid bed of glowing orange coals with a gray-white ash coating on the outside.
- Spread the coals into an even layer using a long-handled poker or shovel.
- Test heat by holding your hand 6 inches above the coals — 3–4 seconds means medium heat, 1–2 seconds means high heat.
A well-built fire pit makes all of this much easier. If you're still choosing your setup, Iron Embers fire pits are designed with cooking in mind and provide a stable, level surface. If you prefer something more contained, their chiminea outdoor fireplace is another solid option for controlled fire pit cooking.
Placing Your Cookware Safely
How you position your cookware affects both safety and results:
- Use a grill grate — a metal grid that sits over the fire pit — to create a stable cooking platform
- Place the skillet on the grate for moderate, controlled heat, or directly on coals for maximum searing heat
- Always use long-handled tools: tongs, spatulas, and pot lifters with at least 12-inch handles
- Keep thick leather welding gloves nearby — regular kitchen oven mitts are not adequate outdoors
- Never leave cast iron unattended over an open fire
Safety tip: Cast iron handles get just as hot as the pan itself over an open fire — always assume the handle is scalding and use proper gloves, even if it looks cool to the touch.
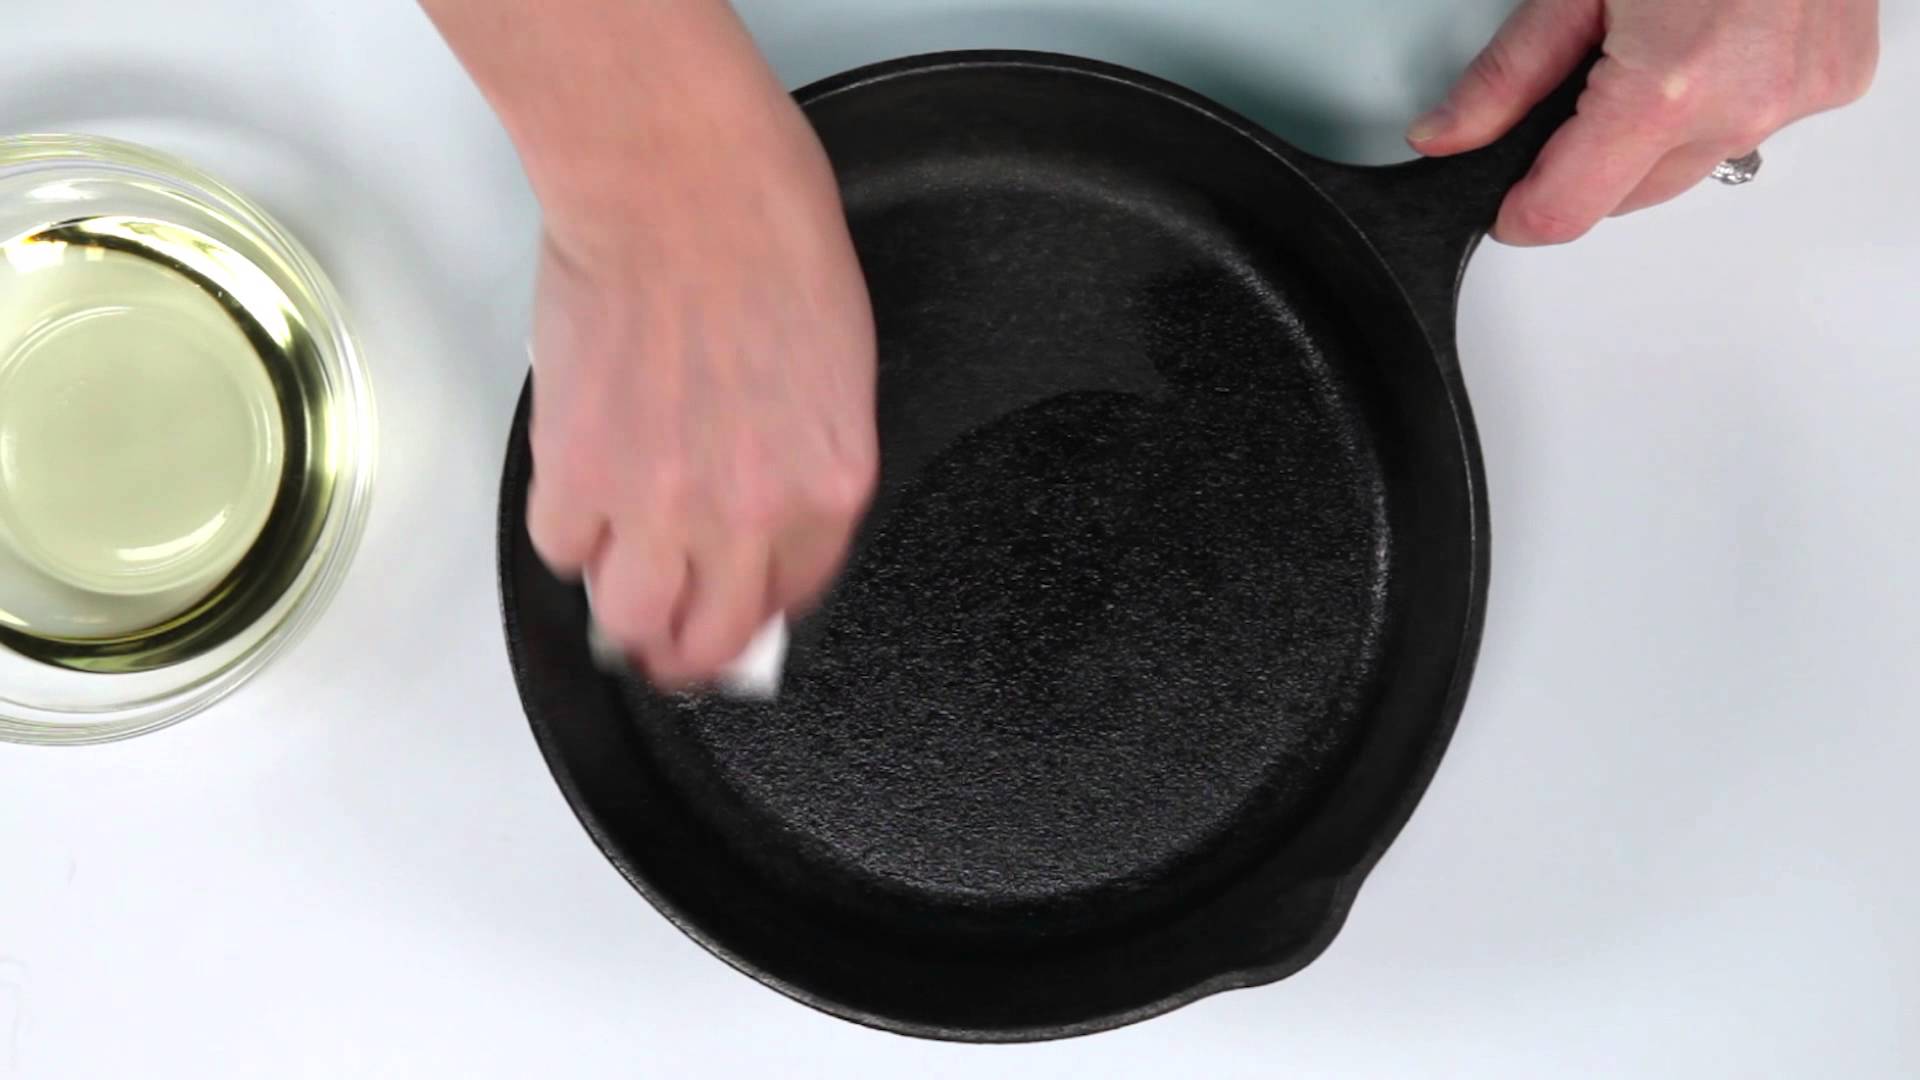
Seasoning Before You Cook
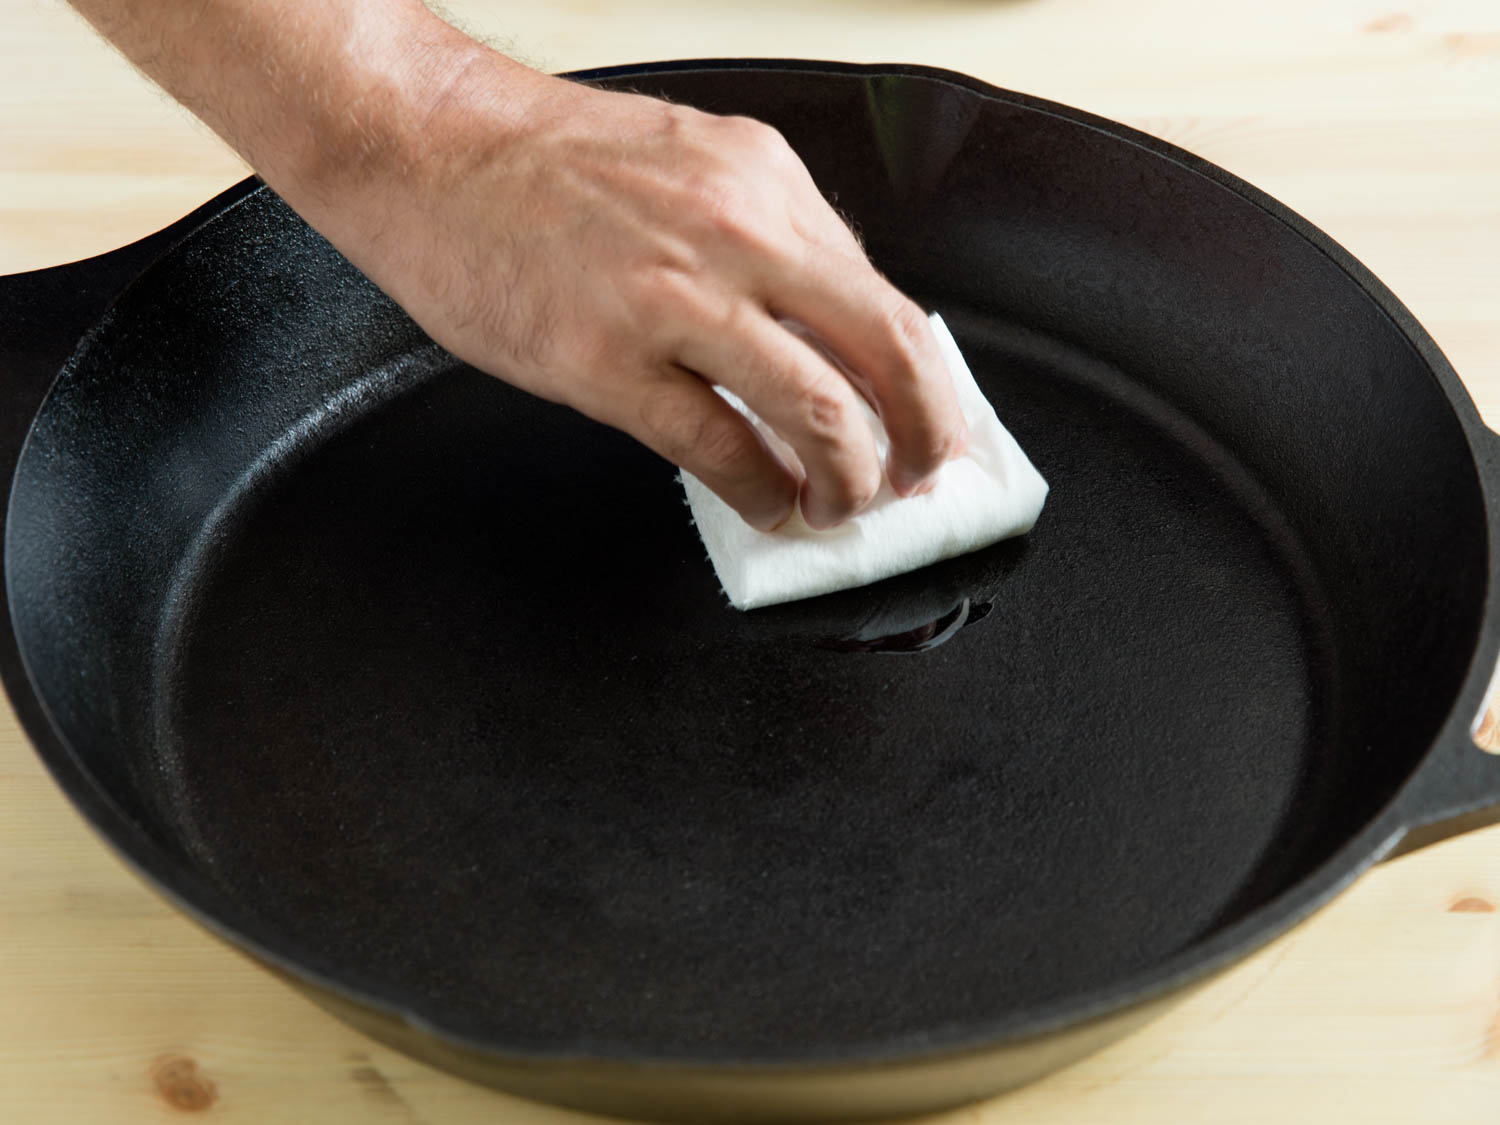
Seasoning means applying a thin layer of oil and baking it into the iron surface — it creates a protective, non-stick coating that improves with every use. Before your first fire pit session:
- Wipe the pan dry with a clean cloth
- Apply a very thin layer of vegetable oil, flaxseed oil, or Crisco all over the cooking surface
- Set it over medium-heat coals for 15–20 minutes until the oil bonds with the iron
- Wipe off any visible excess oil before you add food
New pans sold as "pre-seasoned" still benefit from this process before outdoor use — the factory seasoning is a starting point, not a finished product.
Cast Iron Myths Worth Clearing Up
A lot of people avoid cast iron because of things they've heard secondhand. Most of it doesn't hold up under scrutiny.
It's Too Heavy to Bother With
Yes, cast iron is heavier than stainless steel or aluminum — a 12-inch skillet runs about 8–10 pounds. But at a fire pit, that weight is an advantage. The extra mass means the pan holds heat longer and more evenly — it doesn't cool down every time you add cold food to it. You're not carrying it across a kitchen; you set it on a grate and leave it there.
Cast Iron Is Hard to Clean
Cleaning cast iron is actually simple — you just have to do it differently than other pans:
- While the pan is still warm (not blazing hot), scrub with a stiff brush and hot water
- Skip dish soap — it strips the seasoning; hot water is enough for everyday cleaning
- Dry it completely over low heat on the grate or coals for a few minutes
- Rub a small amount of oil over the surface before you store it
No soaking, no special products, no long process. A full clean-up takes about five minutes.
You'll Ruin It Over a Fire Pit
Cast iron is virtually indestructible in normal use. The one thing that can crack it: pouring cold water onto a screaming-hot pan. Don't do that. Otherwise, it handles open fire, hot coals, and temperature shifts that would destroy most other cookware. A well-maintained cast iron pan can last for generations — many cooks use skillets that belonged to their grandparents. Cooking over a fire pit won't ruin yours.
What It Costs to Get Started
One of the best things about cast iron fire pit cooking is that you don't need to spend much to get going. Here's what different setups typically run:
| Item | Budget Option | Mid-Range | Premium |
|---|---|---|---|
| 10–12" Cast Iron Skillet | $20–$35 (Lodge, pre-seasoned) | $50–$80 (Field, Smithey entry) | $100–$200 (Finex, Stargazer) |
| Dutch Oven (5–6 qt) | $40–$60 (Lodge camp) | $80–$130 (Camp Chef) | $150–$300 (Le Creuset campfire) |
| Grill Grate for Fire Pit | $15–$30 (basic round grate) | $40–$70 (adjustable height) | $100+ (swing-arm or custom) |
| Long-Handled Utensil Set | $15–$25 | $30–$50 | $60–$100 (forged steel) |
| Heat-Resistant Gloves | $10–$20 | $25–$40 | $50–$80 (welding-grade leather) |
| Estimated Total | ~$100–$170 | ~$225–$370 | $460–$780+ |
Budget-Friendly Options
If you're just starting out, a Lodge pre-seasoned skillet and a basic grill grate is honestly all you need. Lodge has been manufacturing reliable cast iron in the U.S. for over a century. Their budget skillets perform as well as pans costing five times as much for most outdoor cooking tasks. A practical starter kit:
- One 10-inch skillet
- One 5-quart camp Dutch oven (with legs, for direct coal placement)
- A round grill grate that fits your existing fire pit
- A set of long-handled tongs and a spatula
- Total: around $100–$150
Mid-Range and Premium Setups
If you cook outdoors regularly, upgrading to an adjustable-height grate is worth the extra spend. Adjustable grates let you control heat by raising or lowering the pan — essentially giving you a dial at the fire pit. At the premium end, cast iron cookware becomes a lasting investment. The difference between a $30 Lodge and a $180 Finex is real but incremental — both will cook excellent food. Buy premium if you cook outdoors often or want something that becomes a family heirloom.
When Things Go Wrong: Common Fixes
Even experienced outdoor cooks run into problems. Here's what to expect and how to deal with it.
Hot Spots and Uneven Cooking
Fire pits don't produce perfectly even heat the way a stovetop burner does. You'll often find one side of the pan cooking faster than the other.
- Rotate the pan 90 degrees every few minutes to even out heat distribution
- Move your food around in the pan rather than leaving it stationary
- Adjust your coal bed — push coals away from spots that are too hot, add more under cooler areas
- Raise the grate height if possible — even an extra inch reduces intensity significantly
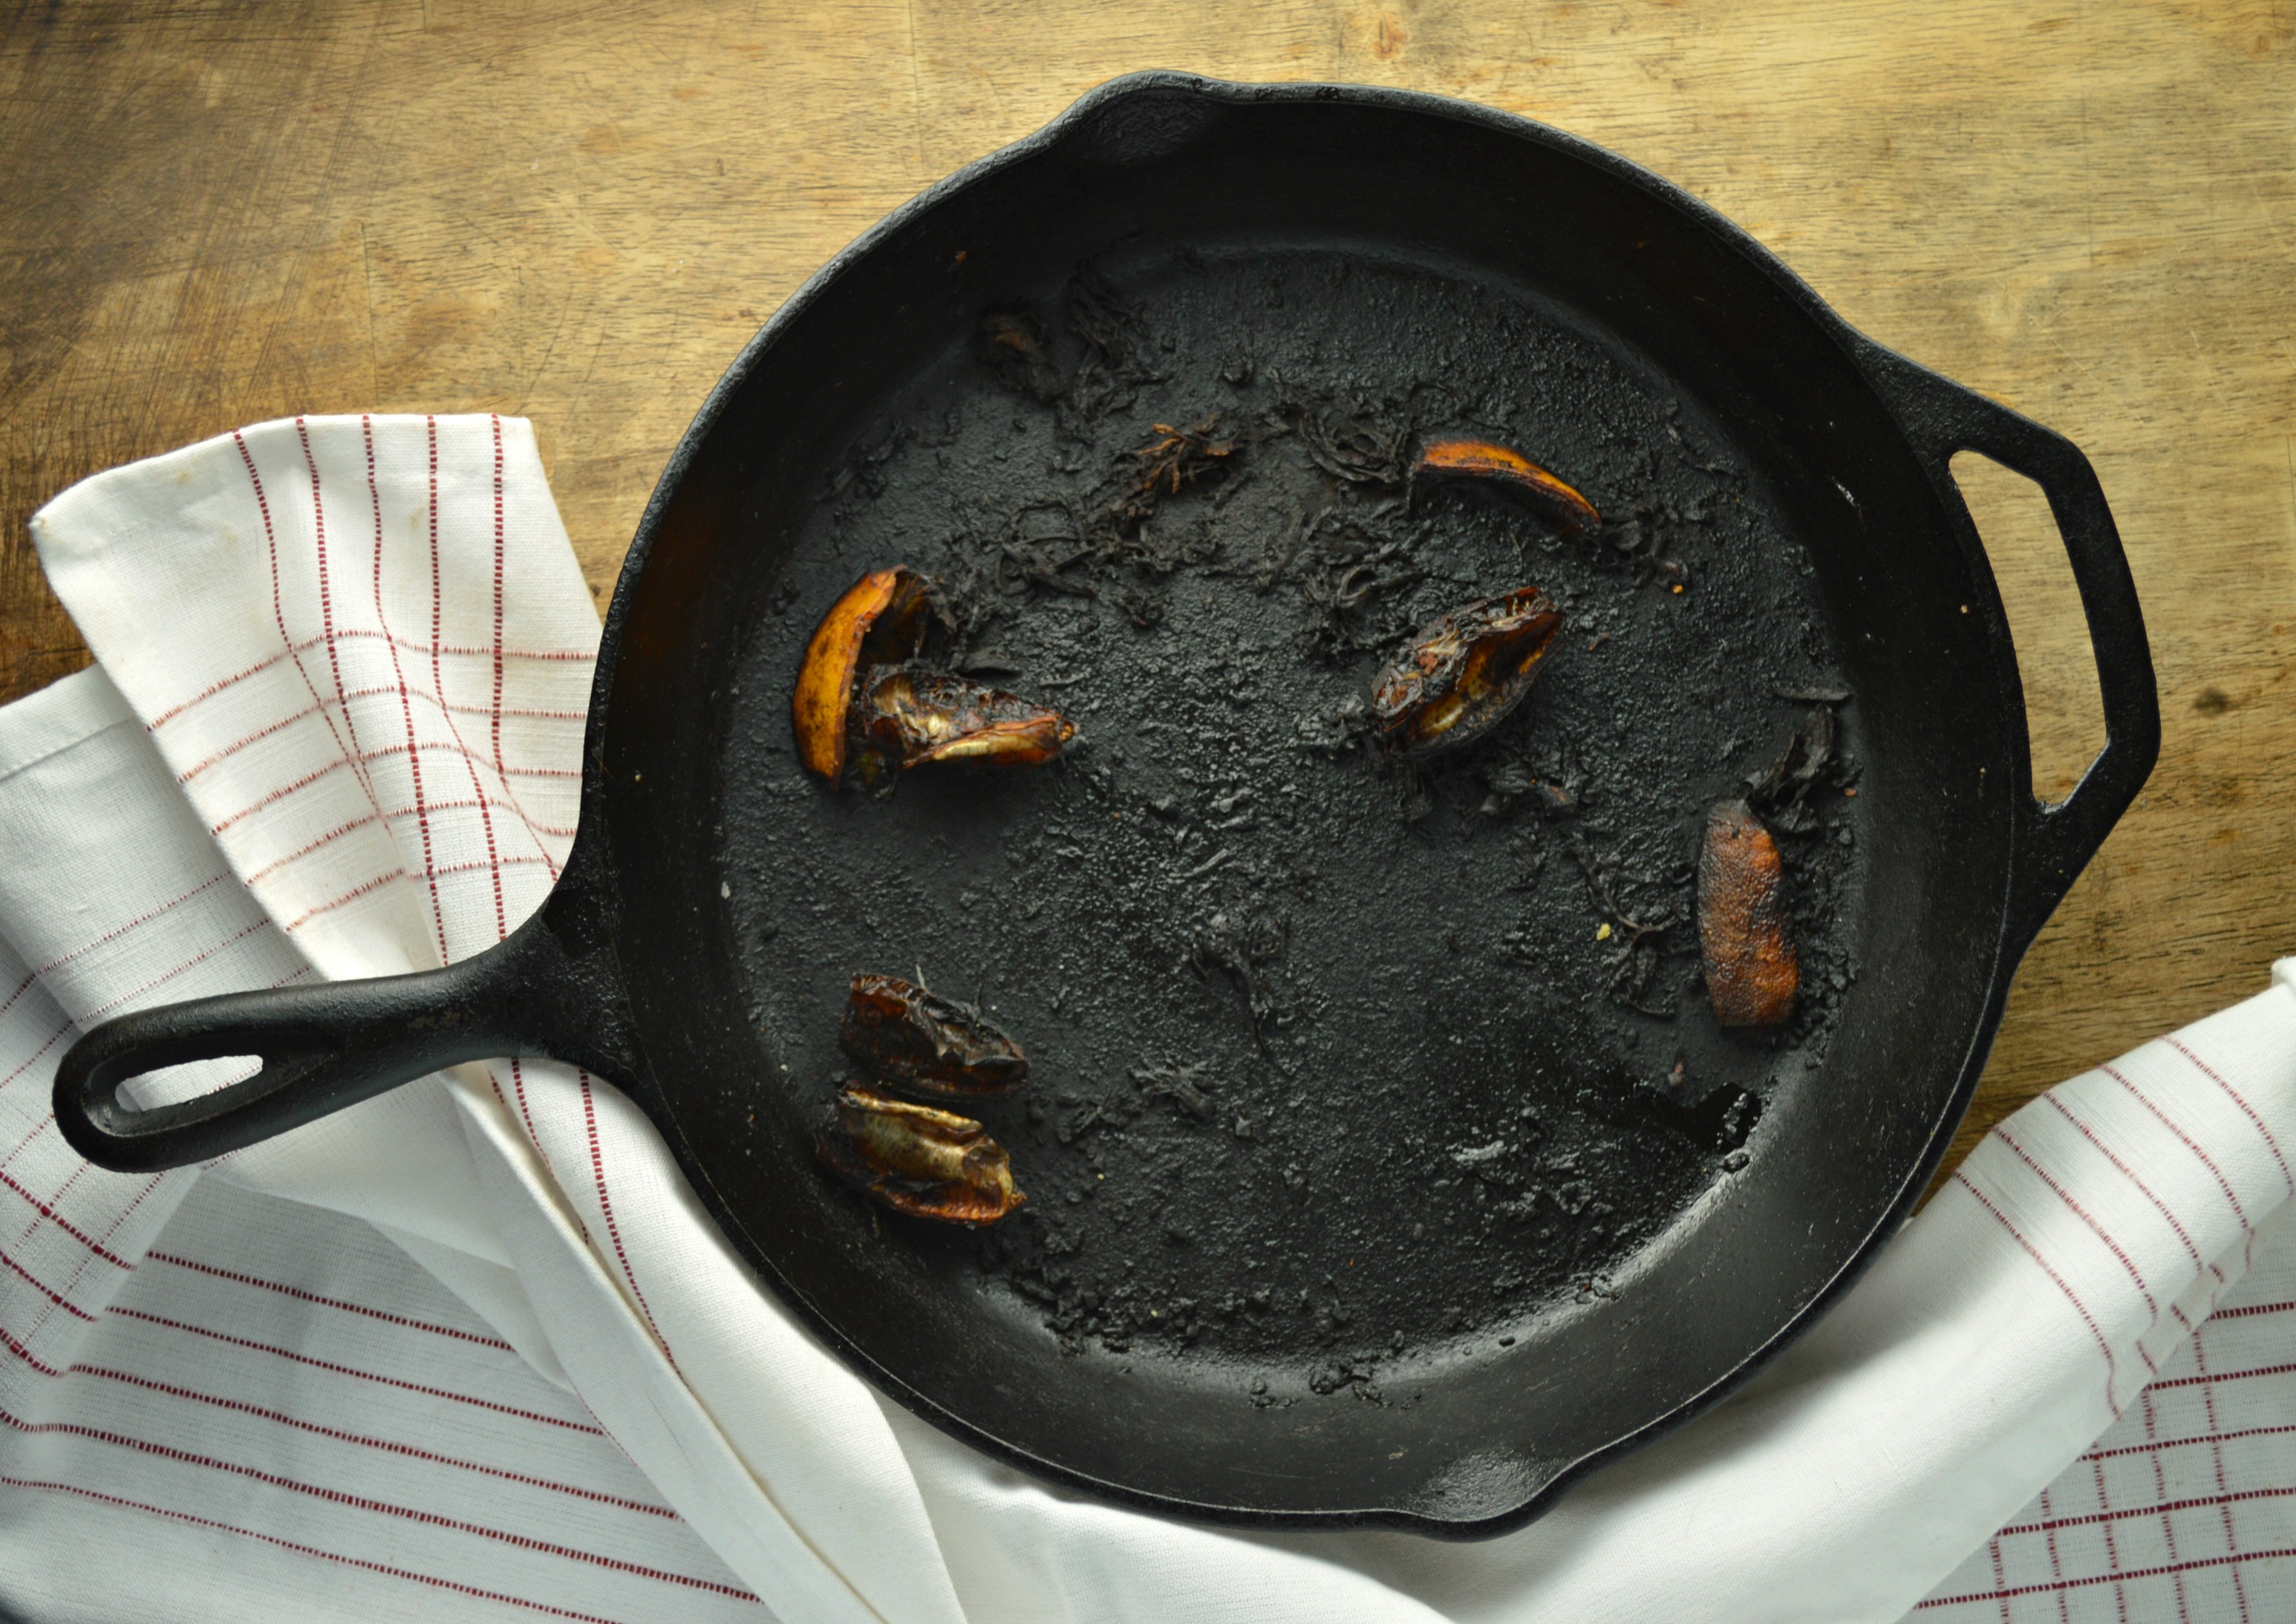
Rust and Residue
Rust is the most common cast iron issue — and the most fixable. If you see orange spots on your pan:
- Scrub the rust away with coarse salt and a paper towel, or steel wool for stubborn spots
- Wash with hot water (a little soap is fine here since you're stripping and restarting)
- Dry completely on a warm grate or in a low oven for 10 minutes
- Re-season immediately — thin layer of oil, heat until it begins to smoke lightly
Pro tip: Never store cast iron in a sealed plastic bag or airtight container — trapped moisture causes rust faster than anything. Keep it in a dry, open spot.
For stuck-on residue, add half an inch of water to the pan and heat it on the grate — it loosens burnt-on bits in minutes. Scrub while warm, dry thoroughly, and re-oil before storing.
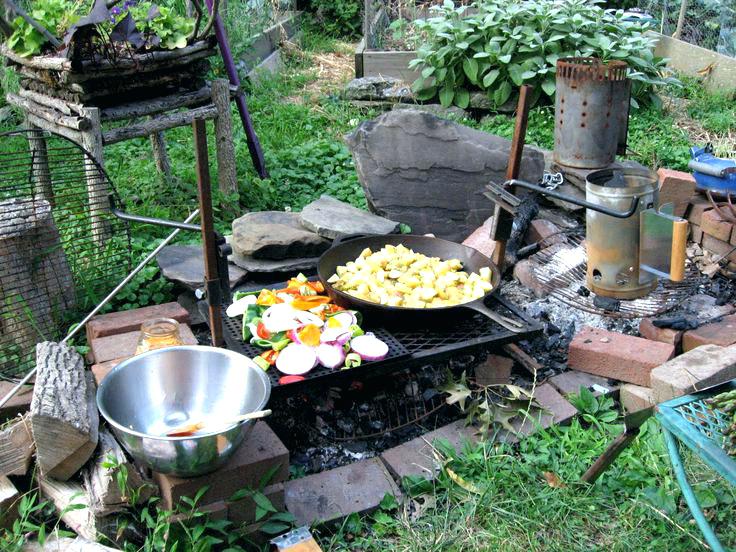
How Real Backyard Cooks Are Using It
Cast iron fire pit cooking fits naturally into a lot of different outdoor scenarios. Here's how backyard cooks are actually incorporating it into their routines.
Campfire-Style Dinners
The classic approach: gather around the fire, cook dinner in a Dutch oven, eat outside. It's forgiving and genuinely enjoyable. Popular formats:
- One-pot stews and chili — everyone adds ingredients they like, the Dutch oven handles the rest
- Foil packet companions — wrap vegetables or potatoes in foil, set them on the coals alongside your cast iron
- Flatbreads and tortillas — cook them dry on the skillet while stew simmers in the Dutch oven
- Skillet pizza — press dough flat, add toppings, tent with foil, and cook until the cheese bubbles
Dinner at the fire pit is even better when you slow the evening down after the meal. Once the dishes are done, learn how to identify constellations in the night sky — it's a surprisingly accessible skill and a perfect way to round out a fire-side dinner.
Outdoor Entertaining
Cast iron becomes part of the event when you're hosting. Guests naturally gather around the fire, and cooking in front of people is part of the experience rather than a chore you do in a kitchen. A few ideas:
- Station-style cooking — set up two or three skillets over the fire, each with something different, and let guests build their own plates
- Themed gatherings — a 1970s-themed backyard party pairs naturally with campfire cooking and vintage cast iron as a centerpiece
- Dessert finale — finish the evening with a skillet brownie or fruit cobbler cooked right at the fire while everyone watches
If you're hosting when it's cold out, fire pit cooking becomes even more central to keeping things lively. These outdoor winter party ideas are full of inspiration for building an entire evening around the fire.
Frequently Asked Questions
Can you use any cast iron pan over a fire pit?
Most uncoated cast iron works fine over a fire pit. Avoid enameled cast iron — like everyday Le Creuset or Staub pieces — over direct flames, because the enamel coating can crack under extreme heat. Plain, bare cast iron is your best choice for any fire pit cooking situation.
Do you need a grill grate, or can you set the pan directly on the coals?
You can do either, depending on what you're cooking. Placing the pan directly on hot coals gives you maximum heat for searing. Setting it on a grill grate gives you more control and lets you cook at lower, more moderate temperatures. For most recipes, the grate is the more forgiving option.
How do you know when the fire is ready for cast iron cooking?
Wait until you have a solid bed of glowing coals with little to no active flame — this usually takes 45–60 minutes after lighting. The coals should have a gray-white ash coating on the outside and glow orange-red underneath. Flames are too unpredictable for most cooking tasks.
Will cooking over a fire pit damage the seasoning on your cast iron?
Very high heat over extended periods can thin your seasoning, but it won't destroy it permanently. Simply re-season after each outdoor session: wipe on a thin layer of oil and heat briefly until it bonds. With regular use, your seasoning will actually build up and become more effective over time.
What safety precautions should you take with cast iron over a fire pit?
Use long-handled tools with at least 12-inch handles, wear thick heat-resistant gloves, and keep children and pets away from the cooking area. Never cook in an enclosed space. Always let the pan cool completely before cleaning it — cast iron holds heat for a surprisingly long time after you remove it from the fire.
What's the best first meal to cook for a complete beginner?
A simple skillet breakfast is the ideal starting point. Fry bacon first to naturally grease the pan, then cook eggs in the leftover fat. It's quick, forgiving, and gives you a chance to learn how your fire pit's heat behaves before you try to time a more complex dish.
Key Takeaways
- Cast iron fire pit cooking is far more versatile than most people expect — a single skillet and Dutch oven cover breakfast, full dinners, baked goods, and desserts over a coal bed.
- Wait for a solid bed of coals before you cook — active flames create uneven, unpredictable heat and wear down your seasoning faster than coals do.
- A budget starter kit (Lodge skillet, grill grate, long-handled tools) costs around $100–$150 and performs just as well as setups costing three times as much for most meals.
- Cast iron is nearly indestructible — rust and stripped seasoning are easy to fix, and the pan improves with every use when you care for it consistently.


About William Murphy
William Murphy has worked as a licensed general contractor in Fremont, California for over thirty years, specializing in outdoor structures, green building methods, and sustainable design. During that career he has written about architecture, construction practices, and environmental protection for regional publications and trade outlets, bringing technical depth to subjects that most home improvement writers approach only from a consumer perspective. At TheBackyardGnome, he covers outdoor product reviews, backyard construction guides, and sustainable landscaping and building practices.
You can Get FREE Gifts. Receive Free Backyard Items here. Disable Ad Blocker to get them all now!
Once done, hit anything below