What separates a chiminea that lasts decades from one that cracks after a single season? The answer almost always comes down to chiminea care and maintenance — and most owners underestimate how much a consistent routine matters. Whether you own a traditional clay model or a cast iron fire bowl, the steps you take before, during, and after every burn determine how long your chiminea stays functional and beautiful. This guide covers the full picture, from seasonal prep to troubleshooting real damage. Bookmark our chiminea care resource page for quick-access tips whenever you need them.
Chimineas have been a backyard staple for centuries, originating in Mexico as both a heat source and a cooking vessel. According to Wikipedia's overview of chimineas, their distinctive bottle-shaped design dates back to pre-Columbian times — a testament to how well the form functions. Today they're a focal point in outdoor living spaces across North America. Unlike an open fire pit, a chiminea is a structured appliance with specific tolerances for heat, moisture, and physical stress. Treat it right and it rewards you with years of warm evenings.
Before diving in, it's worth knowing that clay and cast iron require meaningfully different care approaches. Both materials reward consistent attention, but their failure modes — and their fixes — are not the same. Keep that distinction in mind as you work through each section. If you're still deciding which type suits your backyard, our best chiminea buying guide walks through every option in detail.
Contents
Chiminea Care and Maintenance: Your Seasonal Routine
A chiminea isn't a set-it-and-forget-it purchase. Long-term performance depends on building a maintenance habit around the seasons — not just reacting when something goes wrong. The good news is that most of the work takes less than an hour, and doing it consistently prevents the expensive repairs that catch negligent owners off guard.
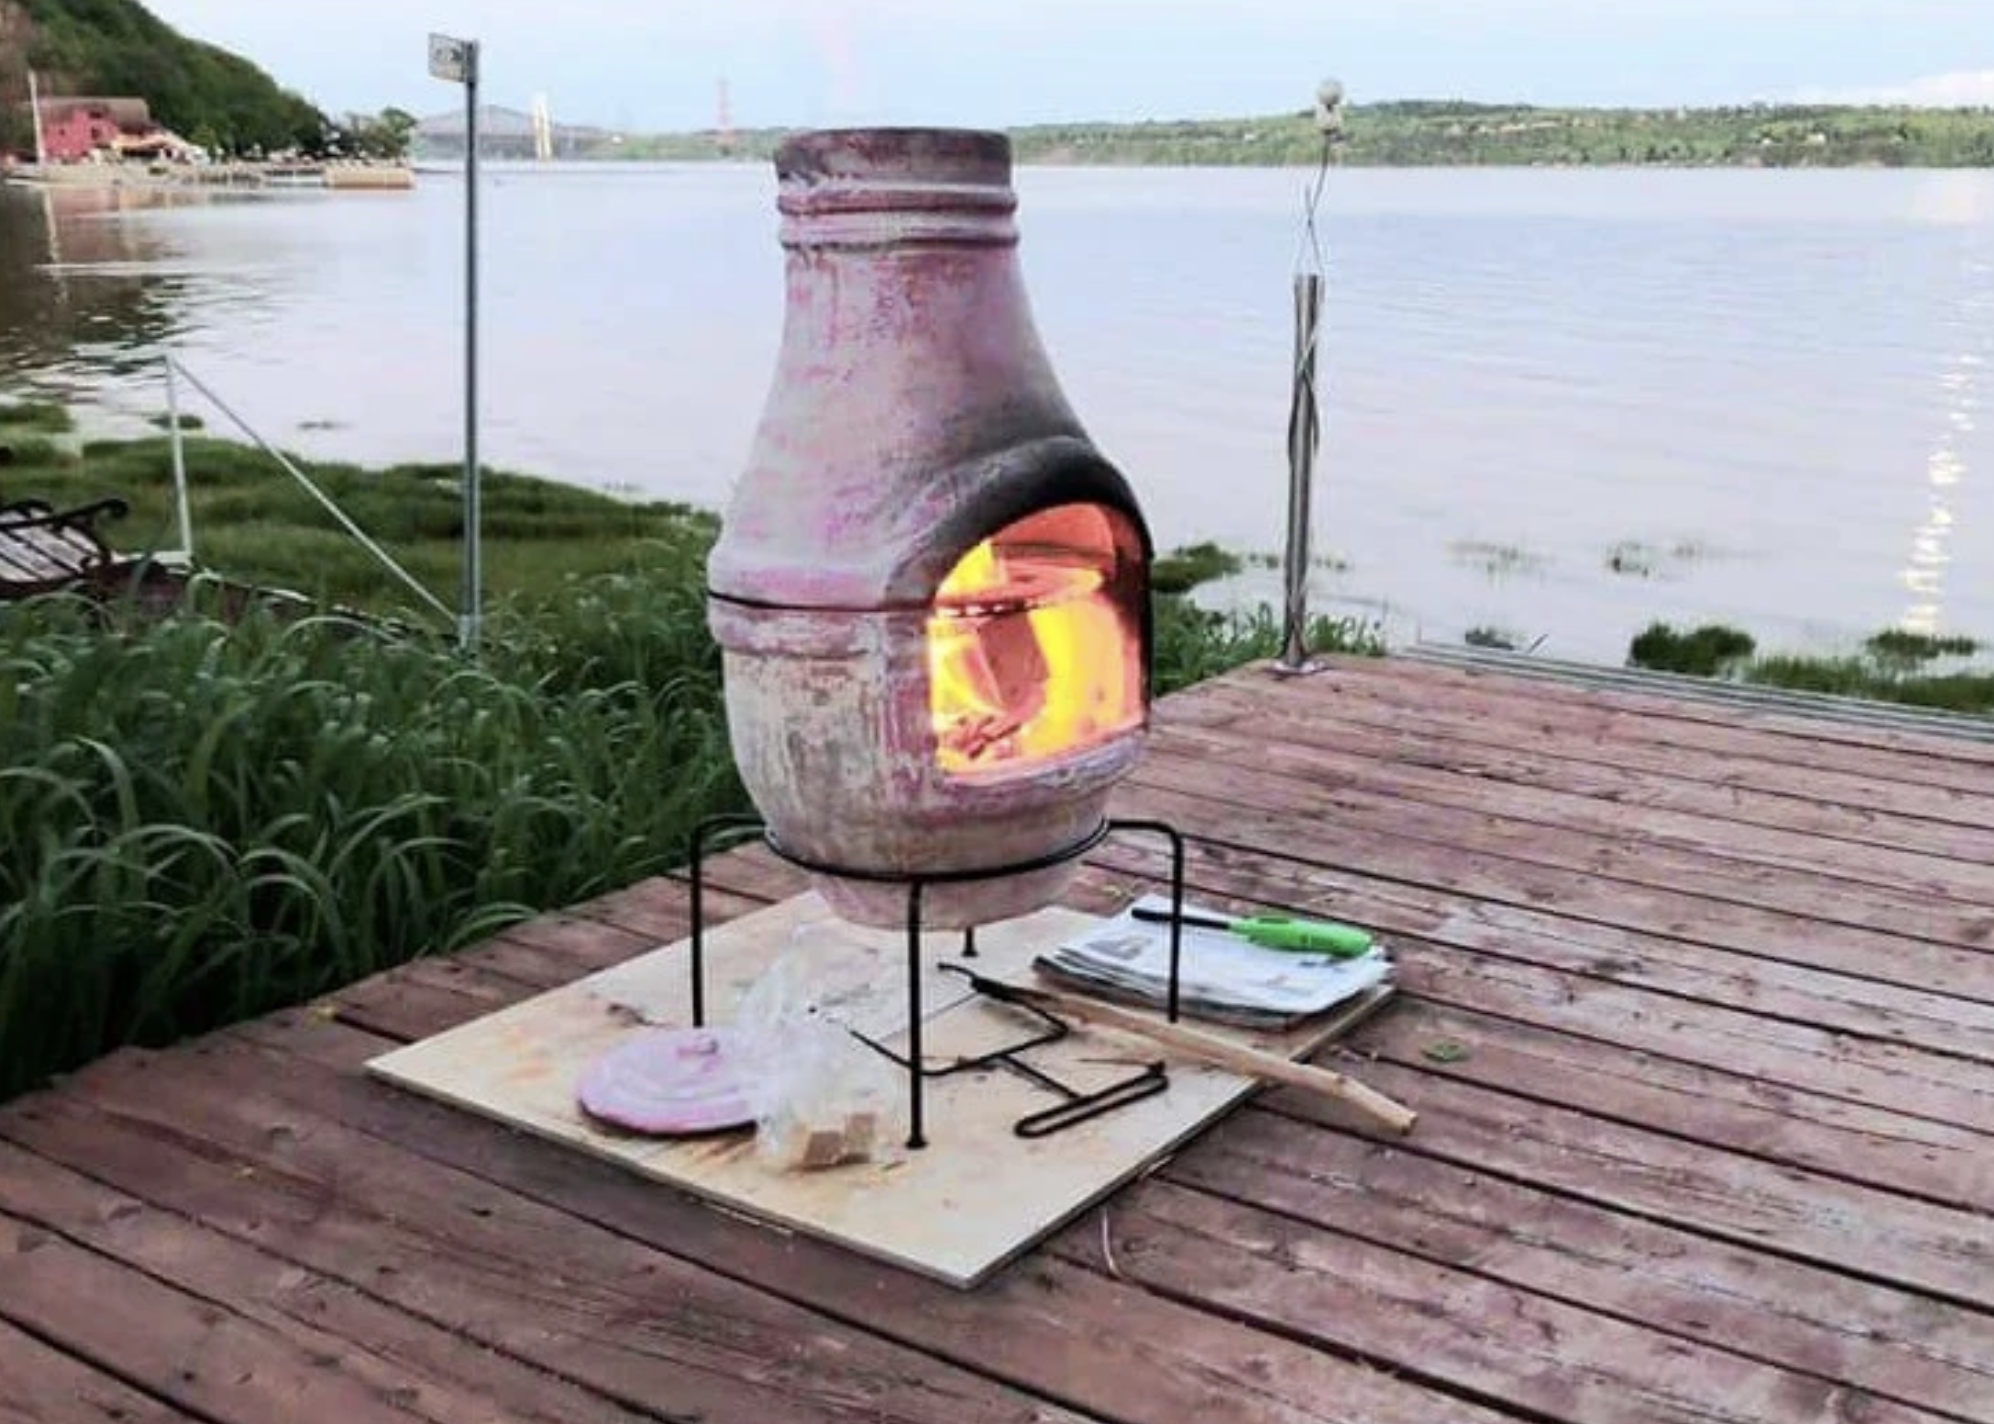
Curing a New Chiminea
Curing is the single most important step in chiminea ownership, and it applies to both clay and cast iron. The goal is to gradually harden the material so it can withstand full-strength burns without cracking or warping. Skip this step and you're gambling with an expensive piece of outdoor furniture.
For a clay chiminea, the curing process works like this:
- Line the inside of the bowl with fine sand (2–3 inches deep) to protect the base from direct flame
- Build three progressively larger fires over three separate evenings — start with newspaper and a few small sticks
- Let the chiminea cool completely between each burn before adding more fuel
- After the third cure fire, apply a thin coat of linseed oil to the exterior while it's still slightly warm
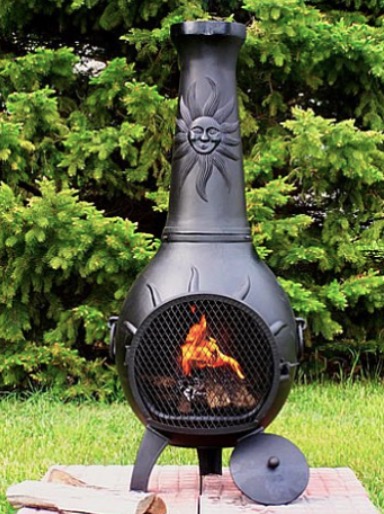
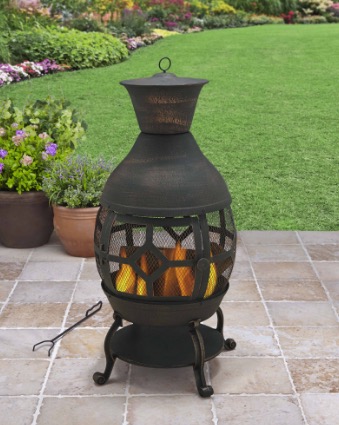
Cast iron chimineas follow the same principle: light your first few fires small and let the metal expand gradually. Season the iron with food-grade flaxseed oil or a dedicated cast iron conditioner to prevent oxidation from the start.
End-of-Season Storage
When temperatures drop and the rain sets in, your chiminea needs protection. Clay is especially vulnerable to freeze-thaw cycles — water seeps into the porous material, freezes, expands, and cracks the surface. Cast iron rusts aggressively if left wet over a long off-season.
Your options, in order of effectiveness:
- Move it indoors: A garage or covered shed is ideal. Use a proper chiminea cart to avoid cracking the base during transport.
- Cover it properly: A fitted, waterproof cover is the minimum standard. Make sure it breathes — trapped moisture is just as damaging as direct rain.
- Elevate it: Never let clay or cast iron sit directly on wet ground all season. A patio pad or chiminea stand keeps moisture from wicking up from below.
Pro tip: Before storing your chiminea for the season, clean out all ash and residue. Ash absorbs moisture and accelerates corrosion in iron and structural softening in clay.
| Maintenance Task | Clay Chiminea | Cast Iron Chiminea | Frequency |
|---|---|---|---|
| Initial curing fires | 3 small fires with sand base | 3 small seasoning fires | Once (new only) |
| Oil or sealant application | Linseed oil on exterior | Flaxseed or cast iron conditioner | Every 2–3 months |
| Ash removal | After every 2–3 burns | After every 2–3 burns | Regular |
| Crack and rust inspection | Before every use | Before every use | Regular |
| Winter storage prep | Move indoors or full cover | Cover plus oil coat | Seasonal |
Diagnosing and Fixing Common Chiminea Problems
Even well-maintained chimineas develop problems over time. The key is catching issues early — before a hairline crack becomes a structural split or surface rust becomes deep pitting. Most damage is fully repairable if you address it promptly.
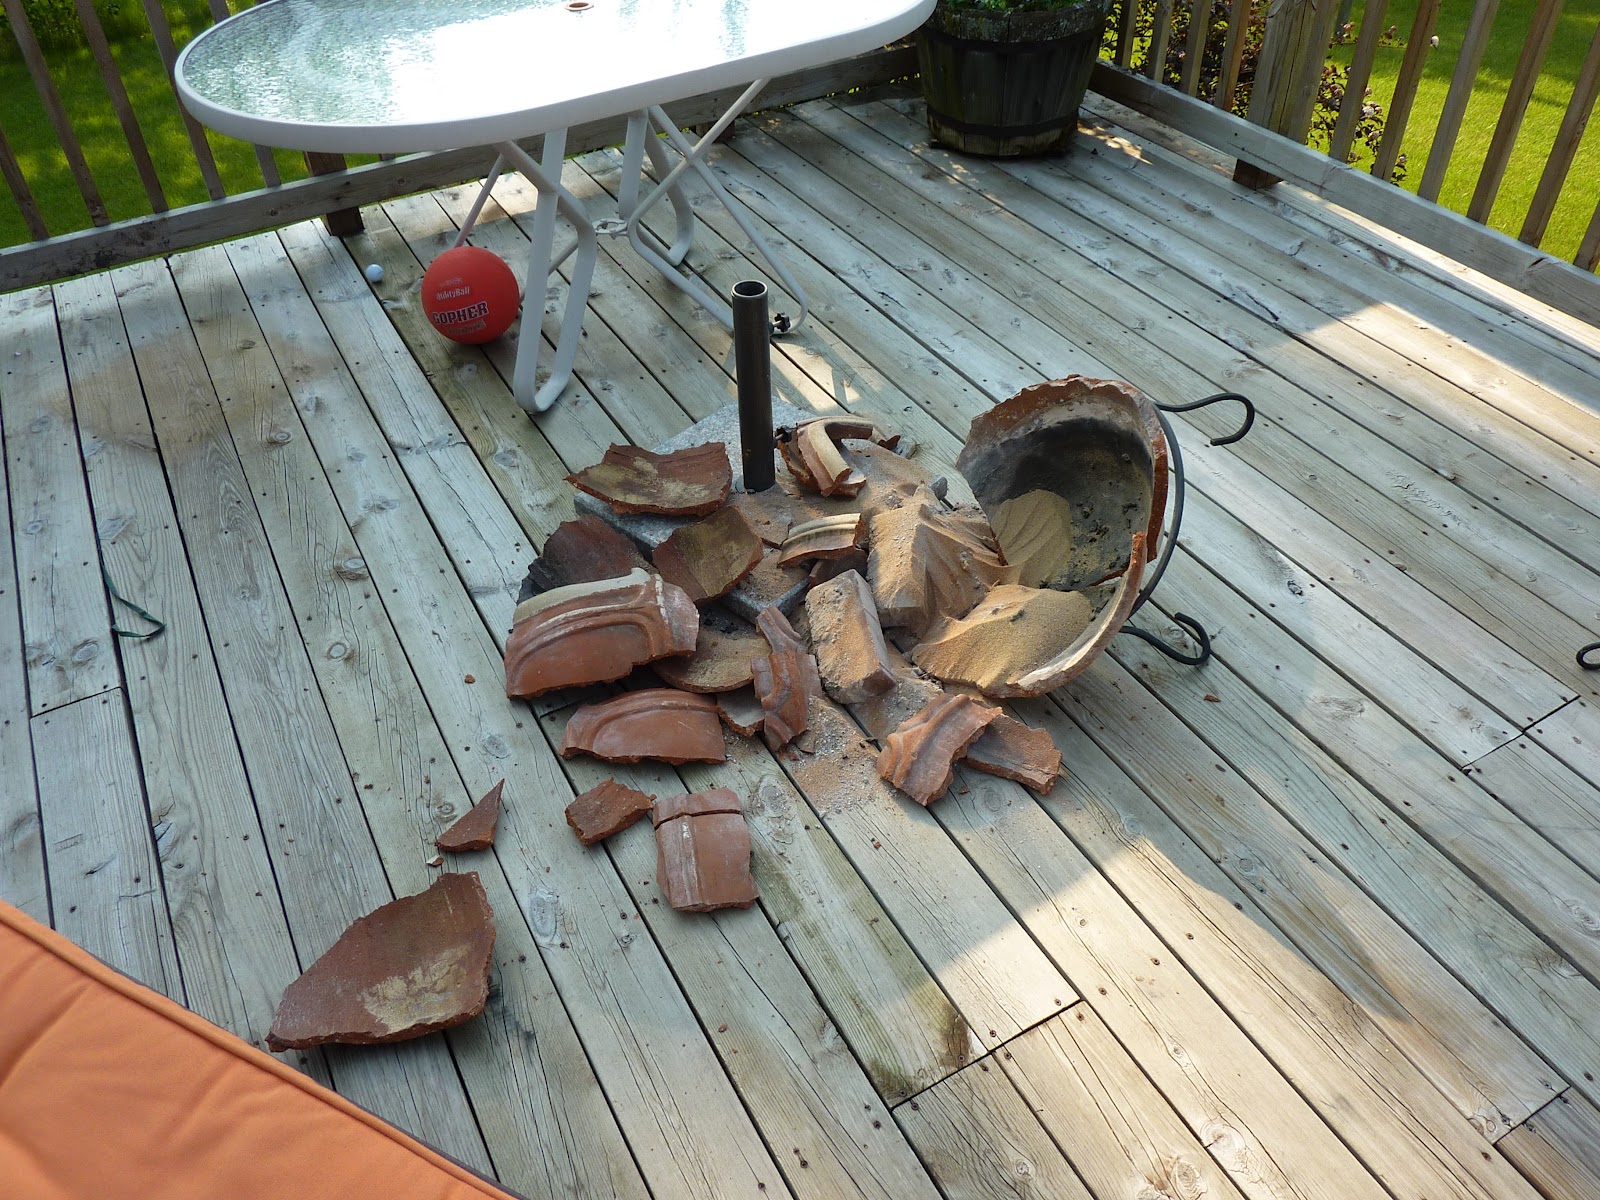
Cracks in Clay Chimineas
Hairline cracks in clay are not automatically a death sentence. Surface-level cracks — the kind you can barely feel with your fingertip — can be sealed with a chiminea repair sealant or a fireproof refractory cement. Here's the correct approach:
- Clean the area around the crack thoroughly and let it dry completely — at least 24 hours
- Work the sealant into the crack using a putty knife or your finger, forcing it into the gap
- Let it cure per the product instructions before running your next fire
- Re-cure the chiminea with small fires after any significant repair to reset the bond
If the crack runs deep — meaning you can see daylight through it or the piece is structurally loose — retire that chiminea. Burning in a structurally compromised clay vessel is a genuine fire hazard, not a risk worth taking.
Rust on Cast Iron Chimineas
Surface rust on cast iron looks alarming but is usually straightforward to address. Rust left untreated will eventually eat through the metal wall, so act as soon as you spot orange discoloration — don't wait until next season.
Standard rust removal process:
- Scrub the affected area with a wire brush or coarse sandpaper until you reach bare metal
- Wipe clean with a dry cloth — no water at this stage
- Apply a high-temperature paint or a dedicated cast iron conditioner rated for fire exposure
- Run a small fire to bake the coating in, then let it cool fully before the next use
If you own or are evaluating a specific cast iron model, our Blue Rooster Cast Iron Casita Chiminea review goes into depth on factory coating quality and long-term rust resistance.
Warning: Never use a pressure washer to remove rust from a cast iron chiminea. The force drives moisture deep into the metal grain and accelerates corrosion far worse than the rust you started with.
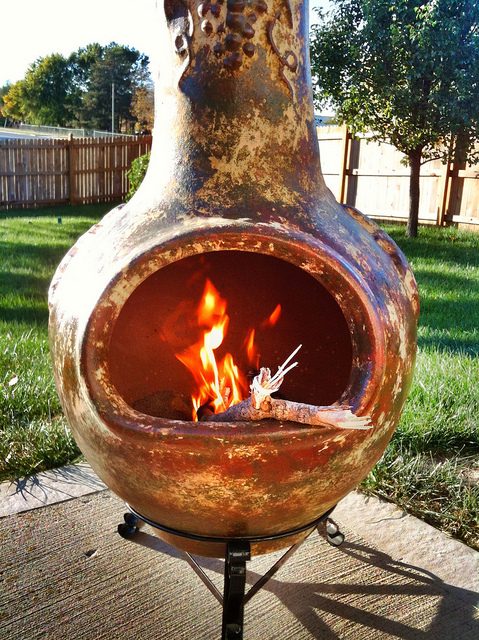
Fueling and Using Your Chiminea Right
How you operate your chiminea matters as much as how you clean it. The wrong fuel or a fire that burns too aggressively can damage clay and warp cast iron faster than years of weather exposure ever would.
Cooking in Your Chiminea
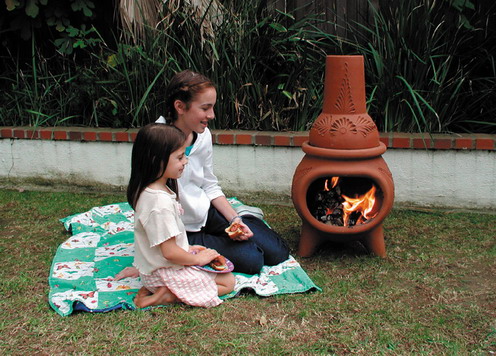
A chiminea isn't just a heat source — it's a capable outdoor cooking appliance when you set it up correctly. You can roast, grill, and even bake using a properly fitted interior grate. The key is ensuring the chiminea is fully cured before you put food over any flame, and keeping cooking fires at moderate intensity.
For clay models, keep cooking fires moderate. Clay doesn't dissipate heat the way cast iron does, and an overly aggressive cooking fire causes thermal shock. Cast iron handles high cooking heat well, but always clean any grease residue after a cooking session to prevent flare-ups and accelerated corrosion on the interior surfaces.
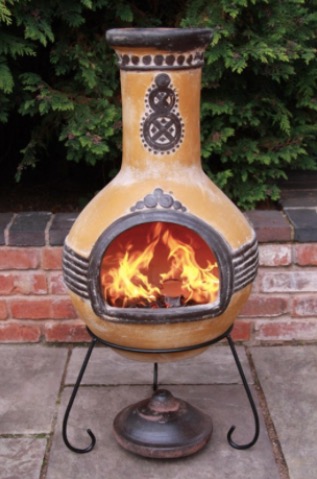
Choosing the Right Wood
The best fuel for a chiminea is dry, seasoned hardwood. Hardwoods like oak, hickory, and ash burn hot and clean with minimal creosote. Softwoods like pine produce excessive resin deposits that coat the interior and create a fire hazard over time.
Fuels to avoid entirely:
- Green or freshly cut wood — too much moisture, produces heavy smoke and poor heat
- Treated or painted wood — releases toxic chemicals when burned
- Charcoal in clay chimineas — burns far too hot and causes thermal cracking
- Accelerants like lighter fluid — creates uncontrolled heat spikes that stress both clay and iron
Tip: Charcoal is acceptable in cast iron chimineas, but use standard briquettes only — never match-light charcoal, which contains chemical accelerants that corrode cast iron from the inside out.
When to Fire It Up (And When to Leave It Cold)
Knowing when not to use your chiminea is as important as knowing how to use it. Operating in the wrong conditions puts both your chiminea and your property at risk. Most of these situations are easy to anticipate once you know what to watch for.
Ideal Weather Conditions
The best conditions for a chiminea burn are dry, calm evenings with little to no wind. Light wind is manageable — the chimney design naturally draws smoke upward and away. High wind is a different story: embers scatter, smoke direction becomes unpredictable, and fire control deteriorates fast.
Cold weather is generally fine, but follow these specific rules:
- Never light a fire in a clay chiminea that has been sitting in freezing temperatures — warm it gradually with a very small fire first
- Avoid using a clay chiminea in active rain — wet clay heats unevenly and cracks under the thermal stress
- Never douse a hot cast iron chiminea with rain or a garden hose — the sudden thermal shock warps and cracks the metal
Safety Rules You Can't Skip
A chiminea concentrates heat in a compact space. That efficiency is exactly what makes placement and supervision non-negotiable requirements, not optional guidelines.
- Maintain at least 10 feet of clearance from structures, fences, and overhanging branches
- Always place the chiminea on a non-combustible surface — brick, concrete, or flagstone
- Never leave a lit chiminea unattended, especially with children or pets nearby
- Keep a bucket of sand or a fire extinguisher within reach at all times
- Use a spark arrestor screen over the mouth to contain embers during active burns
Mistakes That Shorten Your Chiminea's Life
A large portion of chiminea damage is entirely self-inflicted. These are the mistakes that show up most consistently — and every single one is avoidable with basic knowledge.
Skipping or Rushing the Cure
This is the number-one way new chiminea owners destroy a perfectly good purchase. A full cure takes three to four burn sessions spread across multiple evenings. You cannot compress it into a single night. The clay or iron needs time to expand, contract, and settle into a stable internal structure. Rushing the process produces invisible stress fractures that deepen with every subsequent burn until the piece fails completely.
Using the Wrong Cleaning Approach
Cleaning a chiminea incorrectly does more harm than skipping it entirely. Here's what not to do:
- Don't use water inside a clay chiminea — even after curing, repeated moisture exposure inside the bowl weakens the structure over time
- Don't scrub cast iron with steel wool pads that leave metal fragments behind — those fragments rust independently and pit the surface
- Don't apply standard exterior paint to clay — it traps moisture and bubbles off violently under heat
- Don't use chemical degreasers or household detergents — they absorb into porous clay and contaminate future fires
For cast iron, a dry wire brush followed by a light oil coat is the correct sequence after any deep cleaning. For clay, a soft bristle brush handles routine maintenance. Deeper cleaning means letting the chiminea cool fully, removing all ash carefully, and wiping the interior with a barely damp cloth — then letting it air dry for 24 hours before the next use.
Frequently Asked Questions
How often should I seal or oil my chiminea?
For clay chimineas, apply a fresh coat of linseed oil every two to three months during the active burn season, and once more before winter storage. Cast iron models need a light coat of cast iron conditioner after every deep cleaning and at the start of each new burn season.
Can I leave my chiminea outside year-round?
Cast iron can stay outside with a quality waterproof cover and a seasonal oil coat to protect the metal. Clay chimineas should be moved indoors or into a covered structure during winter. Freeze-thaw cycles crack clay reliably — the risk is simply not worth taking.
How do I know if my clay chiminea is beyond repair?
If cracks run all the way through the clay wall and you can see light through them, or if large sections are structurally loose or separating, the chiminea is unsafe to use. Surface cracks and hairline fractures are repairable with refractory cement; structural breaks are not.
What's the safest way to extinguish a chiminea fire?
Let the fire burn down naturally, then smother remaining embers with dry sand. Never use water — it creates thermal shock in both clay and cast iron, and the steam produced inside the bowl can cause immediate cracking. Always wait until fully cool before covering or moving your chiminea.
Does a chiminea need a grate or a sand base?
Yes. A sand base or fire grate protects the bottom of a clay chiminea from direct flame contact. For cast iron, a grate improves airflow and prevents ash from blocking the base ventilation. Both types also benefit from a stand that keeps them elevated off damp ground.
Why is my chiminea producing excessive smoke?
Excessive smoke almost always points to wet or green wood. Use only seasoned hardwood with less than 20% moisture content. If your wood is dry and smoke is still heavy, check whether ash buildup is blocking the flue inside the chimney neck and clear it before the next burn.
How do I maintain a painted cast iron chiminea?
Use only high-temperature paint designed for stoves and fire features — standard outdoor spray paint burns off immediately and exposes bare metal to rust. Inspect the finish at the start of each burn season and touch up any chipped or worn areas before lighting your first fire.
Next Steps
- If your chiminea is new, schedule your first three cure fires across three consecutive evenings this week — patience here protects your entire investment.
- Inspect your chiminea now for hairline cracks (clay) or rust spots (cast iron) and address any damage with the appropriate repair product before your next burn session.
- Pick up a fitted waterproof cover and a bag of fine sand if you don't already have both — these are the two most cost-effective insurance policies for long-term chiminea care and maintenance.
- Switch to seasoned hardwood if you've been burning softwood or scrap material; a simple moisture meter confirms your wood is below 20% before it goes in the bowl.
- Set a calendar reminder at the end of your outdoor season to oil, clean, and store your chiminea properly — fifteen minutes of prep now prevents months of accumulated damage.


About Simmy Parker
Simmy Parker holds a Bachelor of Science in Civil Engineering from Sacramento State University and has applied that technical background to outdoor structure design, landscape planning, and backyard improvement projects for over a decade. Her love for the outdoors extends beyond design — she regularly leads nature hikes and has developed working knowledge of native plants, soil conditions, and sustainable landscaping practices across Northern California. At TheBackyardGnome, she covers backyard design guides, landscaping ideas, and eco-friendly outdoor living resources.
You can Get FREE Gifts. Receive Free Backyard Items here. Disable Ad Blocker to get them all now!
Once done, hit anything below