Baking in a chiminea works — and the food you pull out of it, from blistered pizza to rustic bread loaves, genuinely rivals what you'd get from a traditional wood-fired oven. The rounded belly of a chiminea concentrates radiant heat the same way a brick oven does, which means you're not just grilling anymore. If you've been using yours strictly for warmth and ambiance, you're one setup away from a fully functional outdoor bakery. Before your first baking session, review our guide on backyard firepit and chiminea safety — understanding heat management is the foundation everything else builds on.
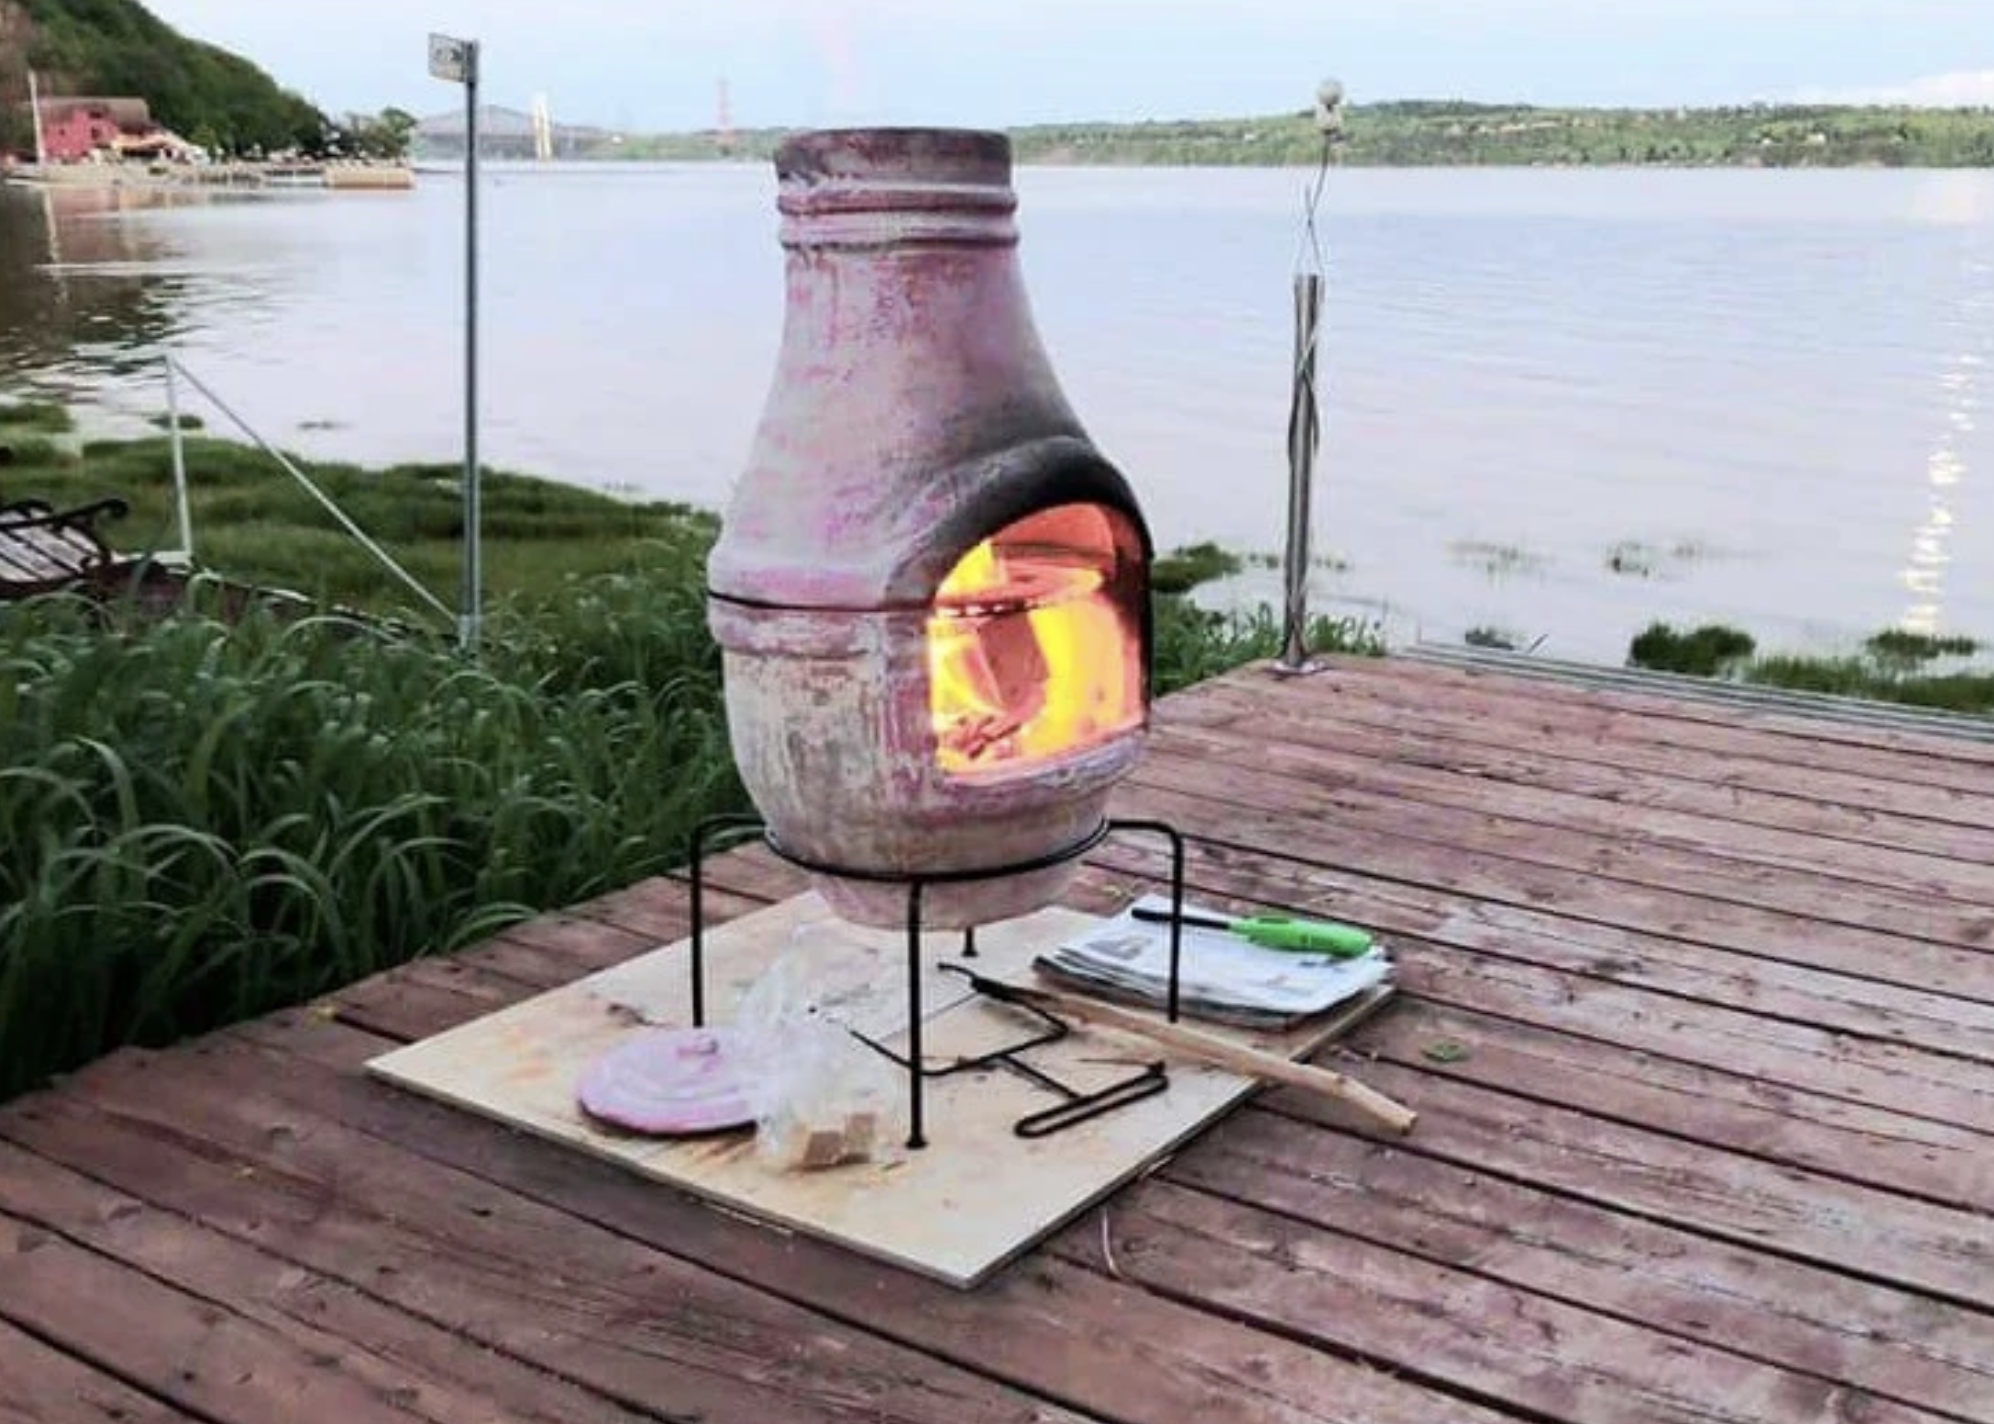
Chimineas originated in Mexico, where indigenous communities used clay versions for centuries as both heating and cooking tools. That distinctive narrow neck and rounded belly weren't decorative choices — they created a natural convection system that channeled smoke upward and concentrated heat at the base. Wikipedia's entry on chimineas traces their functional history back well before backyard living became a lifestyle category. Today's versions come in clay, cast iron, and steel, and each material behaves differently when you push it toward baking temperatures.
What unlocks baking potential is the chamber design itself. Once the walls absorb heat from an established fire, the interior radiates temperature from multiple directions simultaneously — exactly how a brick oven works. You won't have a dial to set, but you will have serious, workable heat. The rest is technique and practice.
Contents
The Chiminea's Origins as an Outdoor Oven
Clay vs. Cast Iron: Which Bakes Better?
Traditional clay chimineas were the original cooking tool, but they come with real limitations for baking. Clay heats slowly, retains moisture, and can crack under rapid or extreme temperature swings — especially if you push it hard enough to sustain pizza-level heat. Cast iron chimineas hold heat more consistently and tolerate higher temperatures without structural risk, which makes them the preferred choice for serious baking. Steel chimineas heat fast but lose temperature quickly between bakes, which makes them unreliable for anything requiring sustained heat. For regular baking sessions, cast iron is the clear winner.
How the Chamber Functions Like an Oven
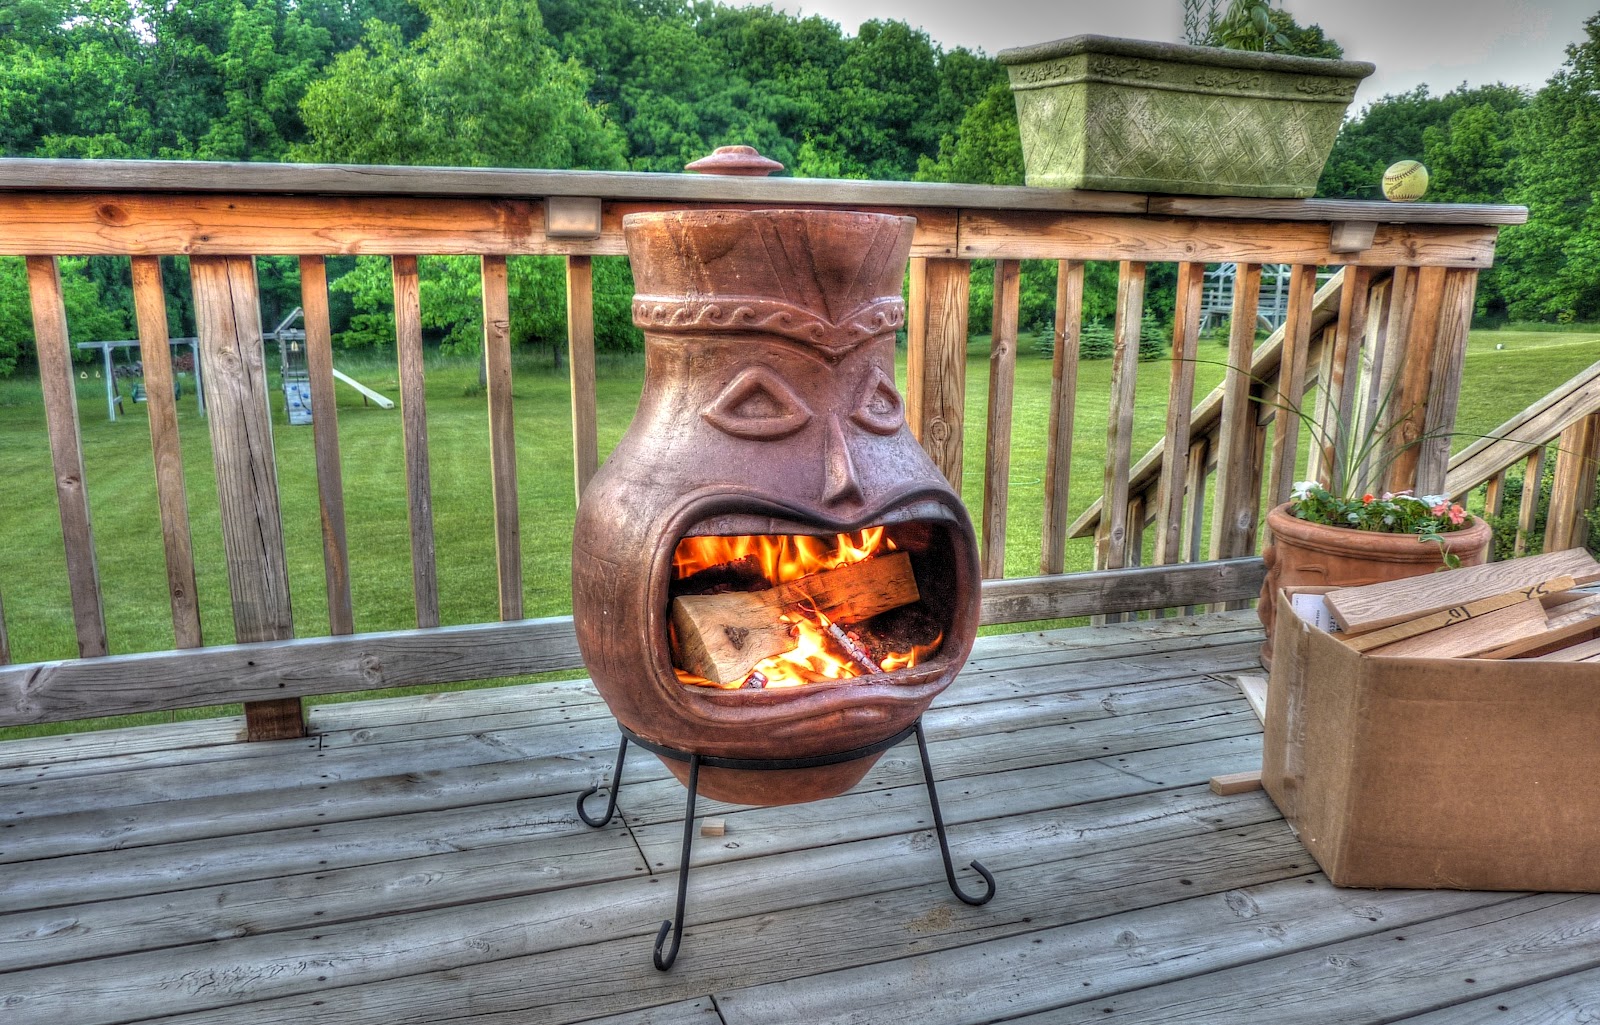
The belly of a chiminea is a three-sided enclosed cooking space with a controlled opening at the front. When you build a fire inside and allow the walls to absorb heat fully, the interior temperature can reach anywhere from 400°F to 700°F — depending on wood type, fire size, and outdoor conditions. That range covers everything from slow bread baking at the lower end to fast, high-temp pizza at the upper end. The narrow neck acts as a chimney, drawing combustion gases up and out while keeping the chamber hot and relatively clean.
Debunking Common Myths About Baking in a Chiminea
"You Can't Control the Temperature"
You can't turn a knob, but you absolutely do control the temperature. Wood species, fire size, and airflow are your three controls — and they give you enough range to bake effectively. Hardwoods like oak, hickory, and apple burn hotter and longer than softwoods. A smaller fire with a deep coal bed radiates steadier heat than a raging blaze. Partially blocking the chiminea opening with a brick or metal plate reduces airflow, slows the burn rate, and lowers the chamber temperature for bread that needs time. It takes two or three baking sessions to read the heat intuitively, but the learning curve is short.
"You Need a Special Chiminea for Baking"
Any chiminea with a belly large enough to hold a small baking vessel can bake. You don't need a branded "pizza chiminea" or a specialty insert. What you need is a cast-iron skillet, a small Dutch oven, or a pizza stone trimmed to fit the opening. Most standard chimineas have a front opening of 8–12 inches — enough to slide in a 10-inch skillet or a personal-size pizza stone without modifications.
Essential Tools for Chiminea Baking
Your toolkit doesn't need to be expensive, but the right gear makes every bake cleaner and safer. Here's what actually matters before your first session:
- Cast-iron skillet (10–12 inch) — the most versatile baking surface you'll use
- Dutch oven — ideal for bread; traps steam for a chewy, blistered crust
- Pizza stone or baking steel — cut to fit, absorbs and radiates heat evenly
- Long-handled tongs (16 inch+) — essential for moving food and managing coals safely
- Welding gloves or oven mitts rated for 500°F+ — standard kitchen mitts will burn
- Infrared thermometer — lets you read surface temperature before placing food
- Small coal shovel or poker — manage the fire without reaching directly into the chamber
Tool Reference Table
| Tool | Primary Use | Priority | Estimated Cost |
|---|---|---|---|
| Cast-iron skillet | Flatbreads, cornbread, biscuits | Essential | $20–$45 |
| Dutch oven (5 qt) | Sourdough, artisan loaves | Essential | $40–$80 |
| Pizza stone | Pizza, thin-crust flatbread | Recommended | $25–$60 |
| Infrared thermometer | Surface temperature reading | Recommended | $15–$30 |
| Long-handled tongs | Food placement and coal management | Essential | $10–$20 |
| Heat-resistant gloves | Safe handling at high temp | Essential | $20–$40 |
Optional Upgrades
Once you're baking regularly, a few additions pay off quickly. A small internal grate that sits inside the belly keeps your cooking vessel elevated off the ash and improves airflow under the pan. A metal damper plate for the opening gives you finer temperature control. Some experienced chiminea bakers line the base with fire bricks — it extends heat retention noticeably and protects the floor of the chiminea from repeated thermal stress over time.
Your First Chiminea Bakes: Easy Wins
Start with simple, forgiving food. Your first goal is learning how your specific chiminea holds and delivers heat — not producing a perfect loaf. These recipes tolerate mistakes and still taste great.
Flatbreads and Naan
Flatbreads are the ideal entry point. Mix flour, salt, water, and a touch of olive oil, roll to about ¼-inch thickness, and lay directly on a preheated cast-iron skillet. Two to three minutes per side at medium-high heat produces a perfectly charred flatbread with a smoky depth that no indoor oven can replicate. Naan works identically — use store-bought dough if you're not ready to mix your own. These are done in minutes and give you immediate feedback on how hot your chiminea is running.
Chiminea Pizza
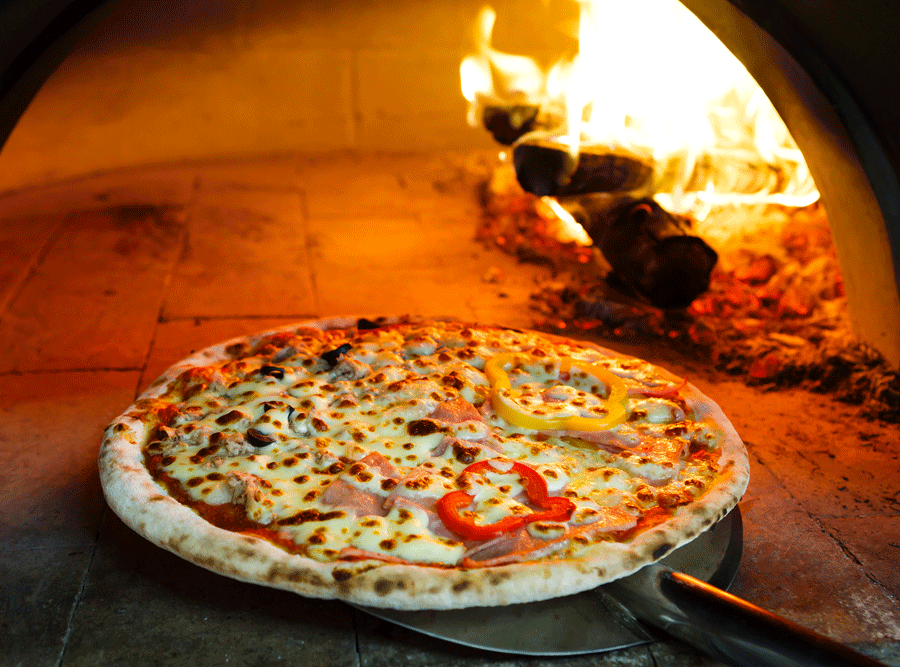
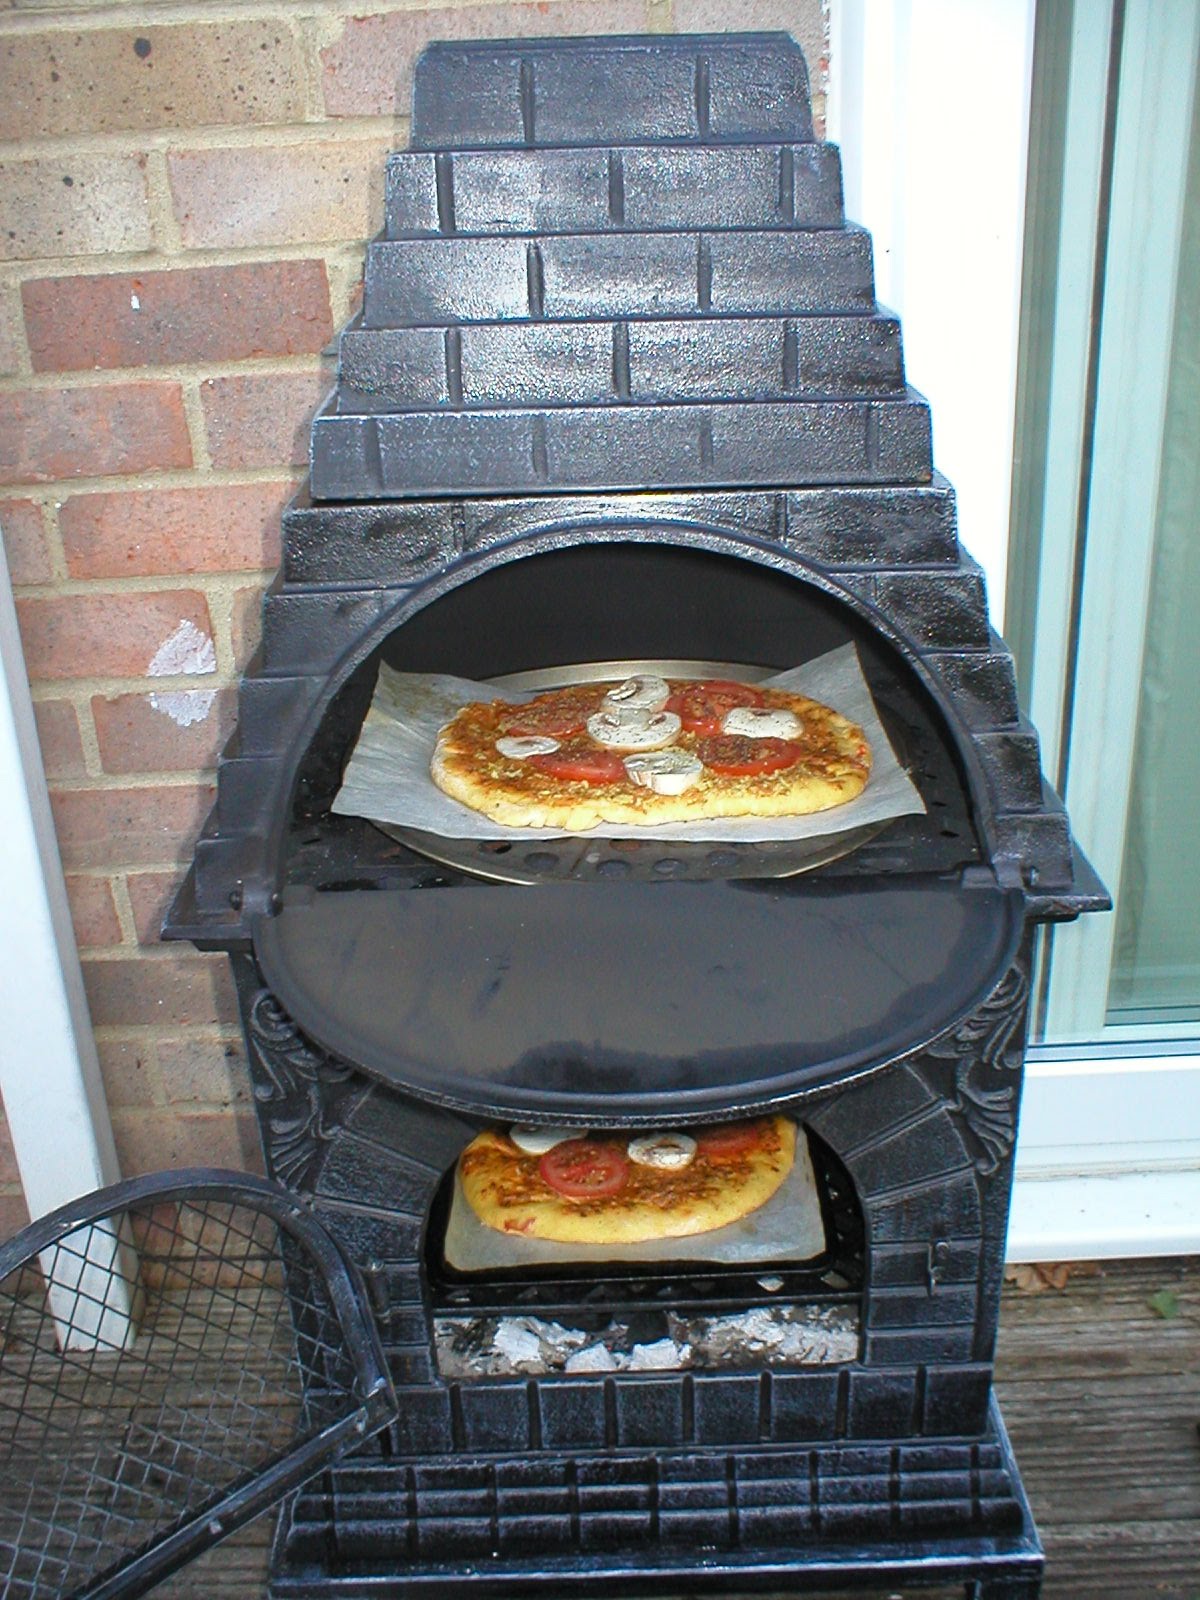
Pizza is the crowd favorite for baking in a chiminea. Use a pizza stone preheated inside the chiminea for at least 20–30 minutes before sliding the pizza in. Thin-crust personal pizzas bake in 5–8 minutes at high heat. Preheat is non-negotiable — a cold stone produces a pale, soggy bottom every time. Personal-sized pizzas at 8–10 inches fit most standard chiminea openings and are significantly easier to rotate and remove than full-size pies.
Beginner Techniques vs. Advanced Chiminea Baking
There's a real skill curve here. Knowing where you stand helps you pick the right recipes and set honest expectations for what each session will produce.
Where Beginners Start
- Using pre-made dough for pizza, biscuits, and rolls
- Baking in a covered cast-iron skillet to trap and distribute heat evenly
- Sticking to small items that bake quickly and are easy to monitor
- Letting the fire burn down to a coal bed before placing food — coals are more stable than active flames
- Checking food every 2–3 minutes until you learn your chiminea's hot zones
What Advanced Bakers Do Differently
- Selecting specific wood species to dial in predictable heat profiles
- Using an infrared thermometer to hit precise temperature windows before baking
- Baking artisan sourdough in a Dutch oven using steam-trapping techniques
- Timing bakes around the fire's natural burn cycle — peak flame, coast, deep coal
- Managing the chiminea opening like a damper to raise or lower airflow on demand
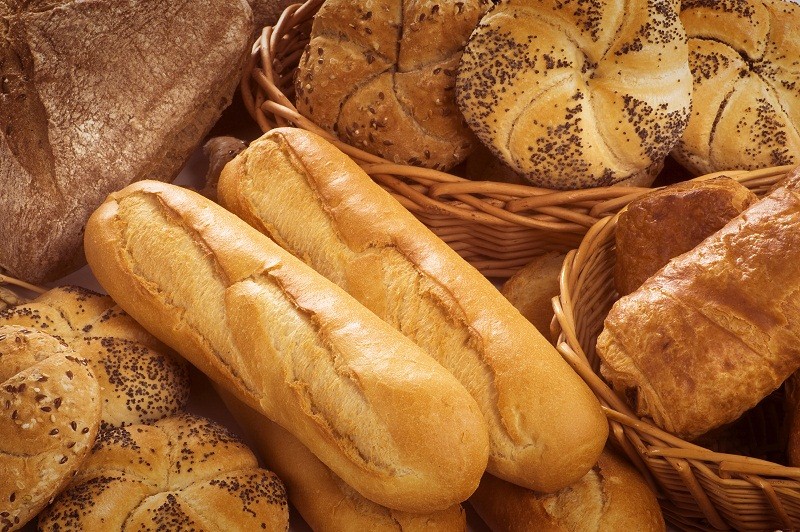
The jump from beginner to advanced isn't about talent — it's about repetition. Bake once a week for a month and you'll naturally develop an intuitive feel for your specific chiminea. Every unit behaves a little differently based on material, size, and age.
How to Get Consistent Results Every Time
Pro tip: Always preheat your baking surface inside the chiminea for at least 20 minutes before placing any food — skipping this step is the single most common cause of uneven baking and food sticking to the surface.
Fire Management
The fire you build determines everything about the bake. Use hardwood only — oak, hickory, cherry, and apple are ideal. Avoid treated wood, softwoods like pine, and anything that smokes heavily, as those compounds transfer to your food. Build the fire 45–60 minutes before you plan to bake, let it peak, then allow it to settle into a deep coal bed. Coals radiate steady, even heat without the temperature spikes of an active flame. This "coast" phase is your baking window — learn to recognize it and you'll get consistent results every time.
Keep a small bundle of dry hardwood kindling nearby. One or two small pieces added to an established coal bed bring the temperature back up in 5–10 minutes without turning the chamber into an inferno. This lets you extend your baking session across multiple rounds without rebuilding the fire from scratch.
Timing and Rotation
Chimineas don't distribute heat perfectly evenly — the back of the chamber is typically hotter than the front near the opening. Rotate your baking vessel halfway through every bake. For pizza, rotate 180 degrees at the 3-minute mark. For bread in a Dutch oven, rotation usually isn't necessary, but removing the lid for the final 5 minutes of baking delivers a noticeably crisper, darker crust. Keep a timer running so you don't lose track inside the rhythm of an outdoor cooking session.
For a deeper look at technique and seasonal considerations, the complete guide to chiminea baking covers wood selection, fire-starting methods, and how outdoor temperature affects your results.
What Baking in a Chiminea Actually Costs
If you already own a chiminea, getting into baking costs under $100 to start — most of that going toward a cast-iron skillet, gloves, and a thermometer. If you need the chiminea itself, the investment varies significantly by material. Our guide on best cast iron chimineas breaks down the top options across different price points, including which models are sized well for baking use.
Upfront Costs
- Clay chiminea: $50–$150 — lower heat tolerance, fine for casual bakers
- Cast iron chiminea: $150–$500 — best for baking, built to last decades
- Steel chiminea: $100–$300 — heats fast, loses heat fast, less ideal for sustained baking
- Starter baking toolkit (skillet, gloves, thermometer, tongs): $60–$120 total
Ongoing Costs
Hardwood is your main recurring expense. A 25-pound bag of split hardwood runs $10–$20 and covers 3–5 baking sessions depending on fire size. A 10-inch cast-iron chiminea pizza costs roughly $2–$4 to produce once your gear is paid off — far less than restaurant delivery, and you get the full outdoor cooking experience included. If you host regularly, the per-session cost drops further as you improve fire efficiency and learn to stretch your wood supply across longer baking windows.
Frequently Asked Questions
Can you bake bread in a chiminea?
Yes. Bread bakes well in a chiminea, especially when you use a covered Dutch oven. The Dutch oven traps steam during the first part of the bake, which produces an open crumb and a chewy, well-developed crust. Let the fire burn to a stable coal bed before placing the Dutch oven inside, and target an interior temperature of around 450°F for most artisan bread recipes. Remove the lid for the final 5 minutes to brown the crust.
What temperature does a chiminea reach for baking?
A well-managed chiminea fire can reach between 400°F and 700°F inside the belly, depending on wood type, fire size, and how long you've been burning. For baking, the sweet spot is typically 450–550°F — hot enough to cook pizza in under 10 minutes and bread in 25–35 minutes. Use an infrared thermometer pointed at the baking surface to get an accurate read before placing your food.
Can you use a clay chiminea for baking?
You can, with caution. Clay chimineas bake best at lower temperatures and with shorter sessions. Avoid sudden temperature swings, which cause cracking — never pour water on a hot clay chiminea and always warm it gradually before pushing it to baking heat. Clay works for flatbreads and simple skillet bakes, but for sustained high-heat baking like pizza or artisan bread, cast iron handles the stress far better.
What wood should you use when baking in a chiminea?
Use dense hardwoods with clean burn profiles. Oak, hickory, apple, and cherry are all excellent choices — they burn hot, produce consistent coals, and don't impart harsh flavors to food. Avoid pine, cedar, and any treated or painted wood. Softwoods burn fast and produce more creosote, which can coat the interior of your chiminea and affect the taste of anything you bake in it.
Next Steps
- Inspect your chiminea — check for cracks, ash buildup, and stability before your first baking session. Clay units need a slow curing fire if they haven't been used recently.
- Gather your core tools — at minimum, a cast-iron skillet, heat-resistant gloves rated for 500°F+, and a set of long-handled tongs. Add an infrared thermometer if your budget allows.
- Run a practice fire — build a hardwood fire, let it peak, then track how long it takes your chiminea to reach and hold baking temperature. Note the wood you used and how it burned.
- Bake your first flatbreads — mix a simple dough, preheat your skillet inside the chiminea for 20 minutes, and cook two or three pieces. Use this session to read heat distribution and timing.
- Explore the full guide — visit our chiminea baking resource for wood selection charts, seasonal temperature adjustments, and recipes beyond pizza and flatbread.


About Simmy Parker
Simmy Parker holds a Bachelor of Science in Civil Engineering from Sacramento State University and has applied that technical background to outdoor structure design, landscape planning, and backyard improvement projects for over a decade. Her love for the outdoors extends beyond design — she regularly leads nature hikes and has developed working knowledge of native plants, soil conditions, and sustainable landscaping practices across Northern California. At TheBackyardGnome, she covers backyard design guides, landscaping ideas, and eco-friendly outdoor living resources.
You can Get FREE Gifts. Receive Free Backyard Items here. Disable Ad Blocker to get them all now!
Once done, hit anything below