Winterizing your pergola comes down to four things: clean it, inspect it, treat the material, and protect it from snow and ice. Do those four things before temperatures drop for good, and your pergola will come through winter without a scratch. Skip them, and you'll be dealing with split wood, rust spots, or sagging beams come spring. This guide walks you through exactly how to winterize a pergola — step by step, for every material type — so you can head into the cold months without worrying about what's happening out back. If you're also prepping a chiminea this fall, check out our guide on how to winterize a chiminea for a complete outdoor shutdown routine.
Pergolas aren't indestructible. Freeze-thaw cycles crack untreated wood, metal hardware loosens as it expands and contracts, and standing water from fall rain turns into ice that splits joints open. A single afternoon of prep work in late fall protects a structure that probably cost you several hundred to several thousand dollars. That's a trade-off worth making every time.
The process works the same whether your pergola is a compact wood kit over a patio or a large freestanding aluminum structure in the yard. We'll walk through each material type separately so you know exactly what applies to your setup. More seasonal outdoor prep tips are available in our patio maintenance guides — bookmark it for spring too.
Contents
Why Winterizing Your Pergola Actually Matters
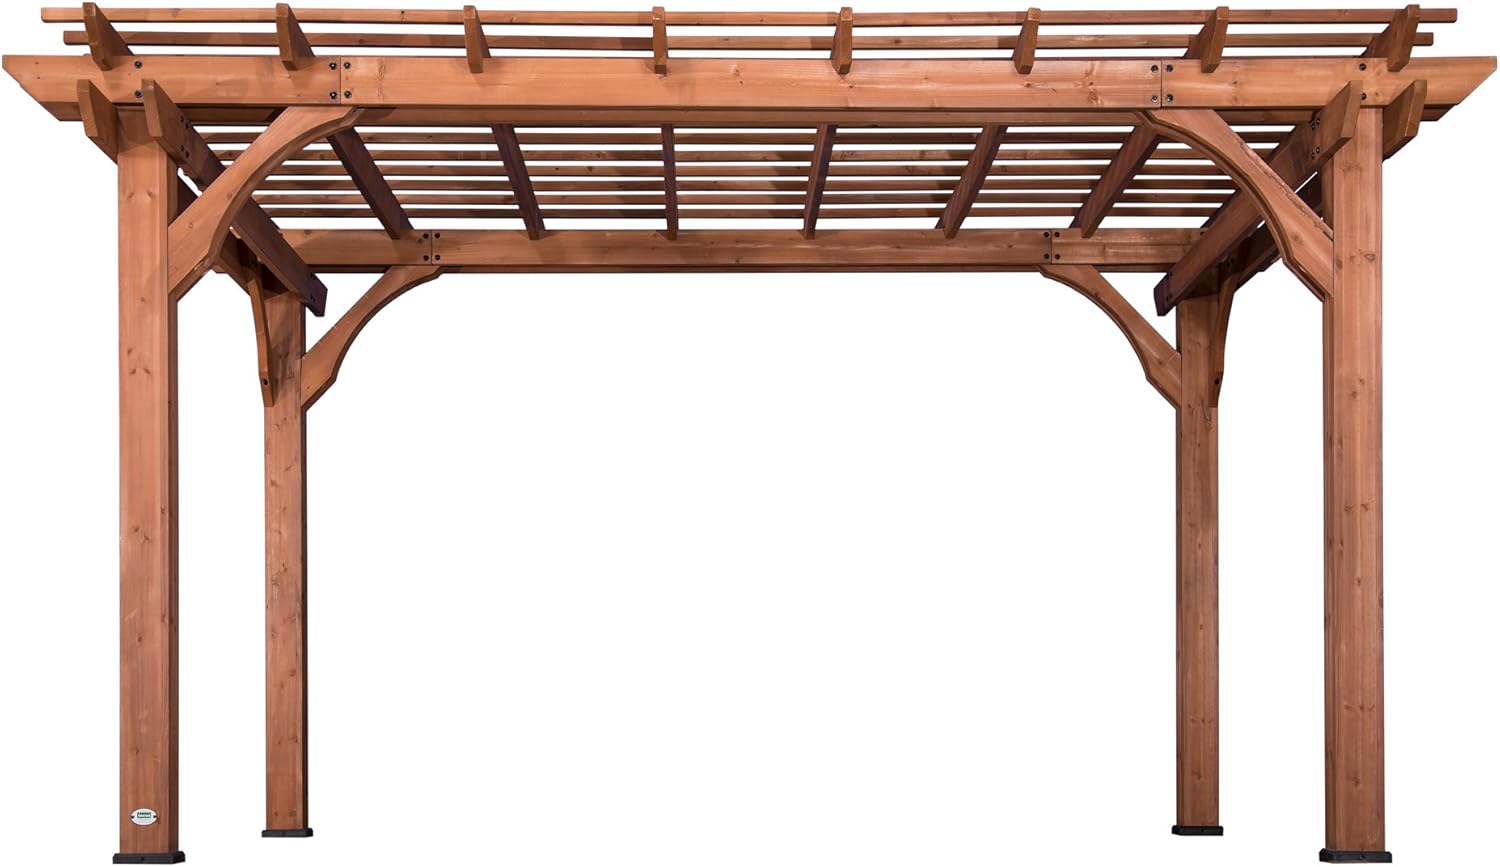
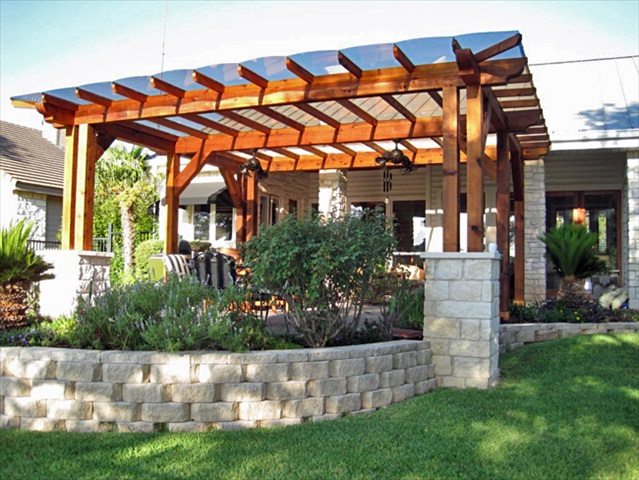
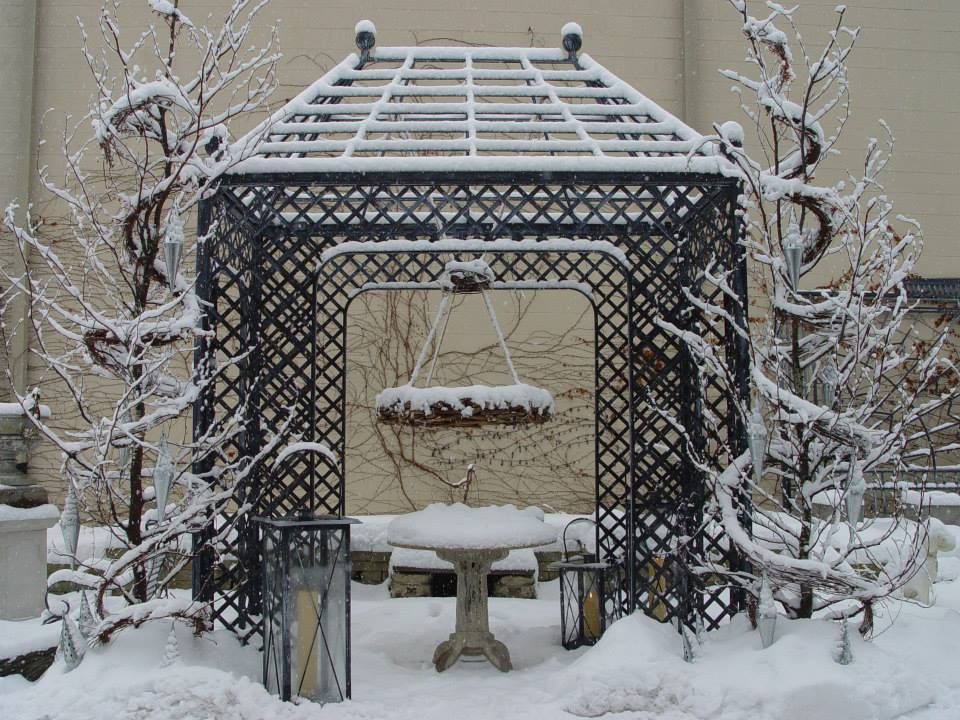
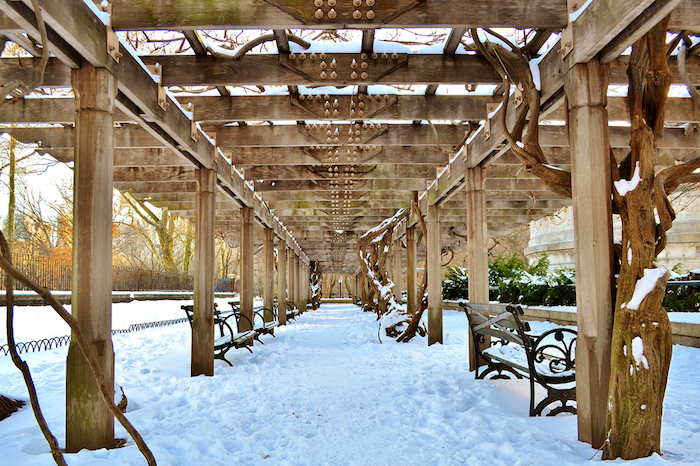
A pergola is an open outdoor structure — posts, beams, and rafters — designed for shade and outdoor living. That open design is beautiful in summer, but it means every part of the frame is fully exposed to whatever winter throws at it. Rain soaks into wood grain. Ice forms in screw holes and expands. UV degradation weakens sealants that were already showing wear from the previous season. And if you live somewhere that gets real snowfall, the cumulative weight and moisture is no joke.
What Happens When You Skip It
If you leave an untreated wood pergola through one harsh winter, here's what you're likely to find come spring:
- Cracked and warped boards — wood expands when it absorbs water, then contracts as it freezes. Repeated cycles split the grain deep.
- Rust stains beneath every fastener — moisture accelerates oxidation on uncoated screws and bolts, and those orange streaks are ugly and hard to remove without sanding.
- Loose joints — the freeze-thaw cycle works fasteners back and forth until they wobble or pull free entirely.
- Mold and mildew — organic debris left on the structure through winter becomes a breeding ground in damp, cool conditions.

Aluminum and vinyl hold up better than wood, but they still need attention. Dirt and debris left sitting on the frame through winter can cause staining that becomes permanent, and hardware on aluminum can corrode if it's standard zinc or iron rather than stainless steel.
The Right Time to Start
Start your winterizing process after the last heavy use of the season but before the first hard freeze. In most parts of the US, that window falls somewhere in October through early November. The key constraint: temperatures need to be above 50°F when you apply any sealant or stain. Most products won't cure properly in cold weather — they'll stay tacky or peel within the first wet spell.
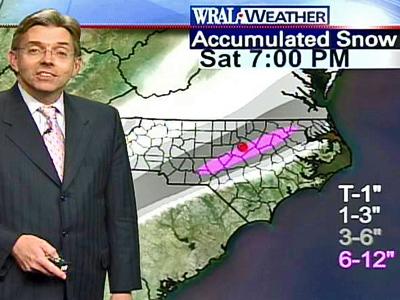
Watch your local forecast and block off a weekend when you've got a two-day dry stretch. Applying sealant right before rain is a waste of time and product — it needs 24 to 48 hours to cure before getting wet. Pick the right weekend and the whole job becomes a lot more satisfying.
How to Winterize Your Pergola Step by Step
Here's the core process for how to winterize a pergola, in the right order. The cleaning has to come before the inspection, and the inspection has to come before treatment. Don't shortcut the sequence.
Start with a Deep Clean
This step gets skipped most often, and it's the most important one. You cannot properly seal or treat a dirty surface — the coating won't bond correctly and will peel within months, leaving you worse off than before.
- Remove all furniture, cushions, planters, string lights, and any fabric canopies from the structure entirely.
- Sweep debris off the rafters and beams with a stiff broom — leaves and debris hold moisture against the wood all winter.
- Scrub the frame with a mild soap and water solution, or use a dedicated deck cleaner for stubborn stains and mildew buildup.
- Rinse thoroughly and let the structure dry completely — at least 48 hours on a sunny day, longer if the weather is cool.
If you have planters attached to or surrounding your pergola, move them inside or to a sheltered spot before the freeze. This is also a good time to handle the rest of your yard — our guide on how to mulch and bag leaves with a lawnmower will help you clear the ground around the posts so wet organic material isn't piled against the base all winter long.
Inspect Every Joint and Board
Once the structure is clean and fully dry, get up close and look at everything carefully. You're looking for problems that winter will make much worse if you don't address them now:
- Cracked or split boards that need replacement or exterior wood filler before the cold sets in
- Loose screws, bolts, or lag bolts — tighten anything that's worked loose and replace any that are corroded
- Rot at the base of posts, especially where they meet the ground, concrete footings, or a deck surface
- Surface mold or mildew the cleaning didn't fully remove — treat with a diluted bleach solution and let it dry
- Existing sealant that's peeling, bubbling, or worn bare in spots — those areas need to be stripped and recoated
Fix everything you find before moving on to treatment. Sealing over a cracked board doesn't fix the crack — it traps moisture inside. Fill splits with an exterior-grade wood filler, let it cure fully, sand it flush, and then apply sealant over the top. Anything structural — posts showing deep rot, beams that flex under light pressure — needs more than filler. Replace them before winter, not after.
Apply Protective Treatments
For wood pergolas, the right product depends on what you want the finished look to be:
- Clear penetrating sealers (like Thompson's WaterSeal) repel water while showing the natural grain. They're easy to apply but need reapplication every one to two seasons.
- Exterior stain with built-in sealant gives stronger UV and moisture protection while adding color. Solid stains last longer than semi-transparent ones and are easier to maintain over time.
- Wood oil — teak oil, linseed oil — works well for tropical hardwoods like teak or ipe. It feeds the wood and repels water without forming a surface film that can peel.
For aluminum, a coat of automotive wax on the powder-coated frame protects the finish and makes cleanup easier next spring. For vinyl, sealing is unnecessary — a good clean is all it needs.
Covering Your Pergola for Winter
You don't have to cover your pergola to winterize it properly. But a cover adds a layer of protection that's genuinely hard to replicate with sealant alone — especially if you're in a region with heavy snowfall, ice storms, or prolonged wet conditions.
How to Choose the Right Cover
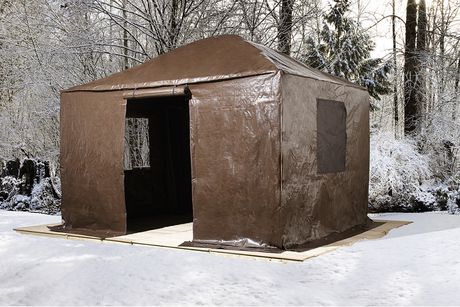
Your two main options are a fitted pergola cover made for your specific model or dimensions, or a universal heavy-duty tarp. Fitted covers look cleaner, stay in place better in wind, and are worth the extra cost if you plan to use the pergola season after season. Tarps are cheaper and more flexible but require good tie-downs to stay put.
- Look for covers rated for your expected snow load — most quality covers specify a weight rating on the packaging.
- Choose UV-treated material even for a winter cover. Sun does real damage on cold, clear days, especially at higher elevations.
- Avoid fully waterproof covers in climates that get warm spells mid-winter — trapped moisture under an airtight cover promotes mold faster than the rain would have.
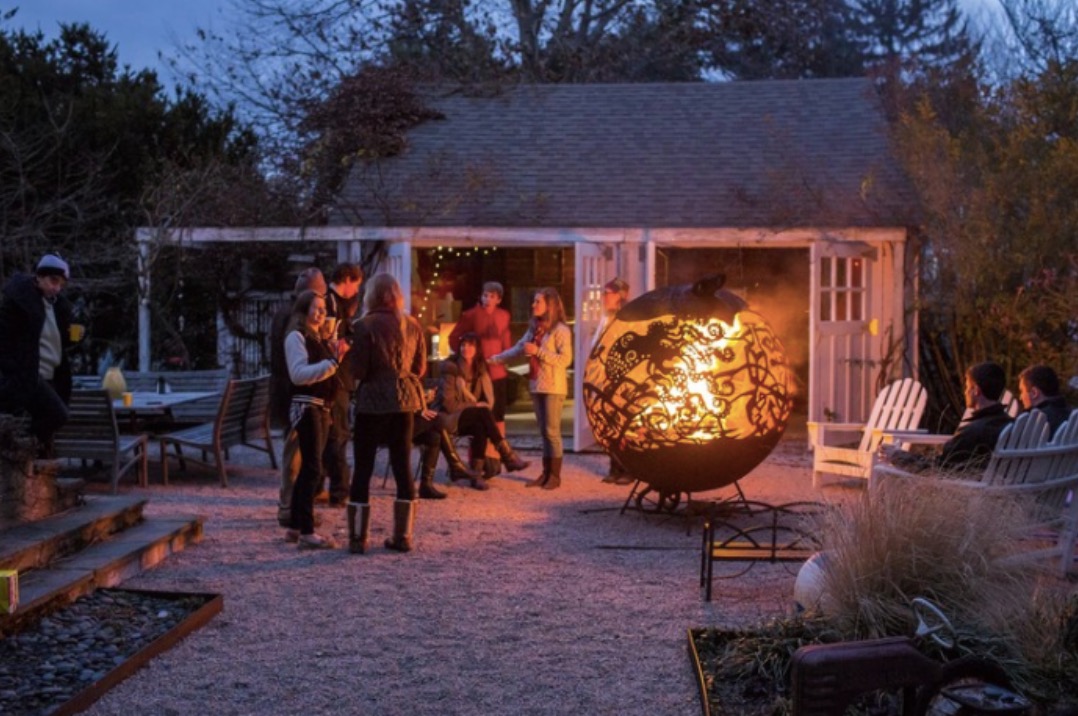
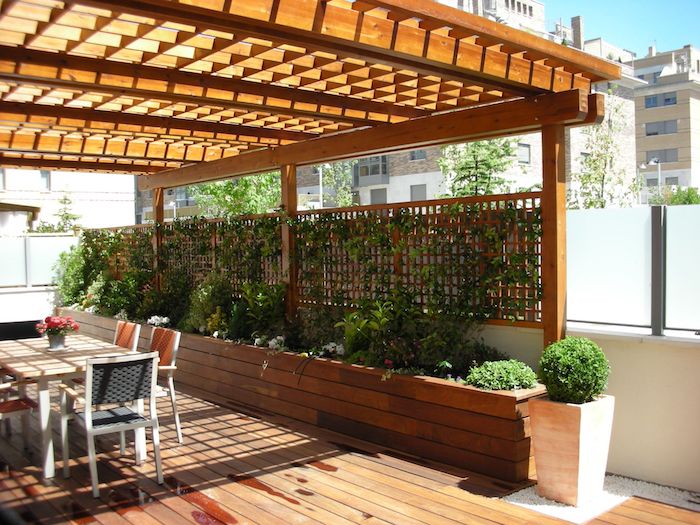
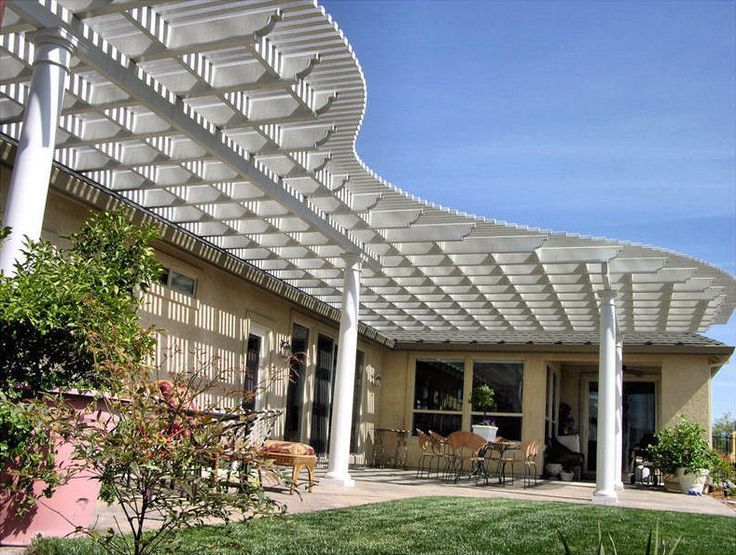
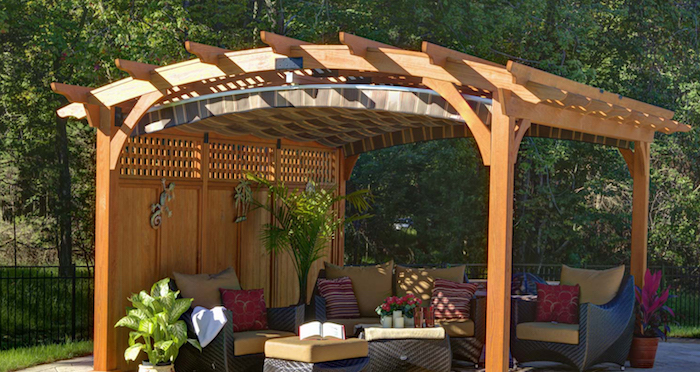
If you want side protection from wind-driven snow or sleet, look for pergola winterization kits that include both a top panel and drop-down side curtains. Retractable canopy systems — like the one below — can also pull double duty as wind and weather barriers when deployed during the off-season.

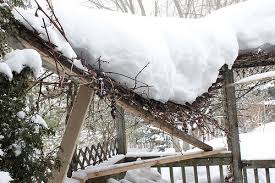
Pro tip: If you expect heavy snow accumulation, don't rely on a flat cover alone — build in a slight pitch so snow slides off rather than sitting and adding compressive weight to your frame.
Common Cover Mistakes to Avoid
- Securing a tarp with bungee cords alone — they snap and become brittle in cold temperatures. Use rope or ratchet straps and check them after the first major wind event.
- Covering a wet or freshly cleaned pergola before it's fully dry — moisture trapped under the cover accelerates mold growth faster than leaving it uncovered would.
- Using a dark-colored tarp in sunny climates — dark material absorbs heat, and the underside of the cover can get warm enough during winter warm spells to crack or warp wood boards beneath it.
What Your Pergola Material Actually Needs
The winterizing process varies significantly depending on what your structure is made of. Here's what each material requires — and what you can skip without guilt.
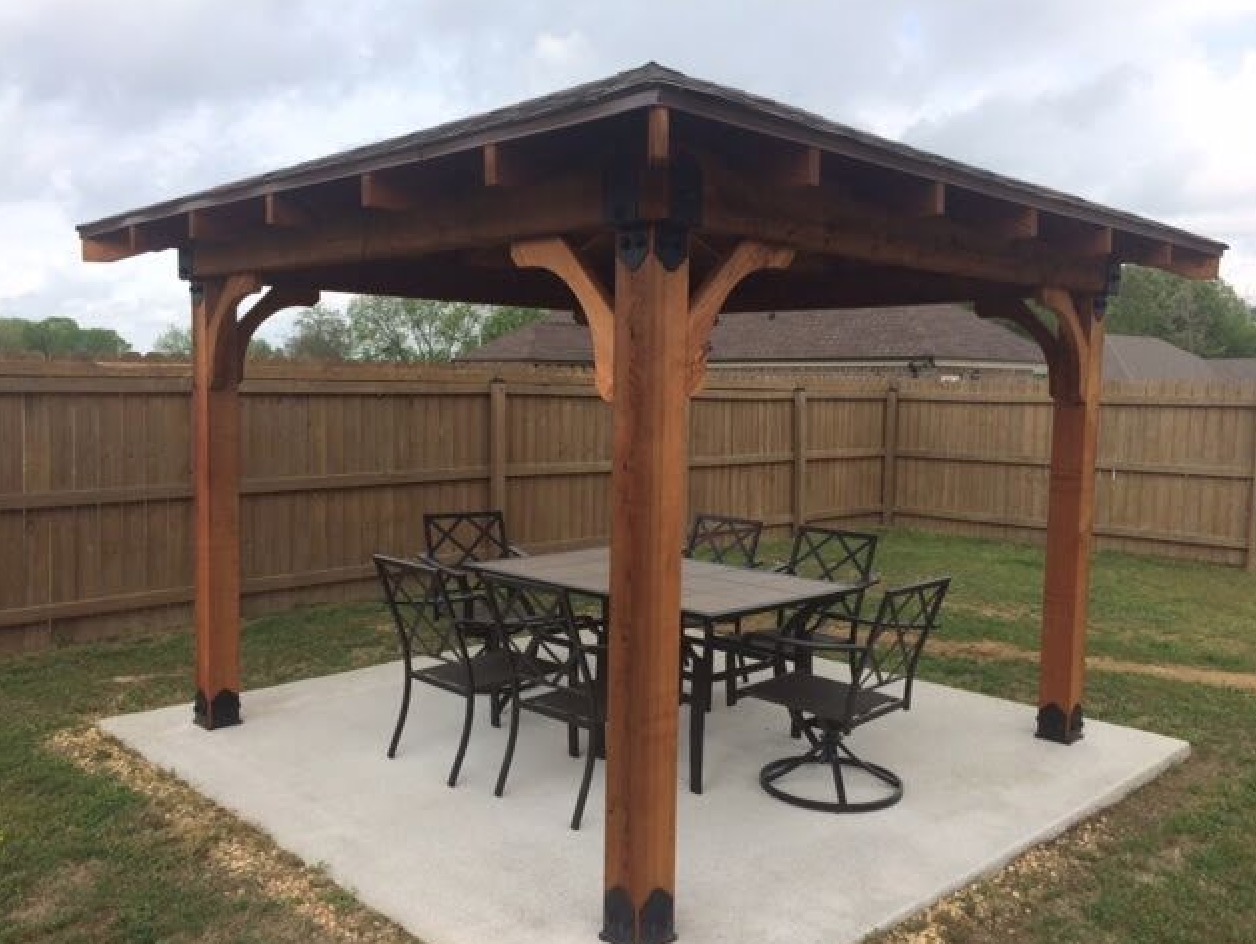
Wood Pergolas
Wood needs the most attention. Cedar and redwood have natural oils that resist moisture, but they still need sealing every season or two. Pressure-treated pine is durable but can crack badly if it alternates between very wet and very dry conditions across the winter months.
Key steps for wood pergolas specifically:
- Sand any rough, splintering, or peeling spots before applying sealant — sealant applied over rough wood doesn't penetrate evenly
- Coat all surfaces, including the underside of rafters and the tops of posts — these are the spots most people miss, and they're often the first to show damage
- Check the base of every post for soft spots or discoloration that suggests rot is already starting
- Don't assume last season's sealant is still doing its job — if water doesn't bead on the surface, it's time to reapply
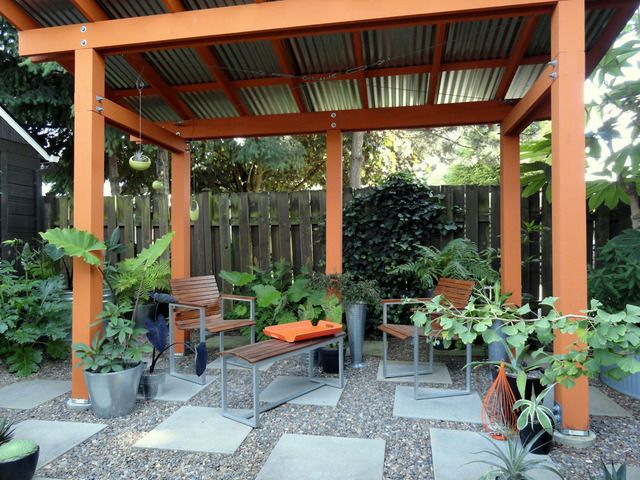
Aluminum, Vinyl, and Steel Pergolas
These materials are much lower maintenance in winter. Aluminum won't rot or warp, but powder coating chips over time — and once the bare metal is exposed, corrosion starts. Vinyl is essentially weatherproof but can become brittle in extreme cold and crack if you're rough with it during winter cleaning. Steel pergolas need the most hardware attention of all — check every bolt and connection point for surface rust and treat with a rust-inhibiting primer before the first freeze.
For aluminum and vinyl pergolas:
- Clean with a non-abrasive cleaner — avoid steel wool or abrasive scrub pads that scratch and dull the surface finish
- Inspect powder coating on aluminum for chips or scratches and touch up with matching spray paint before winter sets in
- Check that all bolts and hardware are stainless steel — replace any zinc or standard iron fasteners before they leave rust streaks on your frame
- Remove all fabric canopies or shade sails completely — these materials don't hold up under snow weight and will tear, stretch, or take damage from ice forming along the edges
How Much Does Winterizing a Pergola Cost?
The honest answer: almost nothing if you do it yourself and already own the basic supplies. If you need to buy everything from scratch, you're looking at roughly $50 to $200 for a complete DIY job on an average-sized pergola. That's a fraction of what a single board replacement or structural repair runs after a winter of neglect.
DIY Cost Breakdown
| Item | What It's For | Approximate Cost |
|---|---|---|
| Deck or wood cleaner | Deep clean before treatment | $10–$20 |
| Exterior wood sealant or stain | Moisture and UV protection | $25–$60 per gallon |
| Exterior wood filler | Filling cracks before sealing | $8–$15 |
| Automotive wax | Protects powder coating on aluminum | $10–$20 |
| Pergola cover or heavy-duty tarp | Physical protection from snow and ice | $30–$150 |
| Ratchet straps or rope | Securing the cover against wind | $10–$20 |
| Replacement stainless hardware | Swapping out corroded fasteners | $5–$25 |
A gallon of quality exterior sealant covers roughly 200 to 400 square feet depending on the wood's porosity, so most standard pergolas only need one gallon. If you're just touching up worn spots rather than doing a full recoat, a small brush-on can is plenty and costs under $15.
When to Hire Help
You don't need a professional for most standard pergola winterization. But there are situations where bringing someone in makes practical sense:
- Your pergola is large, tall, or built into an elevated deck where working safely at height requires proper scaffolding or a lift
- You've found significant rot or structural damage that needs carpentry work, not just filler and sealant
- You're bundling it with a larger fall project — deck refinishing or fence sealing — and the contractor can knock it all out in one visit at a better combined rate
A handyman or deck contractor typically charges $50 to $100 per hour for this type of seasonal maintenance work. A full winterization job on a standard pergola usually runs two to four hours. Get a quote upfront and confirm that it includes sealing, not just cleaning — cleaning alone is not winterizing.
Final Thoughts
Taking the time to properly winterize your pergola is one of the most cost-effective things you can do for your outdoor space — a few hours and under $200 can add years to your structure's lifespan. Pick your weekend, gather your supplies, and work through the steps: clean, inspect, treat, cover. If you're not sure where to start or want to get more out of your outdoor setup all year long, browse our full collection of backyard and patio guides for more practical, no-fluff advice.


About Simmy Parker
Simmy Parker holds a Bachelor of Science in Civil Engineering from Sacramento State University and has applied that technical background to outdoor structure design, landscape planning, and backyard improvement projects for over a decade. Her love for the outdoors extends beyond design — she regularly leads nature hikes and has developed working knowledge of native plants, soil conditions, and sustainable landscaping practices across Northern California. At TheBackyardGnome, she covers backyard design guides, landscaping ideas, and eco-friendly outdoor living resources.
You can Get FREE Gifts. Receive Free Backyard Items here. Disable Ad Blocker to get them all now!
Once done, hit anything below