Hardwood coals in a well-built fire pit can reach temperatures above 900°F — nearly double what your kitchen oven produces. That raw, radiant heat is exactly what makes fire pit cooking methods so uniquely satisfying. You get deep smoky flavor, live-fire sears, and results no gas burner can replicate. Whether you're roasting your first hot dog over an open flame or working toward a slow-cooked rack of ribs, the setup you start with makes all the difference. Browse our complete fire pit cooking guide for technique deep-dives and gear recommendations matched to your experience level.
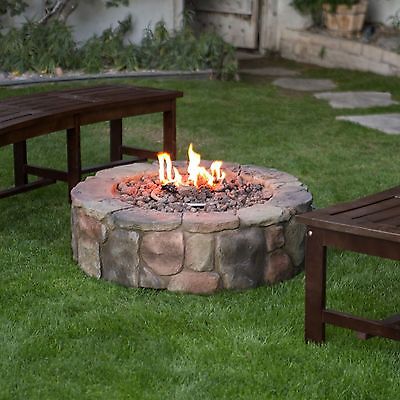
The style of fire pit you own determines which techniques are available to you. A basic in-ground ring handles direct grilling and skewer roasting with ease. A raised steel bowl with an adjustable grate opens up Dutch oven cooking, cast-iron skillet work, and slow-roasting over a deep coal bed. Your fire pit type is the foundation of every cooking method you'll try.
This guide covers the full picture: how to set up your pit step by step, a breakdown of methods from beginner to advanced, the biggest myths about fire pit cooking, how to keep your pit in prime shape, and how to fix the problems that trip up most people. Let's start from the beginning.
Contents
Setting Up Your Fire Pit for Cooking
Setting up a fire pit for cooking is different from setting one up for ambiance. You need stable, controllable heat, safe access to the flame, and the right gear ready before anything goes on the grate. Get these three things right and every cooking session starts on solid footing.
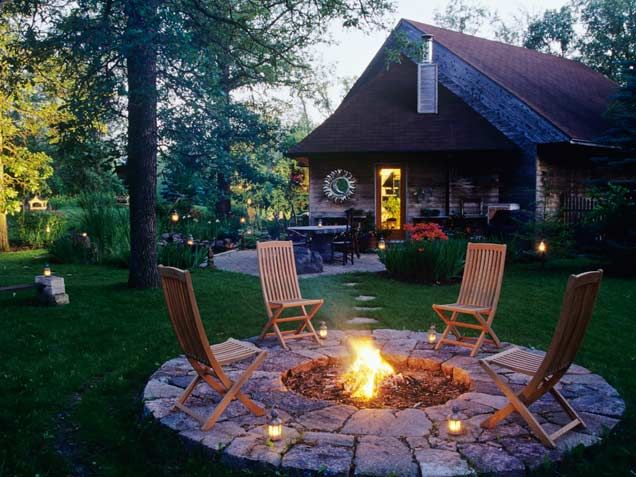
Choosing the Right Location
Place your fire pit on a flat, non-combustible surface — concrete, gravel, or compacted dirt all work. The U.S. Fire Administration recommends keeping your fire pit at least 10 feet from any structure, fence, or overhanging branch. Treat that as a minimum, not a suggestion.
- Avoid placing the pit directly over grass, wood decking, or pavers that can crack from heat
- Position it downwind from your seating area so smoke blows away from guests
- Make sure the surface won't shift or tilt under the weight of a cast-iron Dutch oven
- Keep a water source or fire extinguisher within arm's reach every time you cook
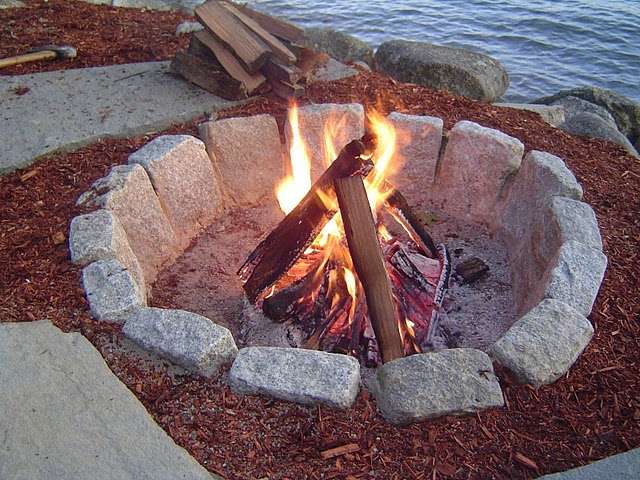
Building the Fire Bed
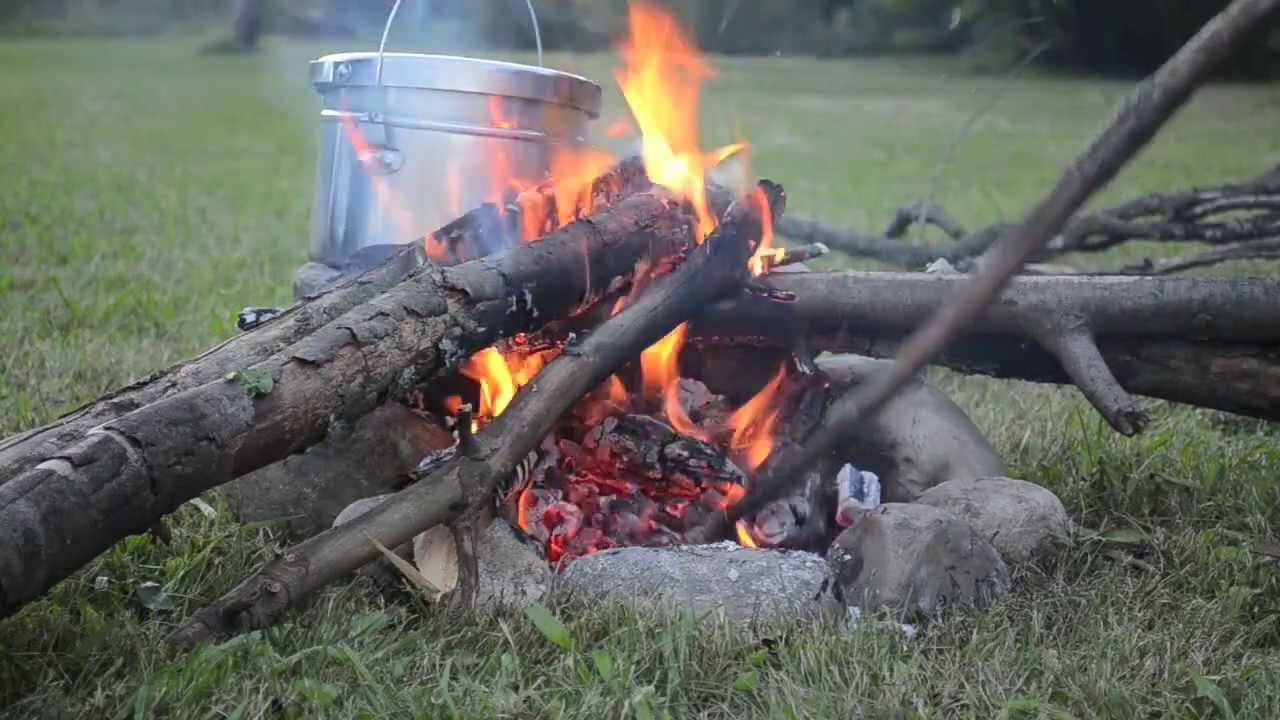
For cooking, you want coals — not a roaring bonfire. Start with dry, seasoned hardwood like oak, hickory, or maple. Softwoods burn fast, produce excess resin, and leave acrid smoke that ruins food flavor. Build your fire 40–50 minutes before you plan to cook so the logs break down into a solid, workable coal bed.
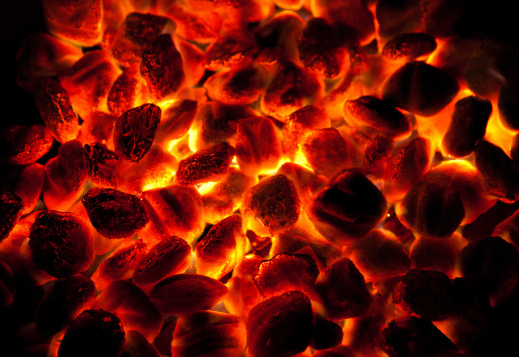
Stack your wood in a log-cabin or pyramid pattern to encourage good airflow at the base. Once the flames die back and you see glowing orange coals covered in gray ash, you're ready. That coal bed — not the open flame — is your actual cooking heat source.
Essential Cooking Gear
You don't need a lot to get started, but the right tools make every method safer and easier:
- A sturdy cooking grate — stainless or cast iron, sized to span your pit opening
- Long-handled tongs and a spatula (16 inches minimum — your forearms will thank you)
- Heat-resistant welding or grilling gloves — not standard oven mitts
- A cast-iron skillet or Dutch oven for indirect and enclosed cooking
- A coal rake or fire poker for leveling your heat zone
Pro tip: Cast iron retains and distributes heat far more evenly than thin steel grates — a meaningful advantage when your coal bed is naturally uneven.
Fire Pit Cooking Methods: From Beginner to Pitmaster
Not all fire pit cooking methods demand the same skill set or equipment. The table below lays out the most common techniques so you can pick the right starting point and build from there.
| Method | Skill Level | Best For | Key Tool |
|---|---|---|---|
| Skewer / Stick Roasting | Beginner | Hot dogs, sausages, marshmallows | Metal skewers |
| Direct Grilling | Beginner | Burgers, steaks, vegetables | Cooking grate |
| Cast Iron Skillet | Intermediate | Fish, eggs, stir-fry | Cast iron pan |
| Dutch Oven | Intermediate | Stews, chili, cornbread | Dutch oven + lid lifter |
| Smoke Roasting | Advanced | Whole chicken, pork shoulder | Drip pan + wood chunks |
| Ember / Coal Cooking | Advanced | Potatoes, beets, flatbread | Foil + long tongs |
Methods Anyone Can Start With
Direct grilling over a grate is the most accessible starting point. Place your grate 4–6 inches above the coal bed and you're essentially working with a powerful charcoal grill. Skewer roasting requires nothing more than a metal rod and the patience to hold it over heat — it's one of the oldest fire pit cooking methods in existence and still one of the most satisfying.
If you want a different take on open-fire grilling before committing to a full fire pit setup, grilling with a chiminea is worth reading — it covers how a contained, enclosed fire design changes heat management and technique.
Intermediate Techniques Worth Learning
A cast-iron skillet placed directly on the grate gives you frying-pan versatility over live fire. You can sauté vegetables, sear fish fillets, or cook a full camp breakfast. The Dutch oven takes things further: load coals on the lid along with the coals underneath, and you've built a functional outdoor oven that can bake bread and braise meat simultaneously.
Warning: Never place a cold Dutch oven over high flame heat — set it over moderate coals and let it warm gradually to avoid thermal cracking.
Advanced Approaches for the Serious Cook
Smoke roasting means placing a drip pan under your meat, surrounding it with hardwood chunks that produce slow smoke, and managing a 2–4 hour low-heat cook. Ember cooking — burying root vegetables directly in the coals — is ancient and delivers concentrated flavor that no other method matches. Wrap potatoes, beets, or whole garlic heads in foil, nestle them into the embers, and pull them out 45 minutes later.
For a dedicated guide on smoke and wood selection, smoking with a chiminea covers wood pairing and smoke management in depth — techniques that translate directly to fire pit work.
What Everyone Gets Wrong About Fire Pit Cooking
A lot of bad advice circulates about cooking over open fire. These are the myths that cause the most problems for beginners and intermediate cooks alike.
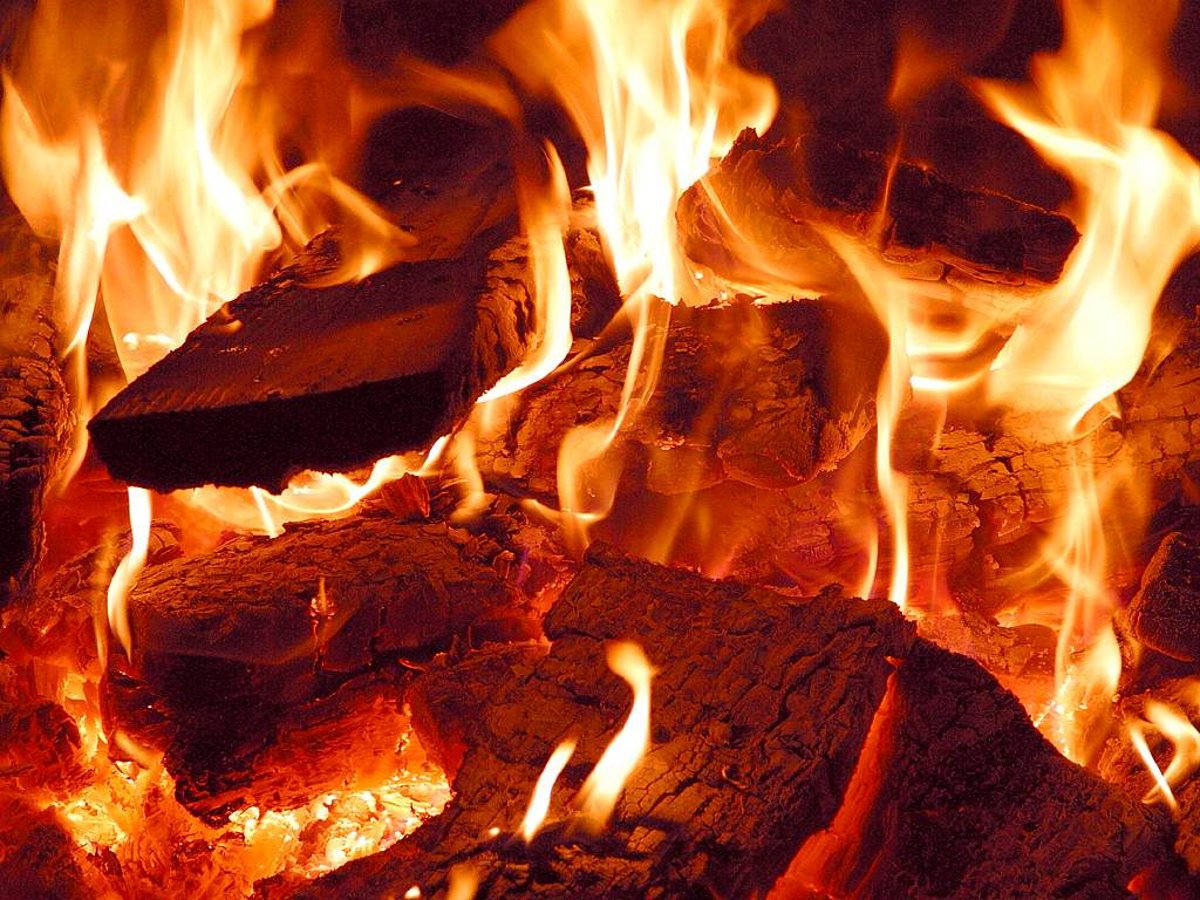
Myth 1: Bigger flames mean better, faster cooking. Open flames are for building your coal bed — not for cooking over. High flames create uneven hot spots, deposit soot on food, and char the outside before the inside cooks through. You cook over glowing coals, not active fire.
Myth 2: Any wood works fine. Treated lumber, plywood, and painted wood release toxic compounds when burned. Only use dry, seasoned hardwood. Campfire colorants like Mystical Fire are safe for atmosphere fires but should be completely burned off before you cook over any remaining coals from that session.
Myth 3: Fire pit cooking is only for simple food. People slow-roast whole animals, bake artisan bread, and braise short ribs over fire pits. The method is ancient and proven at every complexity level. Your limitation is patience and technique — not the fire itself.
Myth 4: Balancing a pan on rocks works just as well as a grate. An unstable cooking surface over unpredictable heat is how food ends up on the ground and people end up burned. A proper cooking grate is a safety tool, not optional equipment.
Keeping Your Fire Pit Ready to Cook
A neglected fire pit becomes both a hazard and a poor cooking surface. Ash buildup restricts airflow, moisture causes steel pits to rust from the inside out, and leftover food debris attracts pests. A simple routine between uses keeps everything clean and working.
After Every Cook: The Basics
- Wait until the pit is completely cold — at least 12 hours — before cleaning
- Scoop out ash and dispose of it in a metal container (never plastic — hot ash can linger for days)
- Scrub the grate while it's still slightly warm from cooking, when residue releases most easily
- Wipe cast-iron surfaces with a lightly oiled rag after every session to prevent rust
- Cover the pit with a fitted lid or weather-resistant cover if rain is expected
Seasonal Care
At the start of each season, inspect your fire pit for cracks, rust spots, or loose hardware before lighting your first fire. A cracked fire pit bowl can fail suddenly under heat stress — replace it rather than risk it mid-cook. For steel pits, a coat of high-heat spray paint handles surface rust before it spreads. For stone or brick rings, repoint crumbling mortar with refractory mortar (a fire-rated cement designed for high-heat applications).
Tip: Store your cooking grate indoors over winter — moisture and freeze-thaw cycles destroy grate coatings faster than a full season of cooking ever will.
When Things Go Wrong: Solving Common Problems
Even experienced outdoor cooks run into the same recurring issues. Here's how to fix the ones you'll encounter most often.
Problem: The fire won't stay lit. Your wood is wet or green (unseasoned). Seasoned wood has visible end-grain cracks and sounds hollow when you knock two pieces together. Wet wood hisses and steams. Store your cooking wood under cover and off the ground.
Problem: Food tastes bitter and sooty. You're cooking over flame, not coals. Wait until the wood burns completely down to glowing orange coals with a light gray ash coating before anything goes on the grate. This step is non-negotiable.
Problem: Heat is uneven across the grate. Spread your coals into a consistent, level layer with a coal rake or long poker instead of leaving logs where they fell. You can also intentionally create a two-zone setup — mound coals on one half for searing and leave the other side low for slower cooking.
Problem: The grate keeps slipping or tipping. If your pit didn't come with grate support brackets, place three equally spaced firebricks inside the bowl as a stable platform. This works for both round and square pit styles.
Problem: Smoke follows you everywhere. Smoke follows the path of least resistance — which is usually directly toward the nearest person. Wind direction determines where you sit, not seating preference. Watch where smoke drifts before you set up chairs, and always position yourself upwind of the pit.
Frequently Asked Questions
What is the best wood for fire pit cooking?
Dry, seasoned hardwood is your best option. Oak, hickory, and cherry burn hot, produce quality coals, and add subtle flavor to food. Avoid softwoods like pine — they produce resinous smoke that makes everything taste off and leaves more residue on your grate.
How do I control temperature when cooking over a fire pit?
Raise or lower your cooking grate to adjust heat intensity. You can also spread coals thin for lower, even heat or pile them for a high-heat searing zone. There's no knob to turn — distance from the heat source is your temperature control.
Can I use a regular fire pit as a grill?
Yes, as long as you add a proper cooking grate sized for your pit's opening. Most fire pits aren't sold with cooking gear included, but grates for standard fire pit bowls are widely available. Cast iron is the most durable choice for frequent cooking use.
How long does it take to build a good coal bed for cooking?
Plan on 40 to 50 minutes from lighting the fire to having a workable coal bed. Cooking over a freshly lit fire produces sooty, uneven results every time. Patience during this stage is the most underrated skill in all fire pit cooking methods.
Is fire pit cooking safe during dry conditions or fire ban periods?
No. If your area has a burn ban or extreme fire weather in effect, do not use your fire pit for any purpose, including cooking. Check with your local fire department or county website before lighting any outdoor open fire.
What foods cook best in a Dutch oven over a fire pit?
Stews, chili, braised meats, and soups all perform exceptionally well. Dutch ovens also bake excellent cornbread and fruit cobblers when you load coals on the lid to create top-down heat. The sealed lid traps moisture and maintains a steady cooking environment.
How do I keep food from sticking to the fire pit grate?
Preheat the grate over coals for at least 5 minutes before placing any food on it. Then oil the grate surface with a folded paper towel dipped in vegetable oil. A hot, oiled grate releases food cleanly and is far easier to clean afterward.
What's the real difference between fire pit cooking and regular grilling?
A gas or charcoal grill gives you predictable, dial-adjustable heat with consistent airflow. Fire pit cooking is less precise but produces more complex flavor and unlocks live-fire techniques — like ember cooking and smoke roasting — that a standard grill simply cannot replicate. You trade precision for depth and experience.
Final Thoughts
Fire pit cooking rewards the people who take the time to get the basics right — wood selection, coal development, and the right tools in hand. You don't need a perfect setup or years of experience to start making great food over an open flame. Start with direct grilling, master your coal bed, then work through the more advanced fire pit cooking methods at your own pace. Head over to our fire pit cooking guide to find technique breakdowns, gear recommendations, and recipe ideas that will make your next backyard fire one worth remembering.


About Simmy Parker
Simmy Parker holds a Bachelor of Science in Civil Engineering from Sacramento State University and has applied that technical background to outdoor structure design, landscape planning, and backyard improvement projects for over a decade. Her love for the outdoors extends beyond design — she regularly leads nature hikes and has developed working knowledge of native plants, soil conditions, and sustainable landscaping practices across Northern California. At TheBackyardGnome, she covers backyard design guides, landscaping ideas, and eco-friendly outdoor living resources.
You can Get FREE Gifts. Receive Free Backyard Items here. Disable Ad Blocker to get them all now!
Once done, hit anything below