Have you ever stood in front of a weathered outdoor piece — a pergola post, a patio chair, a garden bench — and wondered whether you really need to drag out the sandpaper and spend an hour scrubbing before you can repaint? If so, you've probably come across the debate around liquid sandpaper vs regular sandpaper, and you may have walked away more confused than when you started. The short answer is that these two products are not interchangeable — they work in completely different ways, and each one shines in specific situations. This guide breaks down both options so you can walk into your next project knowing exactly what to grab. For more project walkthroughs, check out our finishing guides.
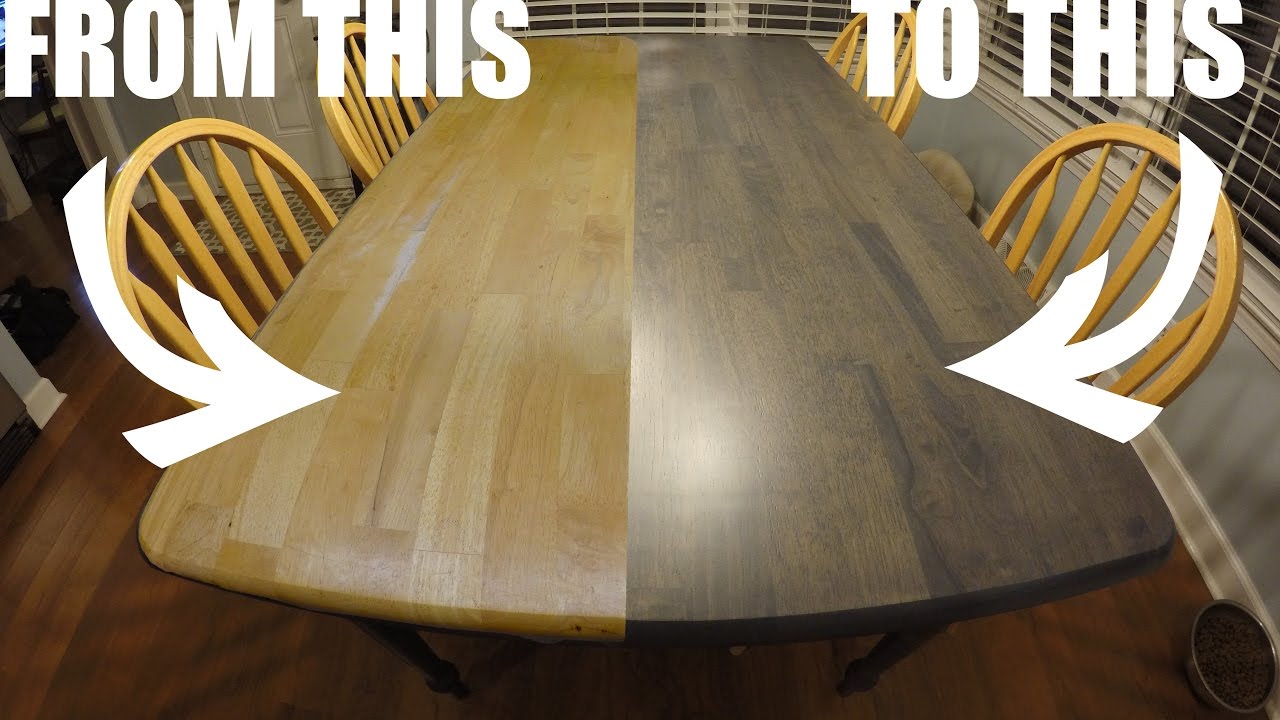
Regular sandpaper physically removes material. You press grit against a surface, and through friction, you strip away the old finish or rough up the texture. Liquid sandpaper — also called a deglosser or liquid sander — takes a completely different approach. It uses chemical solvents to dull the existing finish so that new paint or stain can grip the surface properly. No dust, no orbital sander, no elbow grease. Just a cloth, a chemical solution, and a few minutes of work. The name "liquid sandpaper" implies the two are equivalent, but that comparison only goes so far.
Knowing which one belongs in your hand — and when — is the kind of knowledge that separates a project that looks professional from one that starts peeling within a season. Whether you're refinishing an outdoor bench, touching up a garden gate, or working through a full backyard refresh, getting the prep step right is everything.
Contents
- What Each Method Actually Does
- Where Each Method Delivers the Best Results
- What Goes Into Liquid Sandpaper
- Common Misconceptions
- Liquid Sandpaper vs Regular Sandpaper: Knowing When to Reach for Each
- Caring for Your Surface After Prep
- Planning Your Finishing Projects Strategically
- Frequently Asked Questions
What Each Method Actually Does
Before you can choose between the two, you need a clear picture of what each one is actually doing to your surface. These are not two versions of the same tool — they operate on completely different principles, and mixing them up leads to prep work that either wastes your time or sets your project up to fail.
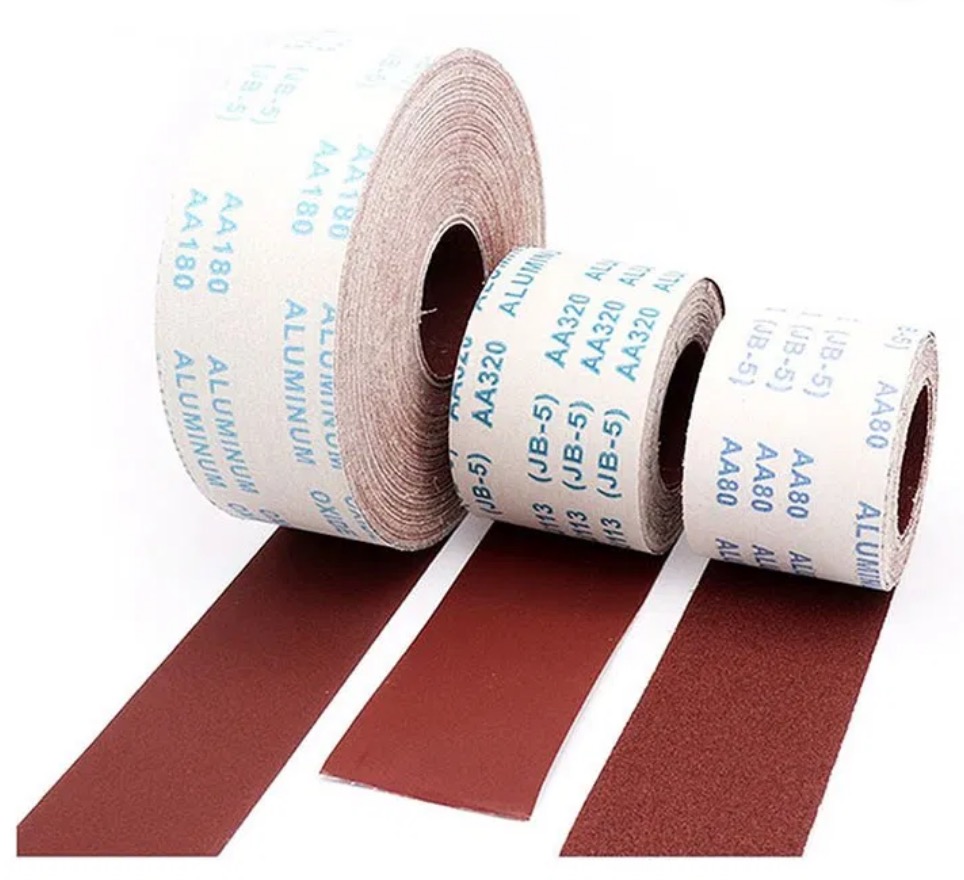
How Regular Sandpaper Works
Regular sandpaper is an abrasive material — particles of aluminum oxide, silicon carbide, garnet, or similar minerals bonded to a paper or cloth backing. The grit rating tells you how coarse or fine those particles are. Lower numbers like 60 or 80 are aggressive and remove material quickly. Higher numbers like 220 or 400 are much finer, meant for smoothing and final prep work rather than stripping. According to Wikipedia's overview of sandpaper, the grading system traces back to the 19th century and is now standardized across most of the world.
When you sand a surface, you're doing several things at once: removing old finishes, flattening imperfections, and creating tiny scratches that give new coatings something to grip. It's physical work, and it creates dust. That dust gets into the grain of the wood, into the air, and onto every nearby surface. Managing that mess is part of the job when you choose this route.
How Liquid Sandpaper Works
Liquid sandpaper doesn't abrade anything. Instead, it chemically attacks the surface of an existing finish — typically a gloss or semi-gloss paint or varnish — and dulls it enough that a new coat can adhere properly. You wipe it on with a rag, let it sit briefly, then wipe it off. The result is a surface that's slightly etched and ready to accept paint or primer without the need for mechanical sanding.
This matters most when you're dealing with surfaces that are hard to sand — intricate carved furniture, tight corners, spindle railings, or large flat areas where you just don't want the mess. It's worth being clear from the start: liquid sandpaper does not fill gaps, fix deep scratches, or strip paint. If your surface has those problems, you'll still need to get physical with it.
Where Each Method Delivers the Best Results
Both options earn their place in your finishing kit — you just need to know which projects actually benefit from each approach. Surface condition is usually the deciding factor.
Projects That Call for Regular Sandpaper
Regular sandpaper is the right choice when you're working raw wood, stripping a failing finish, or dealing with any surface that has structural imperfections. If you're building or finishing something from scratch — say, crafting a handmade wooden walking stick or cane and want to bring the surface to a smooth, paint-ready finish — sandpaper is non-negotiable. You need that mechanical abrasion to level the grain and open up the wood fibers before you apply anything at all.
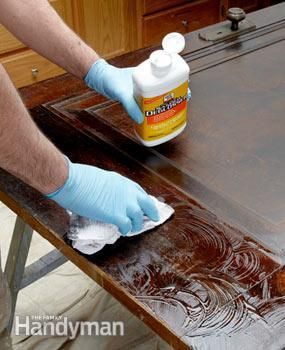
It's also the better choice for outdoor projects with heavily weathered surfaces. If the finish is cracked, peeling, or chalky, no chemical deglosser is going to save you — you need to strip it down mechanically first. The same goes for any surface where paint adhesion has already failed. Start fresh with sandpaper and build up from there.
Projects That Call for Liquid Sandpaper
Liquid sandpaper excels when you're working over a surface that's already in decent shape and just needs to be refreshed before repainting. Think about repainting a piece of outdoor sectional patio furniture that's still structurally sound but has lost its luster. If the existing finish is solid — no peeling, no cracking — a wipe-down with liquid sandpaper can prep the surface in a fraction of the time it would take to scuff-sand by hand.
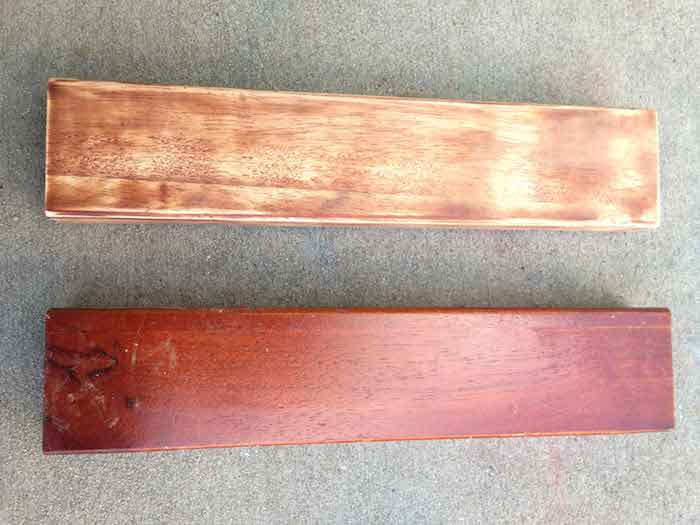
It's also useful for furniture with decorative details — spindles, routed edges, carved accents — where sandpaper would either skip over recessed areas or leave visible scratch marks. Liquid sandpaper gets into those details without any mechanical effort. The trade-off is that it's a chemical process, so you'll need gloves, ventilation, and a little patience while it works.
Always test liquid sandpaper on a small, inconspicuous area first — some finishes react unpredictably, and a quick patch test saves you from a full-surface surprise.
What Goes Into Liquid Sandpaper
If you've ever wondered why liquid sandpaper smells the way it does — sharp, solvent-heavy, and unmistakable — it's because of the chemical mix inside the bottle. Understanding the main ingredients helps you use it safely and choose the right product for your specific surface type.
Key Active Ingredients
Most liquid sandpaper formulations rely on a combination of solvents that work together to soften and dull existing finishes. The four most common ones you'll encounter are shown below.
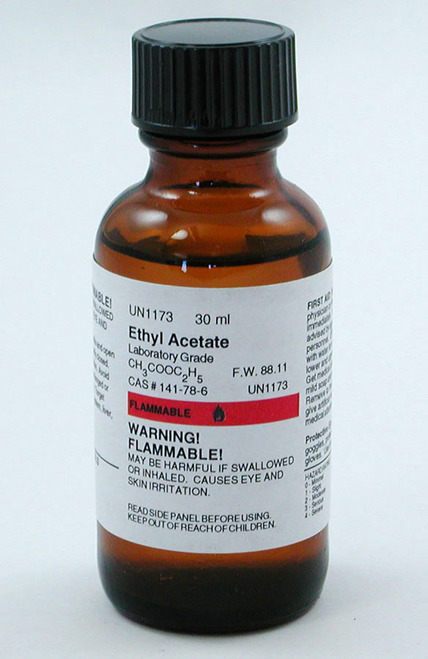
Ethyl acetate is a fast-evaporating solvent with a fruity odor you'll recognize from nail polish remover. It dissolves the upper layer of gloss finishes quickly and is one of the primary workhorses in most solvent-based deglossers.
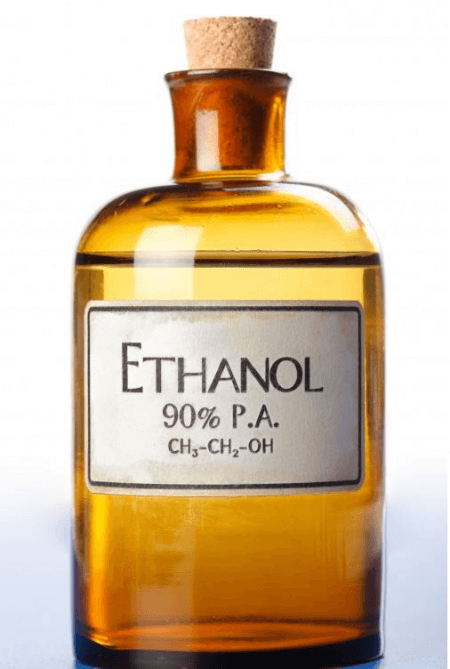
Ethanol serves as a carrier and helps distribute the active solvents evenly across the surface. It evaporates cleanly and doesn't leave residue behind, which matters when you need a surface that's ready to paint shortly after treatment.
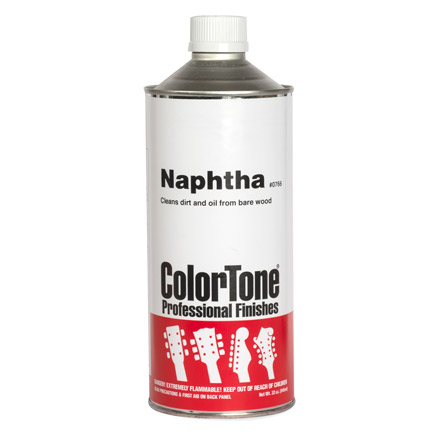
Naphtha is a petroleum-based solvent that cuts through grease, wax, and oil-based finishes. It's particularly useful on surfaces that have been treated with furniture polish or wax over the years — products that would otherwise form a barrier preventing new paint from bonding properly.
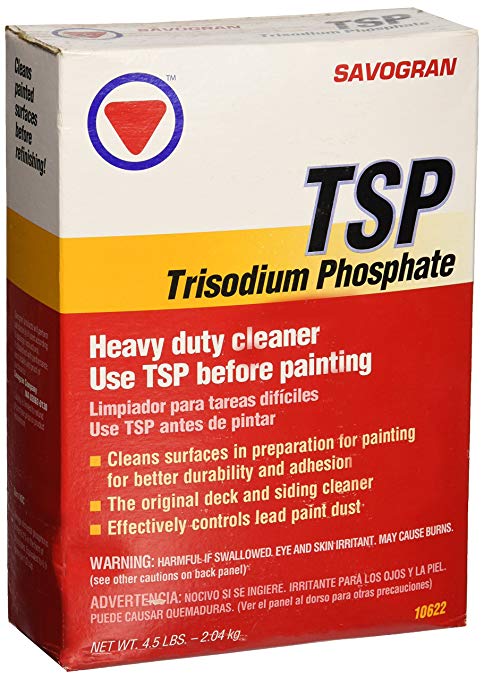
Some water-based deglossers use trisodium phosphate (TSP) or TSP substitutes instead of organic solvents. These are less aggressive and better suited to latex paint systems, producing far less fume than solvent-based formulas. If you're working in a partially enclosed outdoor space like a covered patio, a TSP-based product is worth serious consideration.
Products Worth Knowing About
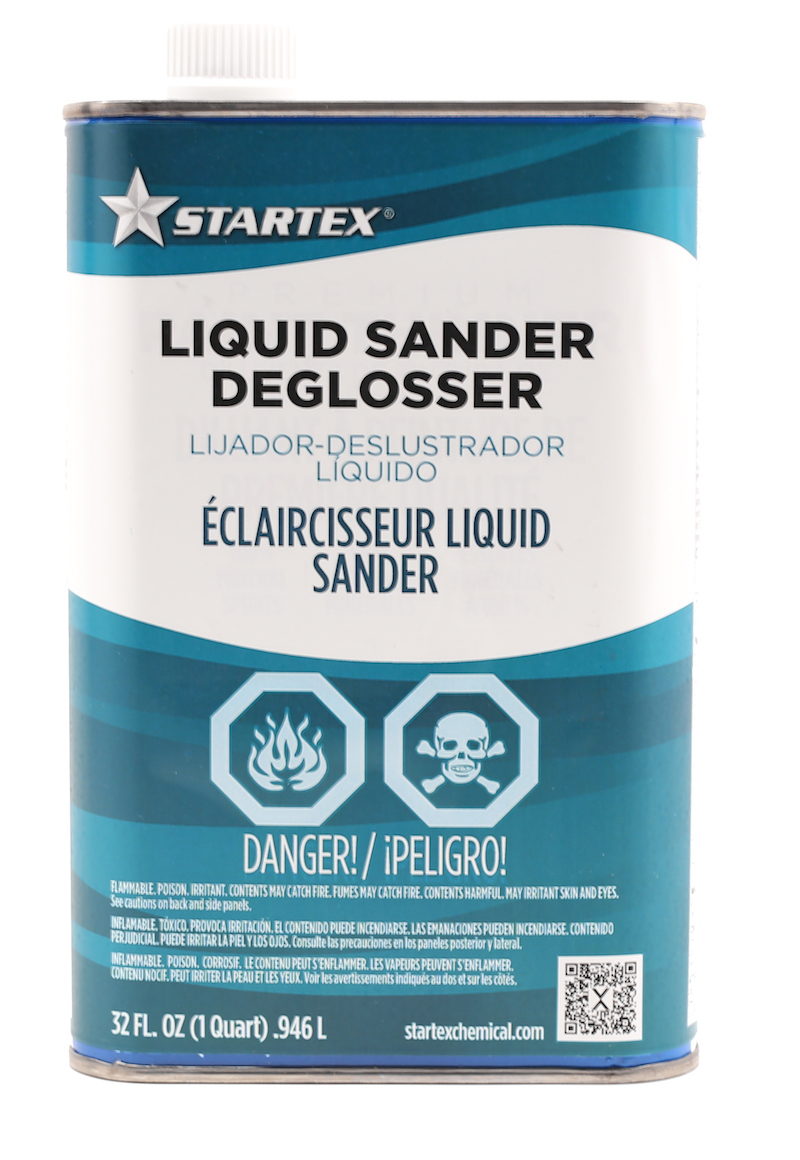
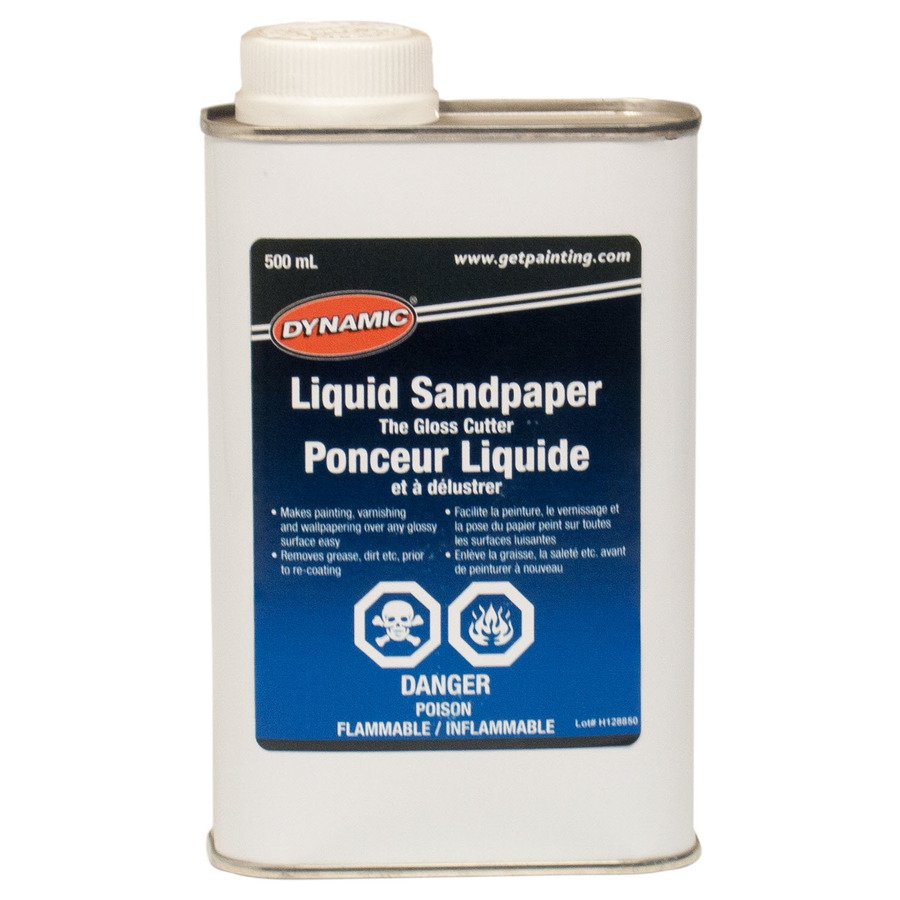
The most widely known product in this category is Klean-Strip's Liquid Sander Deglosser. It's solvent-based, works quickly on oil and alkyd finishes, and is available in quart and gallon sizes for larger jobs. For water-based systems, TSP-based alternatives like Wilbond are gentler options. Your choice between them should come down to the existing finish type on your surface — solvent-based deglossers for oil finishes, water-based for latex paint systems.
Common Misconceptions Worth Clearing Up
The debate around these two products has generated a fair amount of confusion, and some of it has solidified into persistent myth. Here are the two most common ones worth addressing head-on.
It Does the Same Job as Sandpaper
This is the big one. Liquid sandpaper does not replace regular sandpaper — it replaces a specific step of the sanding process, which is scuff-sanding an already-finished surface to promote adhesion. It cannot strip paint. It cannot level a rough or uneven surface. It cannot open up bare wood grain for primer penetration. If you use it expecting those results, you'll be disappointed, and your project will show it.
The confusion comes from the name. "Liquid sandpaper" sounds like a complete substitute, but a more accurate label — "chemical deglosser" — tells you exactly what it does: removes gloss. That's its job. If your surface needs more than deglossing, you need to address that first with mechanical sanding or a dedicated chemical stripper.
More Chemical Means a Better Bond
Applying extra liquid sandpaper, leaving it on longer, or using multiple coats does not create a stronger mechanical bond between the old and new finish. In fact, over-application can leave a chemical residue on the surface that actively interferes with paint adhesion. Follow the product's recommended dwell time, wipe it off thoroughly with a clean cloth, and trust the process. Restraint produces better results here than enthusiasm.
Liquid Sandpaper vs Regular Sandpaper: Knowing When to Reach for Each
Here's a practical side-by-side comparison you can use when standing in front of your project and trying to decide which direction to go.
| Situation | Regular Sandpaper | Liquid Sandpaper |
|---|---|---|
| Bare or raw wood | Yes | No |
| Peeling or failing finish | Yes | No |
| Glossy surface in solid condition | Works, but optional | Ideal |
| Carved or intricate surfaces | Difficult | Yes |
| Large flat areas (dust-sensitive environment) | Works | Faster and cleaner |
| Surface with wax or polish residue | Possible | Yes (solvent-based) |
| Deep scratches or surface gouges | Yes | No |
| Limited ventilation | Preferred | Water-based formula only |
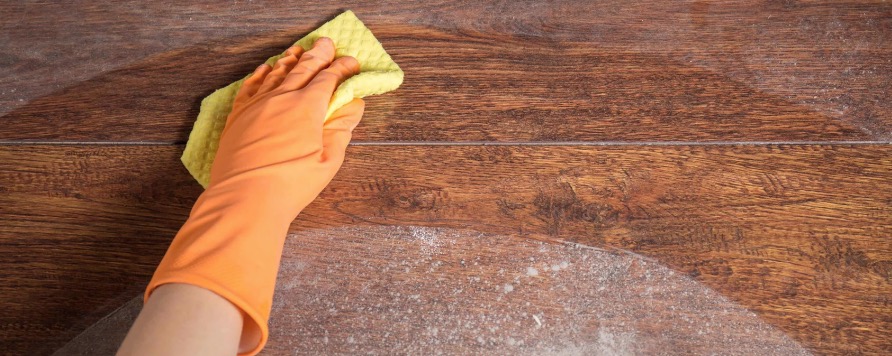
Stick with Regular Sandpaper When...
You're working on bare wood, you have heavy paint buildup, or the existing finish is failing in any way. These scenarios need mechanical abrasion — there's no chemical shortcut. You should also choose sandpaper when you want precise control over the final texture. You can take a surface to 120 grit for primer adhesion or push to 220 for a near-smooth base coat surface. Liquid sandpaper doesn't give you that kind of graduated control.
Outdoor structures that have been exposed to full seasons of UV, moisture, and temperature swings almost always require sandpaper first. When you're preparing to refinish and protect a pergola heading into harsher weather, you'll typically encounter oxidized or chalky surfaces that no deglosser can adequately prep. You need to cut through that degraded layer mechanically before any topcoat will stick reliably.
Choose Liquid Sandpaper When...
Your surface is intact, in good shape, and just needs adhesion prep before a fresh coat. This is the sweet spot for liquid sandpaper. It's also where it saves you the most time — a surface that would take 45 minutes to scuff-sand by hand can often be wiped down in under 10 minutes with a deglosser. That time savings compounds quickly when you're working through multiple pieces or a wide surface area.
Liquid sandpaper works best on a clean surface — degrease with a mild detergent wash and let everything dry completely before applying any chemical deglosser.
Caring for Your Surface After Prep
Whether you sanded or used a chemical deglosser, what you do in the window between prep and painting matters just as much as the prep itself. Rushing this step is one of the most common reasons a fresh coat of paint fails ahead of schedule.
Immediate Cleanup and Timing
After sanding, dust is your primary enemy. It settles into the surface and creates adhesion problems under primer or paint. Wipe down thoroughly with a tack cloth — not a dry rag, which simply redistributes the particles — before applying anything. After using liquid sandpaper, wipe the surface with a clean, lightly damp cloth to remove chemical residue, then allow it to dry completely. Most product labels recommend applying the first coat within a few hours of deglossing. The longer you wait, the more the surface can pick up airborne oils and dust that compromise the bond you just worked to create.
Protecting the Finish Over Time
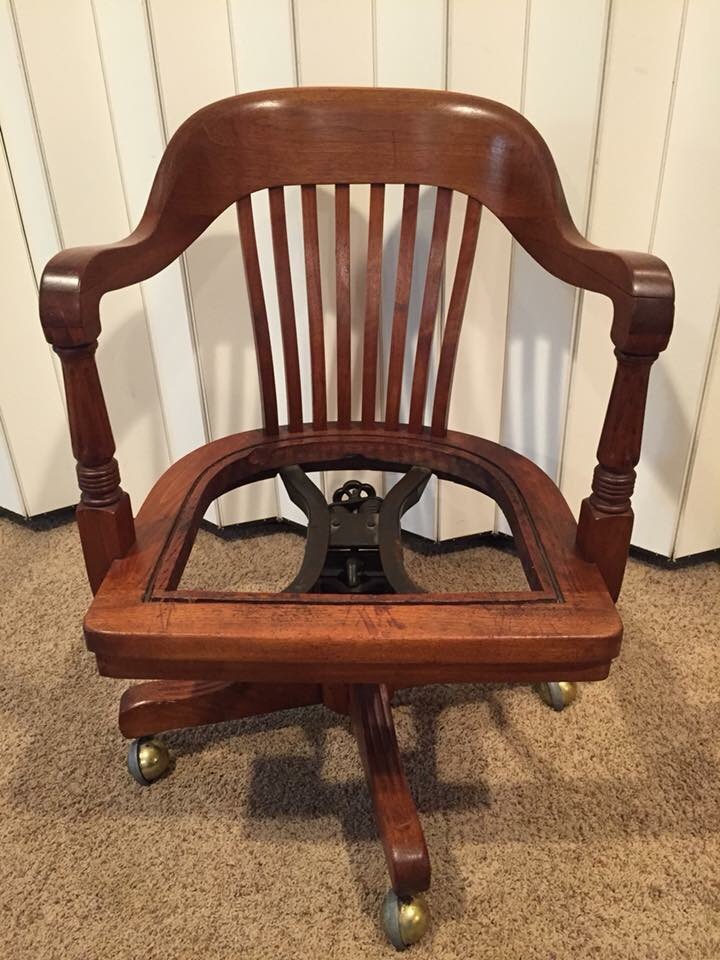
A well-prepped surface can hold a finish for years — but only if the topcoat is the right product for the environment. For outdoor pieces, always use an exterior-rated paint or varnish. UV inhibitors and moisture resistance aren't marketing extras; they're what keep your work looking good through sun, rain, and temperature swings. For heat-exposed pieces, specialty high-temp coatings become essential. Standard paint breaks down fast near sustained heat. Understanding the full cycle of maintenance — not just the initial prep — is part of keeping outdoor pieces like a chiminea properly cared for through the seasons.
Think of prep as a long-term investment. The better the foundation — whether that's 100-grit followed by 220, or a proper chemical degloss — the longer your finish will last before it needs attention again.
Planning Your Finishing Projects Strategically
Once you understand the tools, the smarter move is to think about finishing as a system rather than a one-off task. This matters especially if you maintain outdoor furniture, structures, or wooden features on a regular basis.
Building a Simple Finishing Workflow
A practical approach for most DIYers is to keep both options in stock and use them in tandem based on what each surface actually needs. For a first-time refinish — stripping old paint and starting fresh — reach for sandpaper. For subsequent refreshes, liquid sandpaper can often handle the prep work on its own, assuming the finish has held up well. That pattern of sandpaper-first, deglosser-for-refreshes is one of the most efficient approaches for maintaining outdoor wood over multiple seasons.
When planning larger jobs like refinishing a gazebo or a set of outdoor structures, it helps to assess each surface individually rather than treating the entire project the same way. Some panels may be in good enough shape for a chemical degloss; others might be peeling and need mechanical prep. Taking a few minutes to evaluate before you start saves you from either over-working surfaces that don't need it or under-prepping ones that do. For a sense of what a properly finished outdoor structure looks like in context, it's useful to browse setup and finishing guides for outdoor gazebos to see how surface prep fits into the bigger picture.
Scaling Up for Larger Projects
For large-scale projects, the labor and time math shifts considerably. Sanding a full fence line or a wide deck surface by hand is exhausting work — this is where a random orbital sander pays for itself quickly. On the liquid sandpaper side, switching from a rag to a sponge applicator or a paint pad covers large areas faster and more evenly. Investing in the right application tool makes a real difference in both speed and the consistency of your results.
Keep in mind that larger projects also mean longer fume exposure if you're using solvent-based deglossers. Work in manageable sections, stay upwind, and take regular breaks. If your project spans multiple sessions, store your liquid sandpaper in a cool, sealed location between uses — heat degrades the solvents and reduces their effectiveness over time.
Frequently Asked Questions
Can I use liquid sandpaper on bare wood?
No. Liquid sandpaper is a chemical deglosser designed to dull existing finishes, not to prepare bare wood. On a bare surface, it won't create the mechanical texture that paint and primer need to bond properly. Use regular sandpaper instead — work through the grits from coarse to fine, then prime and paint from there.
Does liquid sandpaper work on all types of paint?
It works best on oil-based and alkyd finishes. Water-based latex paints can be trickier — some deglossers perform well on them, others don't. Always check the product label for compatibility, and do a small test patch on a hidden area before treating the whole surface.
Is liquid sandpaper safe to use outdoors?
Yes, outdoor use is generally the safest environment for solvent-based formulas since fumes dissipate more easily in open air. Still, avoid working on still, humid days when evaporation slows and fume concentration stays higher. If you're in a covered or partially enclosed outdoor space, consider a water-based or TSP-based formula instead.
How long should I wait before painting after using liquid sandpaper?
Most manufacturers recommend applying the first coat within one to four hours of treating the surface. Check your specific product's instructions, as dwell times vary. Waiting too long allows the surface to re-contaminate from airborne dust and oils, which can undermine the adhesion prep you just completed.
Can liquid sandpaper completely replace sanding?
Not entirely. It replaces the scuff-sanding step on surfaces that already have an intact, intact finish in good condition. For bare wood, peeling paint, heavy buildup, or surfaces with structural problems, you still need mechanical sanding. Think of it as a time-saver for specific scenarios, not a universal substitute for abrasive prep work.
What grit sandpaper should I use before painting outdoor furniture?
For rough or weathered wood, start with 80 or 100 grit to remove material efficiently, then follow with 150 or 180 grit to smooth the surface. Finish with 220 grit if you want a near-smooth base before priming. For a light scuff on an already-primed surface, 220 grit alone is usually sufficient to promote adhesion.
The right prep tool isn't the most advanced one — it's the one that honestly matches what your surface actually needs.


About Simmy Parker
Simmy Parker holds a Bachelor of Science in Civil Engineering from Sacramento State University and has applied that technical background to outdoor structure design, landscape planning, and backyard improvement projects for over a decade. Her love for the outdoors extends beyond design — she regularly leads nature hikes and has developed working knowledge of native plants, soil conditions, and sustainable landscaping practices across Northern California. At TheBackyardGnome, she covers backyard design guides, landscaping ideas, and eco-friendly outdoor living resources.
You can Get FREE Gifts. Receive Free Backyard Items here. Disable Ad Blocker to get them all now!
Once done, hit anything below