My grandfather kept a gnarled hickory cane propped by the back door for his entire adult life, and as a kid I never gave it a second thought. It was just part of the house. Years later, after I twisted my ankle on a rocky trail and spent two miserable weeks hobbling on a cheap aluminum pole from the drugstore, I finally sat down and learned how to make a wooden walking stick the right way — and the difference was immediate and obvious. If you enjoy hands-on outdoor builds, this project belongs in your woodworking projects rotation.

A handmade wooden walking stick does things a factory pole simply cannot. You shape it to your exact height, select a wood species that feels right in your hand, and finish it in a way that suits your personality — whether that's a minimalist cane sanded smooth and sealed with linseed oil, or a carved hiking staff with a natural fork handle and a burned decorative band near the grip. The result is something functional and genuinely personal, built to last decades with the right care and attention.
This guide walks you through every stage — from sourcing raw wood in the field to applying a final protective coat — with honest advice calibrated to both first-time builders and experienced woodworkers ready to push their technique further.
Contents
- The Right Time to Make a Wooden Walking Stick (and When to Skip It)
- Tools and Materials for the Job
- Selecting and Preparing the Right Wood
- Shaping, Carving, and Detailing Your Stick
- Finishing and Long-Term Protection
- Mistakes That Ruin an Otherwise Good Walking Stick
- Troubleshooting and Leveling Up Your Craft
The Right Time to Make a Wooden Walking Stick (and When to Skip It)
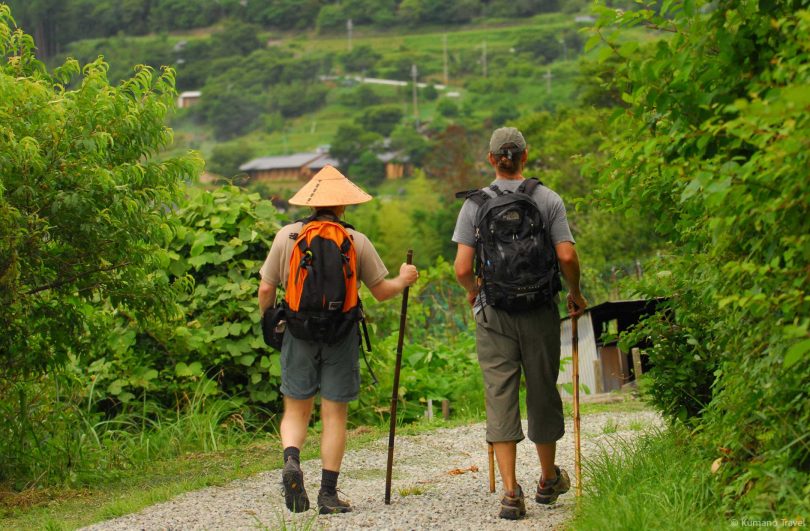
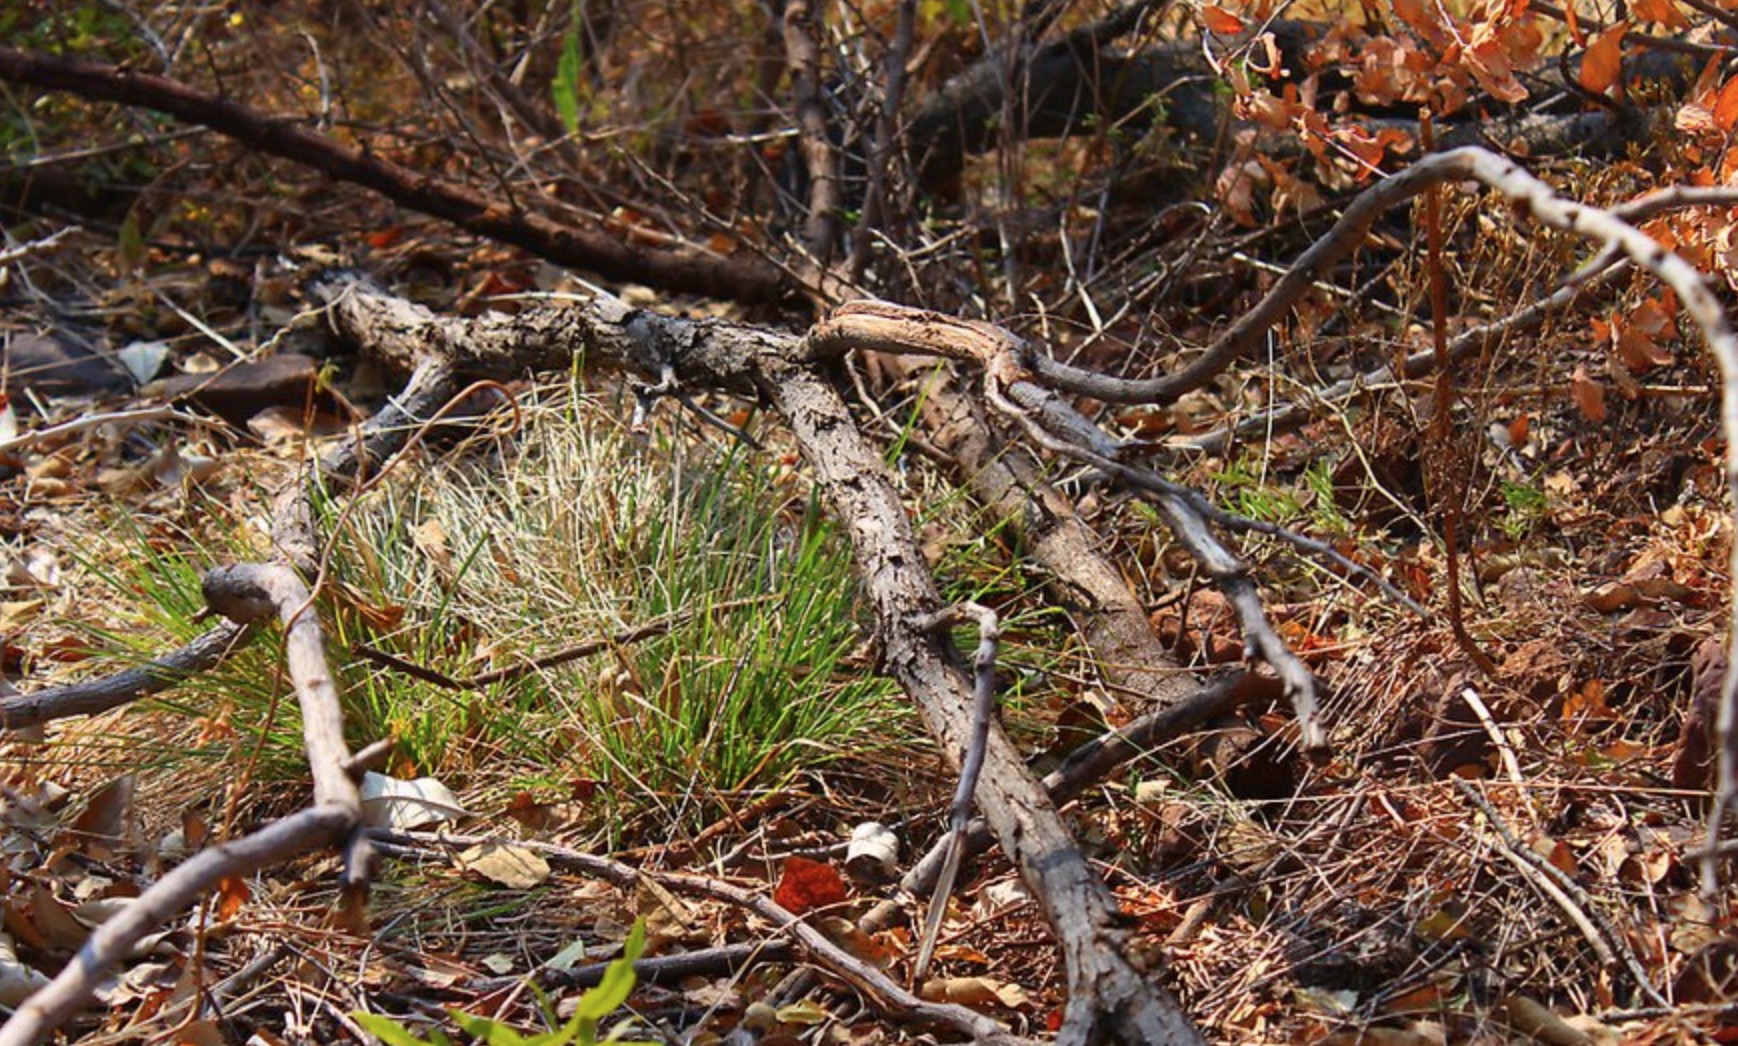
The best time to begin this project is late fall or early winter, when deciduous trees have dropped their leaves and wood moisture content has naturally decreased. Cutting a branch during this window gives you a head start on the drying process, and the cooler temperatures slow any mold or fungal growth that can compromise freshly cut wood. If you live near preserved natural areas — trails managed by organizations like Friends of Salt Springs Park — you'll find a much wider selection of candidate branches after leaf drop, with clearer sightlines through the understory.
Ideal Conditions for Starting
You're ready to start when you have a dry workspace with good airflow, at least six months before you actually need the finished stick, and a rough sense of the wood species growing near you. Green wood — freshly cut — can be shaped, but it warps unpredictably as it loses moisture unless you account for that movement in your design from the beginning.
When You Should Wait
If you're working against a tight timeline and need a cane within a few weeks, skip the green-wood approach entirely and purchase pre-dried hardwood dowel stock from a lumber yard. Forcing green wood to dry quickly with heat guns or direct sunlight almost always causes cracking along the grain, and no amount of sanding will save a stick with a deep longitudinal split running through its core.
Tools and Materials for the Job
You don't need a fully equipped workshop to build a solid walking stick. The core tool list is surprisingly short, and most of what you need either already lives in a basic garage kit or costs very little to add.
Basic Tools Every Beginner Needs
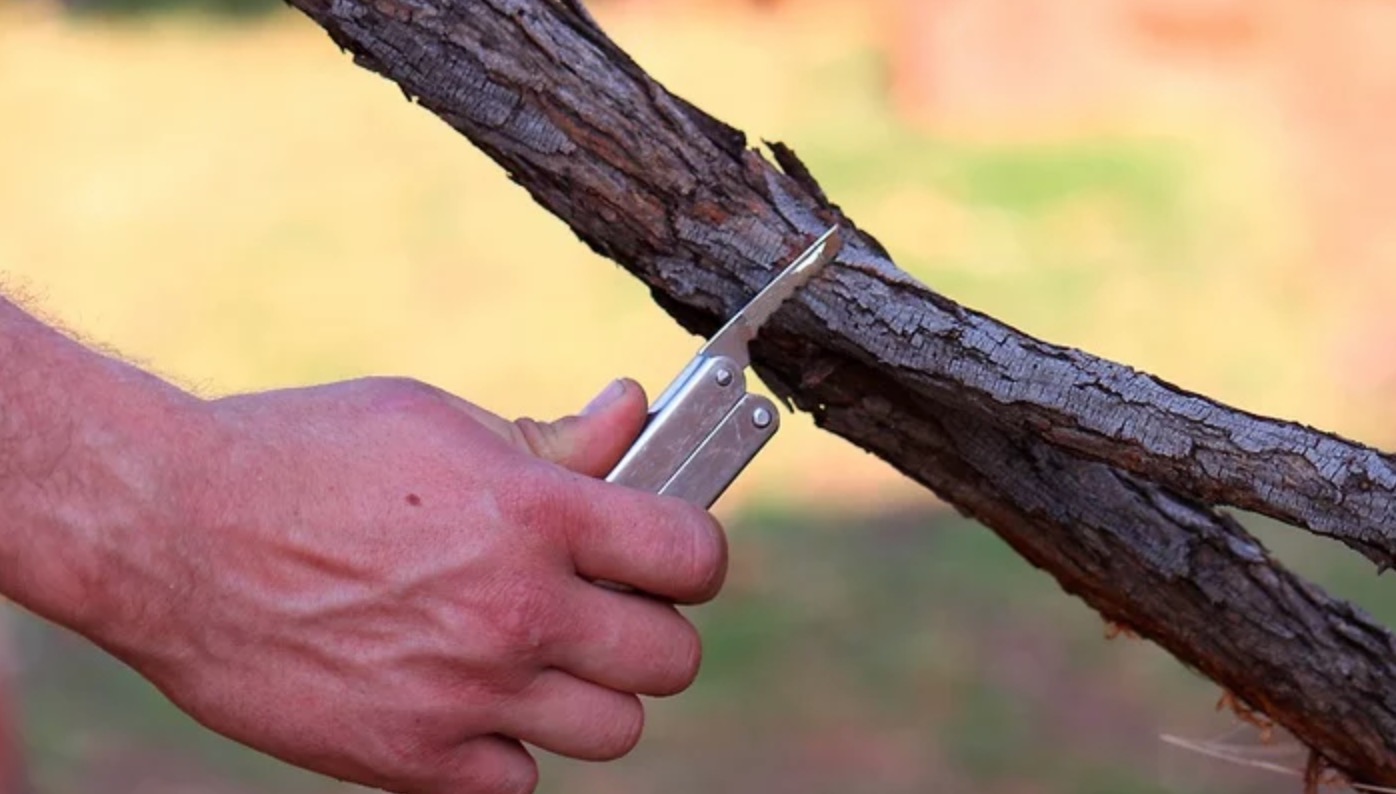
A quality folding pocket saw handles the initial cut in the field cleanly and safely. Back home, a sharp drawknife or a sturdy fixed-blade carving knife removes bark efficiently without gouging the wood beneath. You'll also need sandpaper in at least three grits — 80, 120, and 220 — along with a carving gouge or two if you want decorative detail near the handle. A tape measure, pencil, and a reliable bench vise or clamp complete the essentials.
| Tool | Primary Purpose | Skill Level |
|---|---|---|
| Folding pocket saw | Cutting branch to rough length in the field | Beginner |
| Drawknife or carving knife | Removing bark and rough shaping the shaft | Beginner |
| Sandpaper (80 / 120 / 220 grit) | Progressive surface smoothing | Beginner |
| Carving gouge | Decorative relief detail near handle | Intermediate |
| Spokeshave | Refining curves and taper along the shaft | Intermediate |
| Wood burning tool | Permanent decorative patterns or lettering | Advanced |
| Lathe | Precision turning for symmetrical canes | Advanced |
Optional Upgrades Worth Considering
A spokeshave transforms the shaping stage from tedious to satisfying, giving you fine control over the shaft's taper in a way that a knife simply cannot replicate at speed. A wood burning tool lets you add permanent decorative elements without risking the structural surface through deep carving. Neither is essential for a first build, but both become worthwhile investments once you've committed to making more than one stick.
Selecting and Preparing the Right Wood
Choosing the right species is the single most consequential decision in the entire project. Hardwood species with straight, tight grain patterns produce the strongest and most durable walking sticks. According to Wikipedia's overview of walking sticks, traditional cane-making has long favored materials like blackthorn, chestnut, and ash for their combination of density and natural flexibility — qualities that remain just as relevant today.
Species Worth Seeking Out
Oak delivers exceptional strength but adds significant weight on long hikes. Hickory is the favorite among serious stick makers — lighter than oak, extremely tough, and it resists splitting under repeated lateral stress. Ash has a natural flex that absorbs trail vibration, making it noticeably more comfortable for extended use. In North America, ironwood and young cherry both perform beautifully, with cherry developing a rich patina over time. Avoid softwoods like pine or cedar for weight-bearing sticks; they compress and dent under repeated load and won't hold a ferrule securely for long.
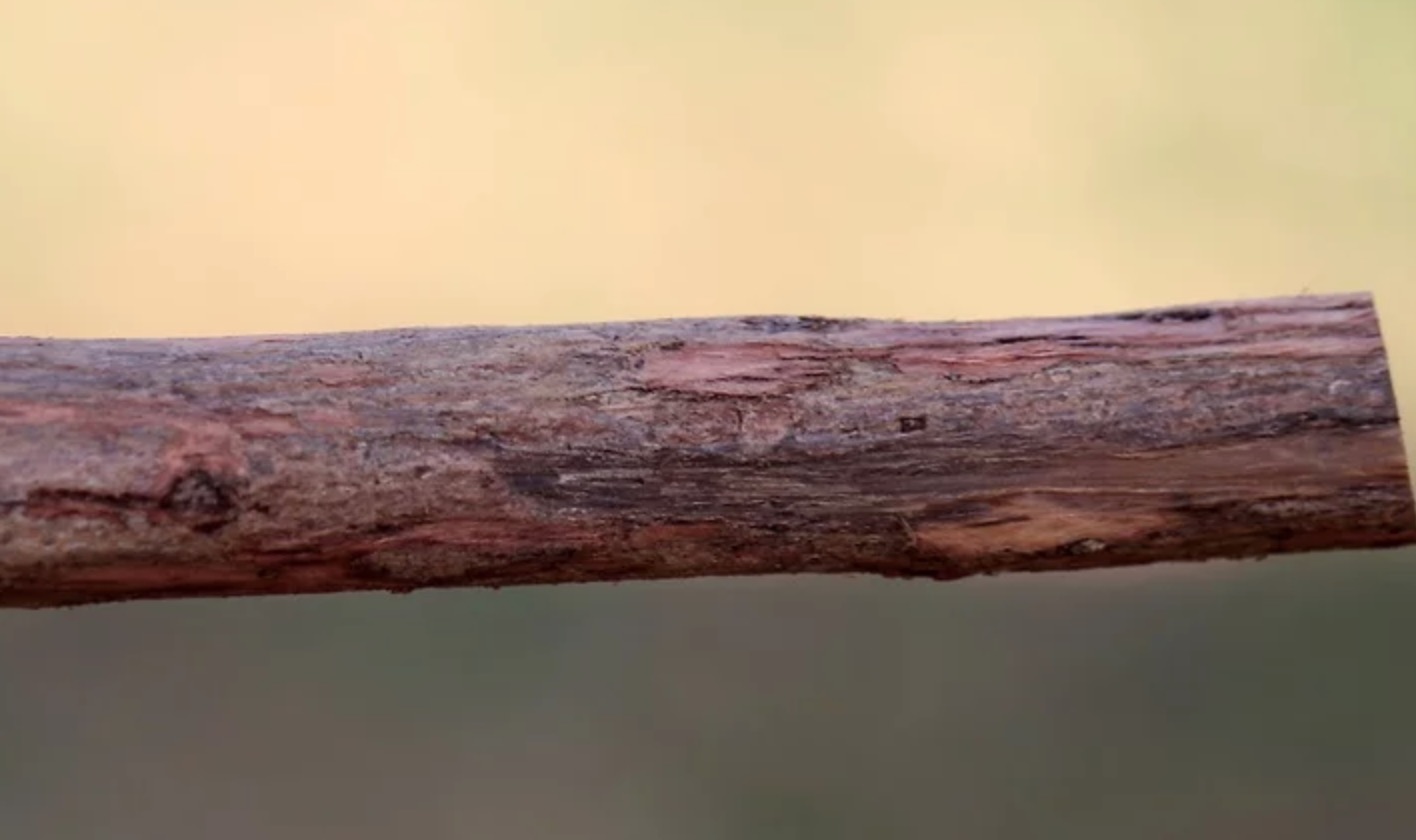
Cutting and Drying Your Blank
Cut your branch roughly six inches longer than your intended finished length — that buffer gives you material to trim after any end checking (small cracks at the tips that appear during drying). Strip the bark within the first few days after cutting, because leaving it on too long traps moisture and invites insects deep into the wood. Hang the stick vertically in a cool, shaded space with airflow on all sides. Six months of air drying is the reliable minimum, but twelve months produces a noticeably more stable blank that holds its shape through seasonal humidity swings.
Shaping, Carving, and Detailing Your Stick
Once your blank is fully dry, the real craftsmanship begins. Work the shaft first, before touching the handle area — this keeps your primary grip reference point intact as you shape the rest of the stick and lets you make accurate length and taper decisions without disturbing what will become your most-handled section.
Rough Shaping the Shaft
Use your drawknife or carving knife in long, even strokes that follow the grain direction rather than cutting across it. You're not trying to make the shaft perfectly round at this stage — you're removing high spots and establishing a smooth, even taper from handle to tip. Check your progress frequently by sighting down the length of the stick the way you'd sight down a rifle barrel. A slight bend that developed during drying can sometimes be corrected by careful heating over a gentle flame and slow manual bending while the wood is warm, though this technique only works reliably on mildly warped sticks.
Never shape against the grain in long passes — it tears fibers instead of cutting them, and the resulting surface requires twice the sanding to recover.
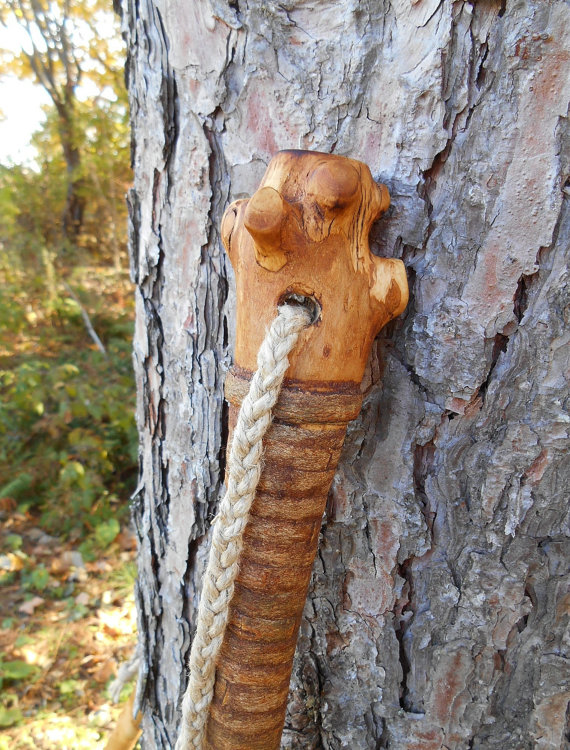
Handle Design and Grip
The handle is where your stick becomes genuinely personal. A simple rounded knob works well for a cane used primarily for balance on neighborhood walks or short outings. A natural fork or crook at the top of a hiking staff distributes grip pressure more evenly across the palm and is far more comfortable on long ascents. If you hike trails in places like the Laguna Greenbelt or similar coastal greenbelts, a T-bar style handle carved from a perpendicular branch junction gives excellent wrist leverage on uneven and rooty terrain, where a standard knob grip causes hand fatigue.

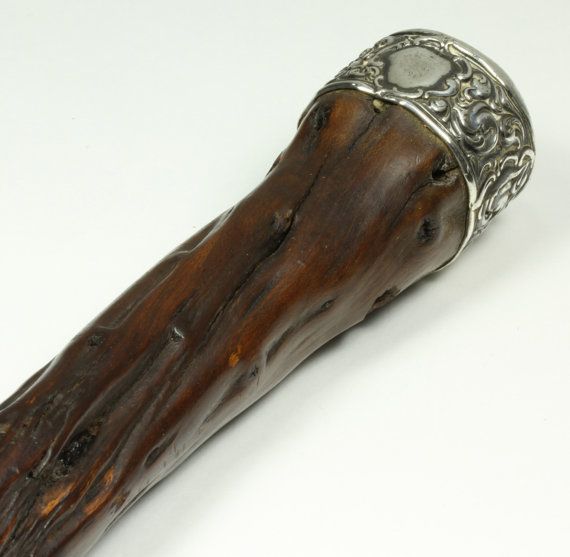
Finishing and Long-Term Protection
A well-finished walking stick handles weather, trail grit, and daily hand oils far better than an untreated one. The finishing stage is where most beginners underinvest their time, and it shows within a single season of regular use — the wood darkens unevenly, the surface feels rough after rain, and the tip compresses faster than it should.
Sealing and Staining Options
Sand through your grits progressively — 80 to 120 to 220 — removing all tool marks and raised grain before you open any finish. Boiled linseed oil is the traditional first coat: it penetrates deep into the grain and builds a moisture-resistant base layer that lets the wood breathe naturally. Apply two thin coats, letting each dry fully before the next. Over that base, a few coats of spar varnish or pure tung oil adds hard surface protection suited for outdoor exposure. If you want to stain the wood darker, apply stain before any topcoat and let it cure completely — rushing this step causes uneven color absorption and adhesion failures that no second coat will fix. The same principles that apply when winterizing a pergola — sealing wood thoroughly before cold and wet arrive — apply equally here.
Adding a Metal or Rubber Tip
The tip takes more punishment than any other part of the stick. A bare wood tip wears down quickly on concrete or stone and becomes dangerously slick on wet surfaces. A rubber ferrule glued or screwed to the tip solves both problems and costs almost nothing to source. For hikers who use their stick heavily on rocky terrain, a steel tip provides longer wear life, though it generates noise on hard surfaces and offers less grip on wet rock. Replace the tip whenever it shows significant wear — a worn ferrule transfers shock directly into the shaft and accelerates hand fatigue through the handle.
Mistakes That Ruin an Otherwise Good Walking Stick
Even experienced woodworkers make predictable errors on their first few sticks. Understanding these in advance saves you a deeply frustrating redo and a wasted blank that took months to dry properly.
Rushing the Drying Process
This is far and away the most common error beginners make. Green wood looks and feels solid, but it contains enough residual moisture to warp dramatically as it dries. A stick shaped beautifully while green can curve into an arc over three months, and there's no reversing that once it's set. The fix is simple: wait. If you need to accelerate even slightly, seal both cut ends with wax immediately after harvest to slow moisture loss through the end grain and reduce end checking — but still allow a minimum of four months of full air drying before you do any serious shaping.
Skipping Surface Preparation
Applying finish over unsanded or dusty wood produces a surface that peels, bubbles, or streaks after one season outdoors. Sand methodically, wipe with a tack cloth between each grit, and apply finish only to a clean surface in a low-dust environment. This project rewards the same careful stewardship of natural materials that organizations like the Open Land Conservancy of Chester County bring to preserving the landscapes where your wood grew — cutting corners upfront costs far more time and effort later.
Troubleshooting and Leveling Up Your Craft
Solving Problems That Show Up Mid-Build
If your dried blank developed a slight warp, controlled heat can sometimes correct it. Hold the concave side carefully over a heat gun or a low campfire — the kind of open flame setup described in our guide on setting up a fire pit for outdoor use — and apply gentle manual bending pressure while the wood relaxes. Hold the corrected position until the stick cools completely, then let it sit undisturbed for 24 hours before evaluating whether the correction held. Hairline cracks along the grain can be stabilized with thin cyanoacrylate (super glue) wicked directly into the crack — it bonds to wood fiber and halts propagation cleanly. A crack wider than a millimeter, or one running more than a quarter of the shaft's length, signals structural failure; start over from a new blank rather than building on a compromised foundation.
Moving from Beginner Builds to Advanced Cane-Making
Once you've completed two or three basic sticks, the door opens to significantly more demanding techniques. Laminated staves — thin strips of contrasting wood species glued together — produce striking visual patterns and actually outperform single-piece sticks in strength-to-weight ratio when the lamination is done well. Wood burning allows you to add permanent decorative designs without compromising surface integrity through deep carving. You can also explore conservation-minded sourcing through organizations that manage sustainable timber, ensuring the wood you use was harvested responsibly rather than stripped opportunistically. At this level, the walking stick stops being a trail tool and becomes a craft object, and the skills you develop transfer directly into broader woodworking disciplines you haven't explored yet.
The stick you shape with your own hands is the one you'll reach for every single time you head out the door — because you built it for exactly how you walk, exactly where you go.


About William Murphy
William Murphy has worked as a licensed general contractor in Fremont, California for over thirty years, specializing in outdoor structures, green building methods, and sustainable design. During that career he has written about architecture, construction practices, and environmental protection for regional publications and trade outlets, bringing technical depth to subjects that most home improvement writers approach only from a consumer perspective. At TheBackyardGnome, he covers outdoor product reviews, backyard construction guides, and sustainable landscaping and building practices.
You can Get FREE Gifts. Receive Free Backyard Items here. Disable Ad Blocker to get them all now!
Once done, hit anything below