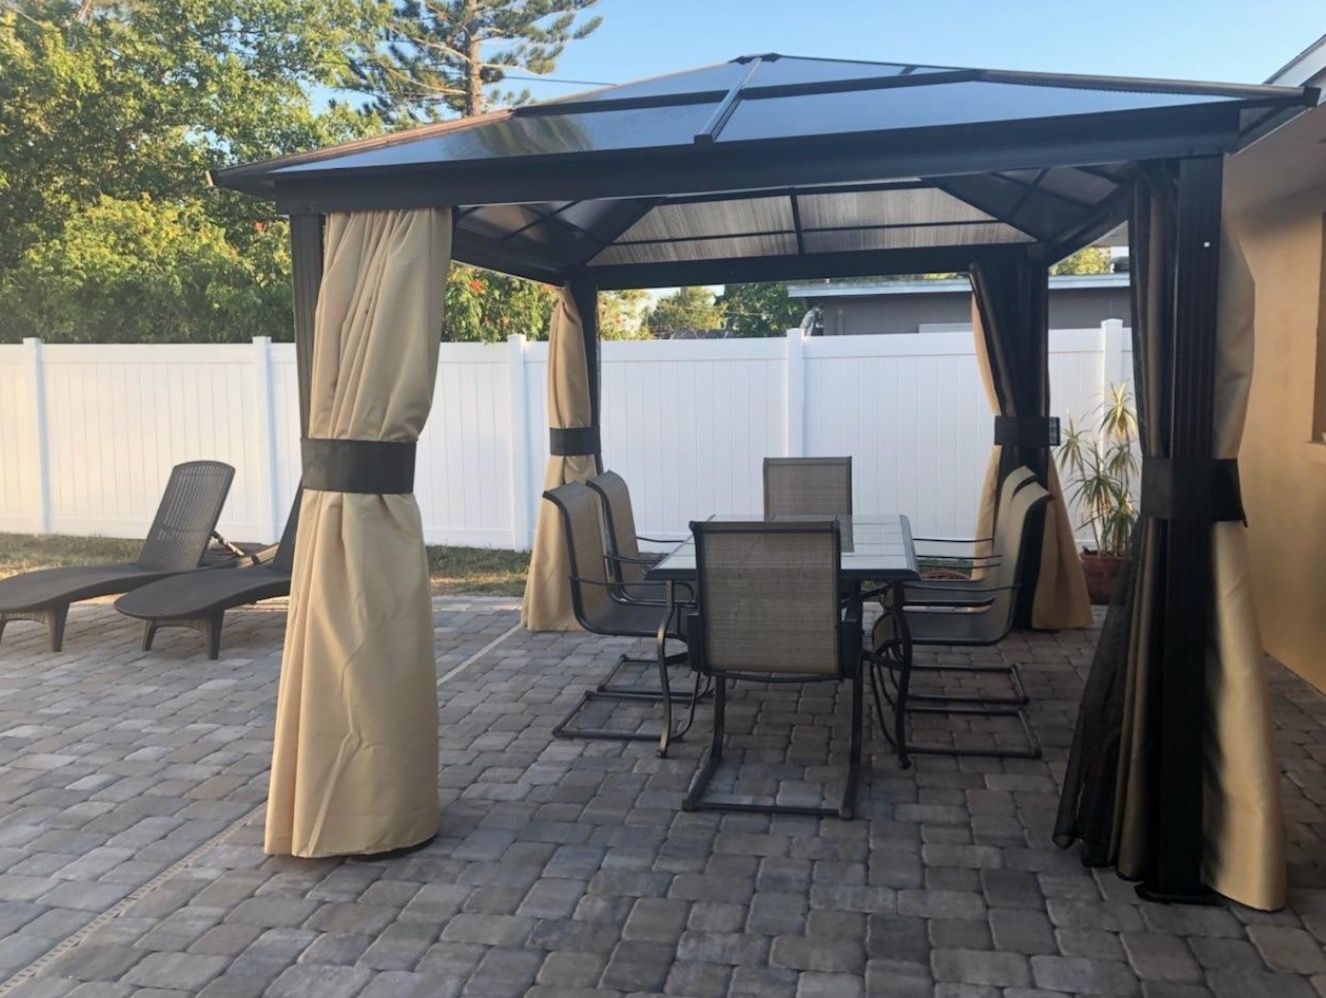
Last spring, a neighbor of mine dragged a brand-new gazebo frame into his backyard without checking a single measurement first. Three hours later, he had crooked posts, two stripped bolts, and a frustration level that no amount of iced tea could fix. If that scenario sounds familiar, this complete guide on how to set up a gazebo on grass, concrete, or pavers — part of our gazebo installation series — will save you from repeating those mistakes and help you build something that genuinely lasts.

The setup process varies dramatically depending on your surface, your gazebo type, and whether you're planning a weekend feature or a permanent outdoor room. A pop-up canopy tent and a heavy-duty hard-top structure like the Palram Palermo 3000 require completely different tools, anchoring strategies, and site preparation, and conflating the two approaches is where most failed installations begin.
Before you touch a single bolt, nail down your gazebo's weight, footprint, and anchor requirements — these three factors drive every decision that follows. Lightweight canopy models give you placement flexibility but zero wind resistance without deep stakes; permanent structures demand level, rigid bases and proper mechanical fasteners regardless of surface type. Get these basics right and the rest of the process falls into place naturally.
Contents
- How to Set Up a Gazebo with a Long-Term Plan
- Common Mistakes That Derail a Gazebo Installation
- Gazebo Setup Myths You Should Ignore
- First-Time vs. Experienced Installer Approaches
- When to Install a Gazebo — and When to Wait
- Grass, Concrete, and Paver Setups in Practice
- Frequently Asked Questions
- Next Steps
How to Set Up a Gazebo with a Long-Term Plan
Most people treat gazebo installation as a one-afternoon project, but the homeowners who end up replacing theirs within two seasons are almost always the ones who skipped the planning phase entirely. A well-planned gazebo setup starts with decisions you make before you open the box.
Choose Your Location Strategically
Walk your yard at different times of day before committing to a spot. Track sun exposure, prevailing wind direction, and drainage patterns — these factors matter more than aesthetics over a multi-year installation.
- Sun angle: Position the structure so afternoon shade falls where you'll actually sit, not behind the frame where it does nothing for you.
- Wind exposure: Avoid open corners of your yard where wind funnels — a natural windbreak extends your gazebo's functional season and reduces cumulative stress on the frame and anchors.
- Drainage: Low spots collect water after rain, which accelerates rust on steel frames and rot on wood posts — pick a site with natural runoff or plan to grade the area before installation.
- Clearance: Most gazebos require 2–3 feet of clearance on all sides for safe access and structural expansion in warm weather.
- Utility lines: Call 811 before driving any ground anchor — this is a legal requirement in most states, not a suggestion you can skip.
Match Your Surface to Your Goals
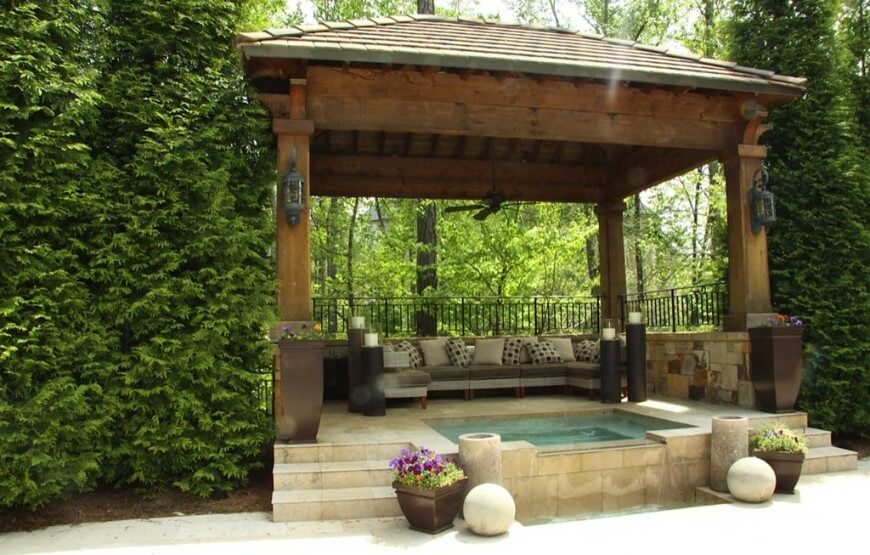
Your surface choice isn't just about what you already have — it's about what kind of outdoor living space you want to maintain five years from now. If you're planning to eventually add furniture, lighting, or even a hot tub (our guide on how to install a hot tub in your backyard covers the patio foundation planning involved), a concrete or paver base gives you the stability and flatness those additions demand from day one.
- Grass: Quickest to set up, but requires deep spiral or screw-in ground anchors and benefits from rubber base pads under each post foot to distribute load.
- Concrete: Most stable long-term surface; requires wedge anchors drilled into the slab or J-bolts cast in place before the pour.
- Pavers: Attractive and DIY-friendly; use surface-mount post brackets designed for interlocking pavers, or mortar post feet directly to the substrate with hydraulic cement.
Common Mistakes That Derail a Gazebo Installation
The instructions packaged with most gazebos are written for ideal conditions on a flat, level, solid surface — conditions that almost no real backyard provides out of the box. These are the errors that produce structural failures, voided warranties, and expensive do-overs.
Skipping the Level Check
Even a quarter-inch of unlevel ground across a 10×12 frame creates racking stress that accumulates with every wind gust, every rainfall, and every seasonal cycle of thermal expansion and contraction. Use a 4-foot level on every horizontal rail before you tighten a single bolt. Shim post feet with stainless steel washers rather than wood scraps, which compress and rot over time.
Pro tip: Tighten all bolts to finger-tight first, level the entire frame, then go back and fully torque every fastener in sequence — this prevents binding that locks an unlevel position permanently into the structure.
Getting Anchor Depth Wrong
Manufacturer instructions typically specify the minimum anchor depth for light-wind zones. If your region sees seasonal storms, add 30–50% more depth than the spec sheet calls for, because minimum compliance is not the same as reliable performance.
- For grass: spiral ground anchors should reach a minimum of 18 inches, driven vertically within 5 degrees of plumb.
- For concrete: use wedge anchors with at least 3 inches of embedment into the slab and torque them with a torque wrench, not an impact driver.
- Apply blue Loctite (not red) to all bolts passing through metal-to-metal joints — red is permanent and makes future disassembly nearly impossible.
- Re-check all anchor torque after the first major storm, because settling loosens connections quickly in new installations.
Gazebo Setup Myths You Should Ignore
Some of the most confidently shared advice about gazebo installation is also the most wrong. Understanding which conventional wisdom to discard keeps your structure safe, your warranty intact, and your neighbors' property undamaged.
Myth: You Don't Need Anchors on Grass
Every reputable gazebo manufacturer requires anchoring on any surface in any location. An unanchored 10×12 hard-top gazebo weighing 200-plus pounds becomes a dangerous projectile in a 40 mph gust — a wind speed that most regions experience several times each season. Treat anchoring as non-negotiable, not optional.
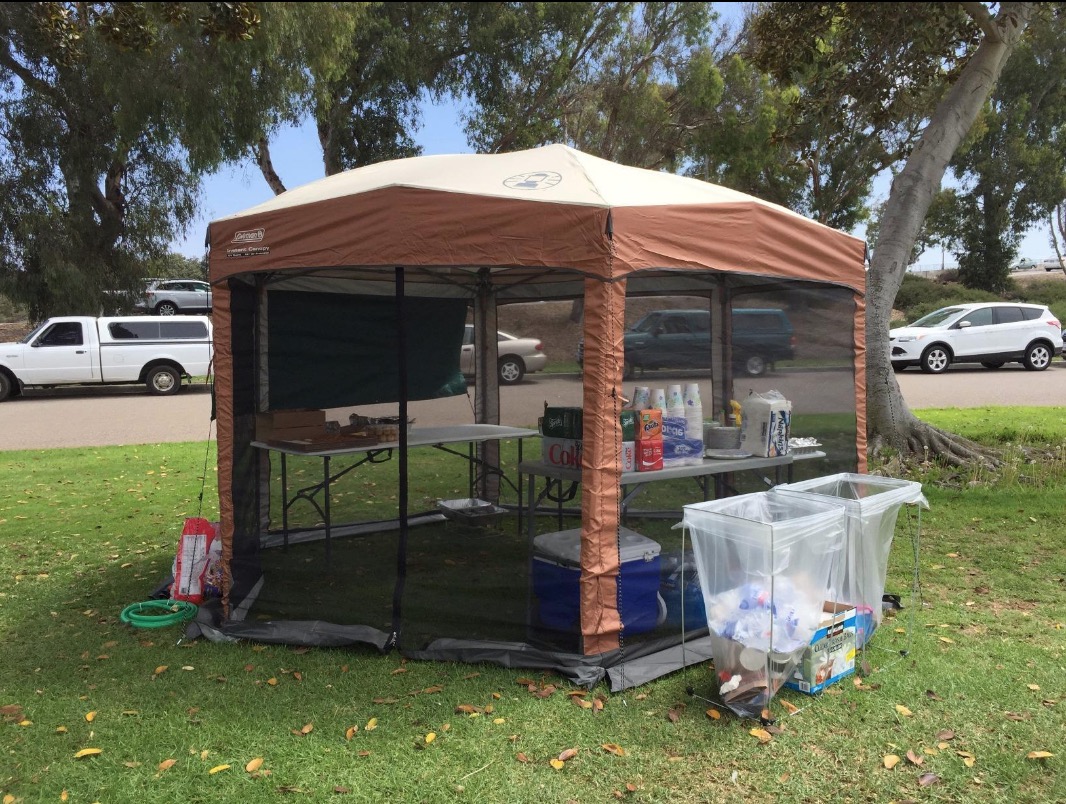
Even pop-up canopy-style gazebos — the kind used at farmers markets or casual backyard gatherings — demand staking on grass because the thin folding frame is far more vulnerable to uplift than a bolted steel structure. If you're evaluating hard-top versus soft-sided options, the Sojag Messina Hard Top Gazebo review illustrates exactly how a hard-top roof construction changes your anchoring requirements and long-term maintenance obligations.
Myth: Any Flat Surface Works Without Prep
Flat is not the same as level, and level is not the same as stable. Packed dirt feels solid underfoot but compresses under point loads applied by post feet over months and years. Old concrete slabs may look flat but can have heaved sections, delaminated areas, or hollow voids that won't hold wedge anchors reliably under cyclic loading. Always assess surface integrity with a hammer tap test on concrete and a transit level or long straight-edge on grass before committing to a permanent installation position.
First-Time vs. Experienced Installer Approaches
Your experience level changes what you need to focus on during installation. Beginners benefit most from slowing down during frame assembly; experienced installers add value through better base preparation and a more disciplined long-term maintenance routine.
What Beginners Get Wrong
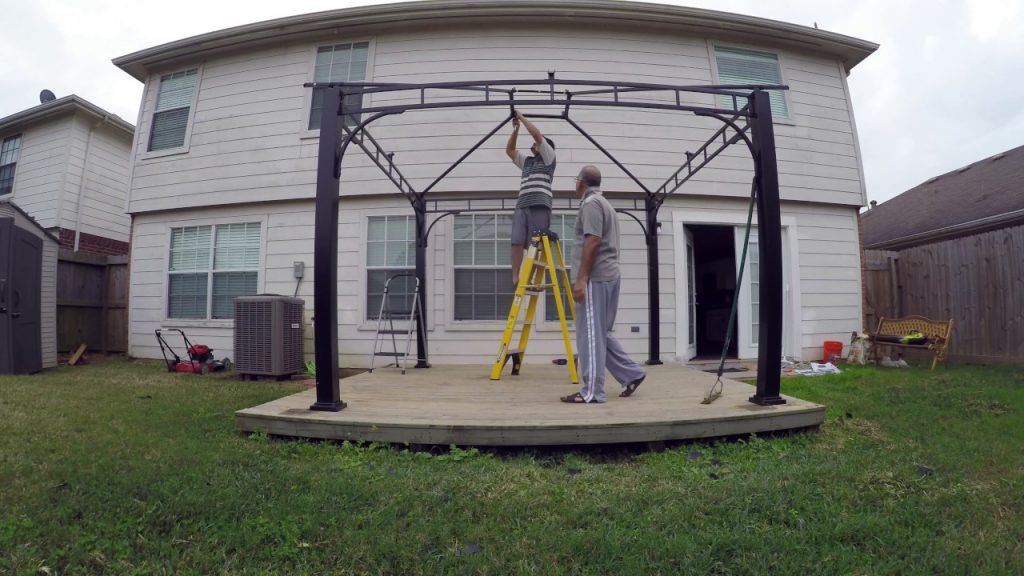
- Assembling the roof structure while it's already raised on posts — build roof sections at ground level, then lift them as a unit.
- Over-tightening canopy or roof panels before the entire frame is squared, leveled, and fully bolted.
- Attempting a full installation with only one person — roof panels require two sets of hands as a minimum, without exception.
- Ignoring the assembly sequence in the instructions — steps are numbered in structural order, not arbitrary convenience, and skipping ahead causes misaligned joint holes.
What Experienced Installers Do Differently
| Installation Task | Beginner Approach | Experienced Approach |
|---|---|---|
| Base preparation | Place posts directly on existing surface | Level, compact, and add rubber post pads or paver base material |
| Anchoring hardware | Use included plastic or light steel stakes | Replace with galvanized spiral anchors or code-grade wedge anchors |
| Bolting sequence | Fully tighten each bolt as you go | Finger-tight throughout, then final torque after complete leveling |
| Storm preparation | Remove canopy only when severe weather is imminent | Install side curtain bungee retention and inspect roof panel clips seasonally |
| Seasonal maintenance | Inspect only when a problem becomes visible | Annual anchor re-torque, rust spot treatment, and UV canopy inspection |
If you're stepping up from a basic canopy to a permanent hard-top structure, the Elite Shade Titan Garden Gazebo review walks through a real installation scenario that illustrates several of these advanced techniques in a practical context.
When to Install a Gazebo — and When to Wait
Timing your installation correctly isn't just a comfort issue — it directly affects how well your anchors set, how accurately your frame aligns, and how reliably your base preparation holds up through the first full season.
Ideal Installation Conditions
- Temperature: 50–75°F — metal components expand and contract predictably within this range, and adhesives or mortar used for paver post anchors cure properly without cracking or shrinking.
- Dry ground: At least 48 hours after the last rainfall for grass installations — saturated soil holds spiral anchors poorly and shifts under post loads before the structure is fully secured.
- Wind speed: Under 10 mph on installation day — handling roof panels in gusty conditions is dangerous and produces misaligned fastener holes that are difficult to correct later.
- Daylight: Start a full assembly no later than 10 a.m. — rushing final connections in fading light leads to loose joints and overlooked safety checks.
Conditions That Will Cost You Later
Installing immediately after heavy rain saturates the soil around grass anchors, causing them to pull free within weeks rather than holding through multiple seasons. Installing on freshly poured concrete before the slab has reached full strength — a minimum of 28 days — means your wedge anchors won't develop the holding power the structure requires under wind loading. Installing in sub-freezing temperatures causes metal-to-metal joints to bind and makes accurate alignment nearly impossible while frozen ground resists anchors entirely.
Warning: Never install a gazebo with a canopy or roof panels attached when sustained winds exceed 15 mph — the sail effect on a partially anchored structure creates a serious injury risk for everyone in the vicinity.
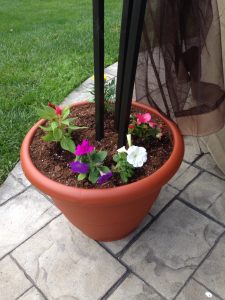
If you're planning to combine your gazebo with surrounding outdoor features — a fire element like a chiminea, paved seating areas using slate patio designs, or a raised deck — always fix gazebo post positions before any surrounding hardscape work, because every other element in the space gets designed around those four anchor points.
Grass, Concrete, and Paver Setups in Practice
The three most common surfaces each have a distinct installation workflow that diverges meaningfully from the generic steps most manufacturers include in the box. Follow these surface-specific procedures instead of relying solely on included instructions.
Grass Installation: Step-by-Step
- Mark all post positions with spray paint and verify square by measuring both diagonals — they must be equal before you drive a single anchor.
- Drive a galvanized spiral ground anchor at each post position to a minimum depth of 18 inches, keeping each anchor within 5 degrees of vertical.
- Attach post foot plates to the anchor tops before beginning frame assembly — this sequence is faster and more accurate than trying to align plates to anchors after the frame is up.
- Assemble the lower frame (all four horizontal base rails connecting the posts) at ground level, not in the air.
- Raise posts onto foot plates, check level on both axes, and shim with stainless steel washers as needed before any final tightening.
- Assemble the upper frame and roof structure entirely at ground level, then lift the completed roof section into position with a helper.
- Install canopy or roof panels last, working from the center ridge outward toward the eaves on each side.
Add rubber base pads between each post foot and the soil surface — they distribute point loads across a wider area and significantly reduce seasonal settling, which is especially valuable in clay-heavy or expansive soils that shift with moisture changes.
Concrete and Paver Installation

For concrete slabs: drill anchor holes with a hammer drill at exact post positions marked from a squared template, blow all dust out of the holes with compressed air, set wedge anchors, and torque to the manufacturer's specification with a calibrated torque wrench — not an impact driver, which overtorques and risks cracking the slab surface around the anchor hole.
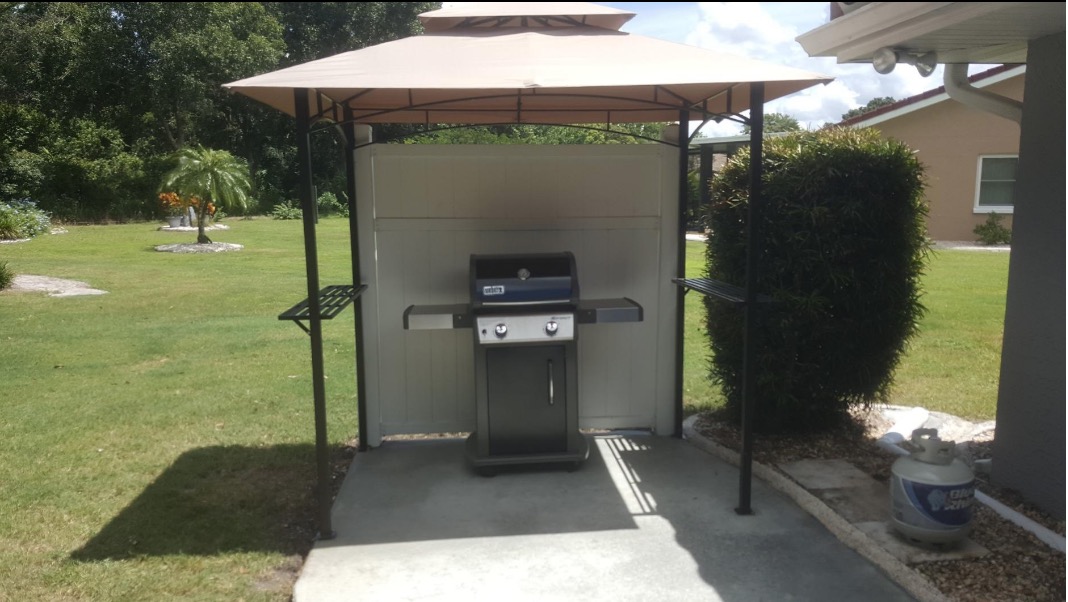
For pavers: use surface-mount post brackets designed specifically for interlocking paver systems, which spread load across several adjacent paver units rather than concentrating it on a single drilled piece. If your paver base is fully compacted and sand-set to a stable substrate, you can also mortar post feet directly with hydraulic cement for a more rigid connection that performs similarly to concrete anchoring.
If your patio surface is still in the design phase, reviewing flagstone patio design and installation options before you lay any hardscape helps you choose a material that integrates visually with your gazebo frame and supports the post anchor system your structure actually requires.
Frequently Asked Questions
Do I need a permit to set up a gazebo?
It depends on your municipality and the structure's square footage. Permanent gazebos that exceed a certain threshold — typically 120 to 200 square feet — often require a building permit in residential zones, especially when they include a solid roof or electrical wiring. Check with your local planning department before you purchase materials or break ground on any permanent outdoor structure.
Can you set up a gazebo on uneven ground?
You can achieve a level installation even on uneven ground by using adjustable post foot hardware or shimming individual post bases with stainless steel washers. The frame must be plumb and level before you tighten any bolts — never use the ground as your level reference. For severe slopes, grading the area with compacted gravel or crushed stone base material gives you the most reliable and durable result over time.
How long does it take to set up a gazebo?
A pop-up canopy gazebo takes 30 to 60 minutes with two people working together. A hard-top steel or polycarbonate gazebo on a prepared concrete surface typically requires 4 to 8 hours for two people working at a steady, methodical pace. Add surface preparation time on top of that — at least 48 hours for grass anchor settling after rain, or a full 28 days for new concrete to cure to full strength before you drill any anchor holes.
Next Steps
- Identify your installation surface — grass, concrete, or pavers — and order the correct anchor hardware before your gazebo arrives, since this single step prevents the most common installation delays.
- Contact your local planning department to confirm whether your structure's footprint requires a building permit before you commit to a permanent location.
- Survey and mark your exact gazebo footprint in the yard, call 811 to clear utility lines, and assess surface levelness using a 4-foot level across multiple directions.
- Read your specific model's assembly instructions from start to finish at least once before installation day — identify every fastener type, panel sequence, and tool requirement so nothing surprises you mid-build.
- Plan the surrounding outdoor space in advance: if you intend to add patio hardscape, seating, or fire features around the gazebo, finalize and fix your post positions first, because every adjacent element gets designed around those four anchor points.


About William Murphy
William Murphy has worked as a licensed general contractor in Fremont, California for over thirty years, specializing in outdoor structures, green building methods, and sustainable design. During that career he has written about architecture, construction practices, and environmental protection for regional publications and trade outlets, bringing technical depth to subjects that most home improvement writers approach only from a consumer perspective. At TheBackyardGnome, he covers outdoor product reviews, backyard construction guides, and sustainable landscaping and building practices.
You can Get FREE Gifts. Receive Free Backyard Items here. Disable Ad Blocker to get them all now!
Once done, hit anything below