Planting Annual Seeds and Transplants in the Landscape
by Simmy Parker
Annual flowers add a splash of color to summer gardens. Unlike perennial flowers, annuals do not live through the freezing temperatures of winter. Most vegetables are also annuals. While annuals are usually planted into the landscape as transplants, they can also be direct seeded outdoors.

Tools and Equipment:
- Shovels and rakes as needed to prepare soil
- Small garden trowel
- Water source
Step-by-Step Process:
For both seeds and transplants, prepare the garden bed by amending soil as necessary. Soils can be improved by incorporating organic matter such as leaves, grass clippings, peat moss, well-rotted manure, compost or other material. Also incorporate 2 pounds of 5-10-5 or 12-12-12 fertilizer per 100 square feet. Work the soil to a depth of 8 to 10 inches. The garden bed can be prepared as soon as the soil has dried enough to be worked in spring. Annuals can be seeded or transplanted outdoors after the danger of frost has passed.
Planting Seeds
- After preparing the soil as described above, level the surface with a garden rake, breaking up any clumps of soil.
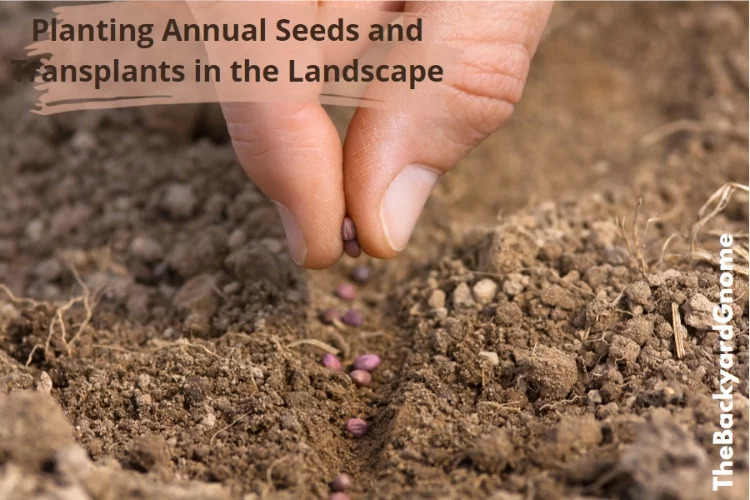
- Seeds can be sown in rows or by broadcasting over the soil. If seeds are sown by broadcasting, they should be thinned later to obtain the correct spacing. Most seeds should be sown at a depth of one to three times their greatest diameter. Very small seeds are sown on the surface and covered only very lightly.
- Cover the seeds with a thin layer of soil. Use a mist nozzle to gently water the seeded area thoroughly, avoiding the formation of puddles. Be careful to not wash away the soil covering and expose the seeds.
- Mist the seedbed regularly to keep seeds moist until most have germinated. Then let the surface dry out between waterings.
- When seedlings are about 2 inches tall or have developed their first two true leaves, they should be thinned to the recommended spacing.
Planting Transplants
- When purchasing annual plants, select healthy, bushy plants. Prepare the garden bed as described above, and level the surface with a garden rake, breaking up any clumps of soil. The best time to transplant annuals is on a cloudy day or in the evening, so that plants have some time to recover from transplant shock before being exposed to hot sun.
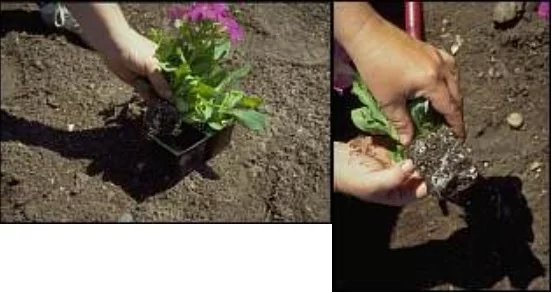
- Annuals commonly are available in cell packs consisting of 4, 6, or 9 plants. Larger individual plants are also available. Holding the cell pack sideways, remove each plant by gently crumpling the cell and pushing the roots out of the cell pack. Do not pull the plant out of the cell pack or container by the stem, as that could cause severe root breakage or the stem could break away from the roots. If several plants were grown in one larger cell pack, gently break apart the root mass to separate the individual plants.
- Usually, the plant will have a distinct root mass the shape of the cell pack.

- Using your hands, pull the root mass apart slightly to encourage roots to grow out into the soil once planted.
- Using a small garden hand tool, dig a hole deep enough to allow the plant to be planted so that the final soil level will be the same level where the plant was previously growing, or no more than 1/2 inch deeper.
- After setting the plant in the hole, firm soil around the root mass to the level the plant was growing in the container, or slightly (no more than 1/2 inch) deeper.
- Gently water transplants thoroughly until established.
- Keep annuals well watered and fertilize every 6-8 weeks during the growing season. For most annual flowers, removing faded blooms (deadheading) before seeds are formed will encourage more flowering.
 |
 |
 |
 |

About Simmy Parker
Simmy is an outdoor expert who loves to spend time in the wilderness. She received a BS degree in Civil Engineering at Sacramento State University, and has put her skills to use by helping design and build some of the most impressive structures in the world. However, Simmy's true passion lies in sharing her love of nature with others, and she spends much of her free time leading hikes and teaching people about the flora and fauna that can be found all around them.
Thoughts on "Planting Annual Seeds and Transplants in the Landscape"
 |
 |
 |
 |
You can Get FREE Gifts. Receive Free Backyard Items here. Disable Ad Blocker to get them all now!
Once done, hit anything below
 |
 |
 |
 |